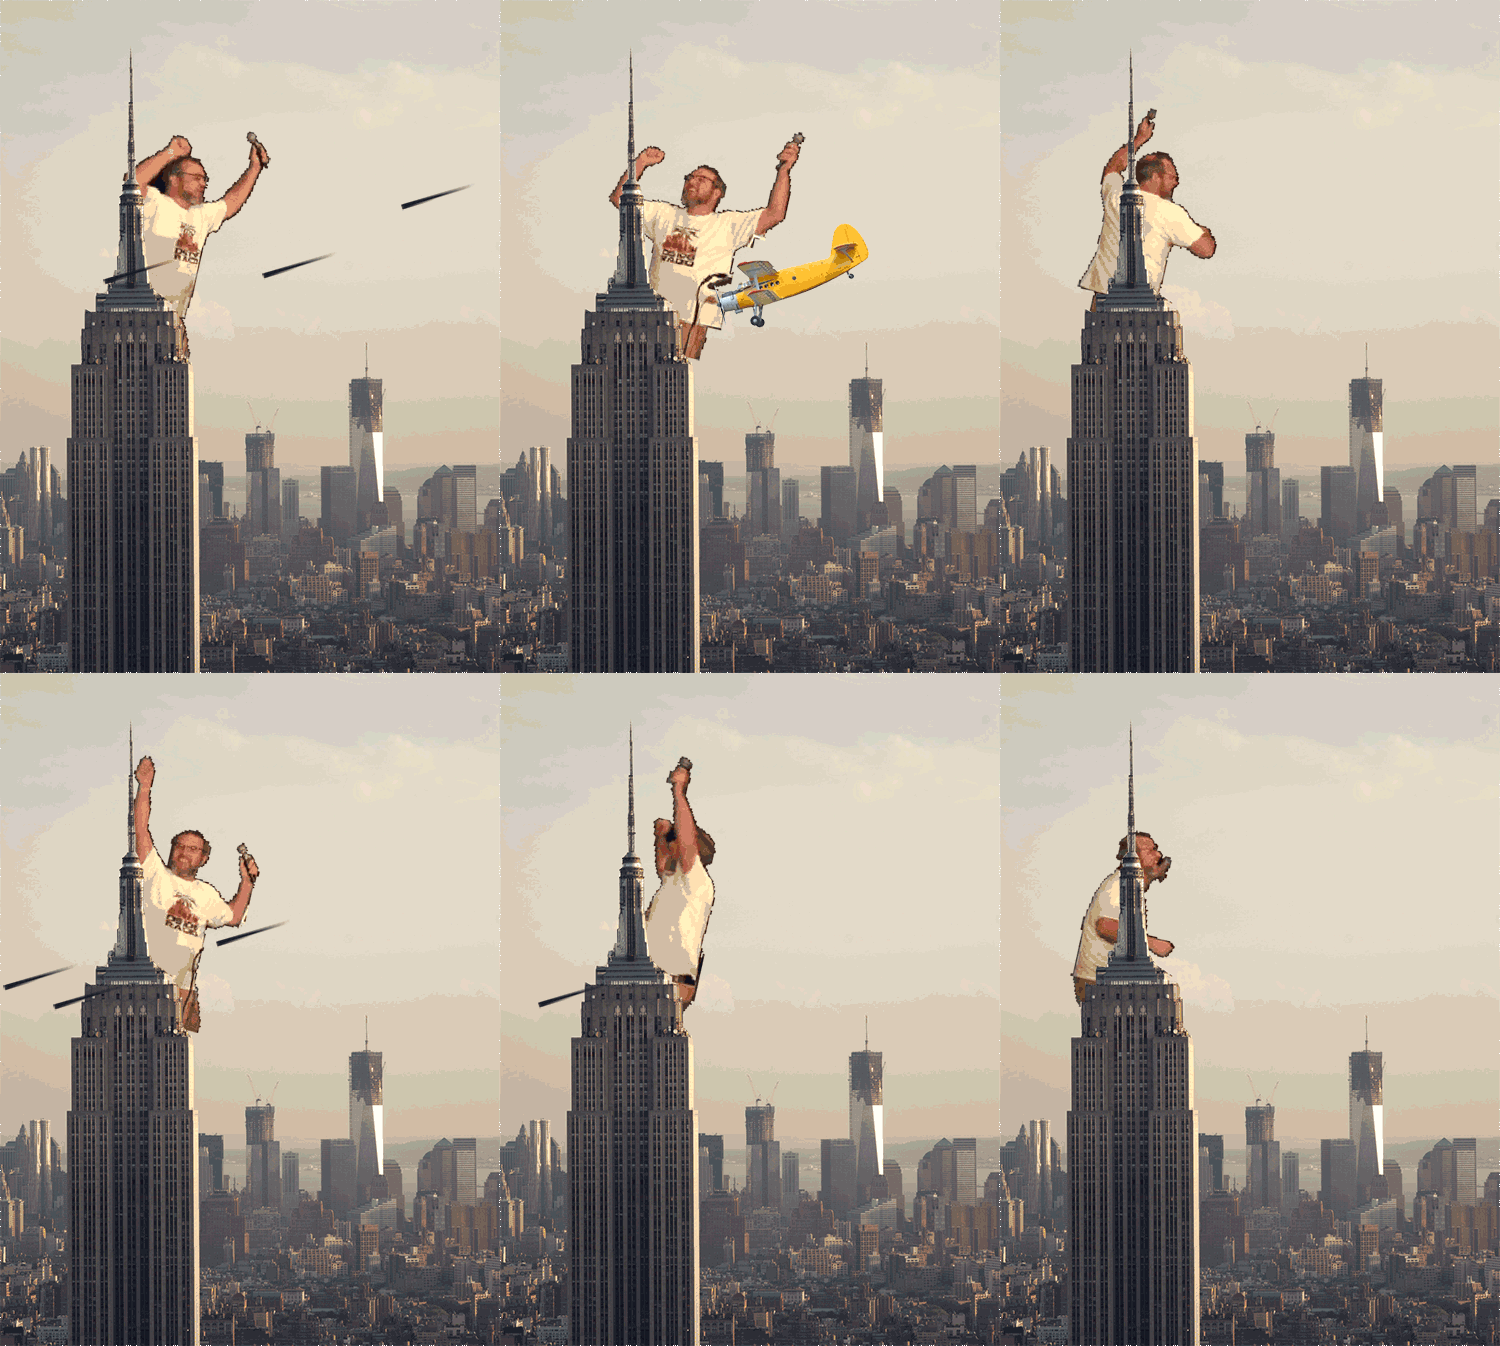
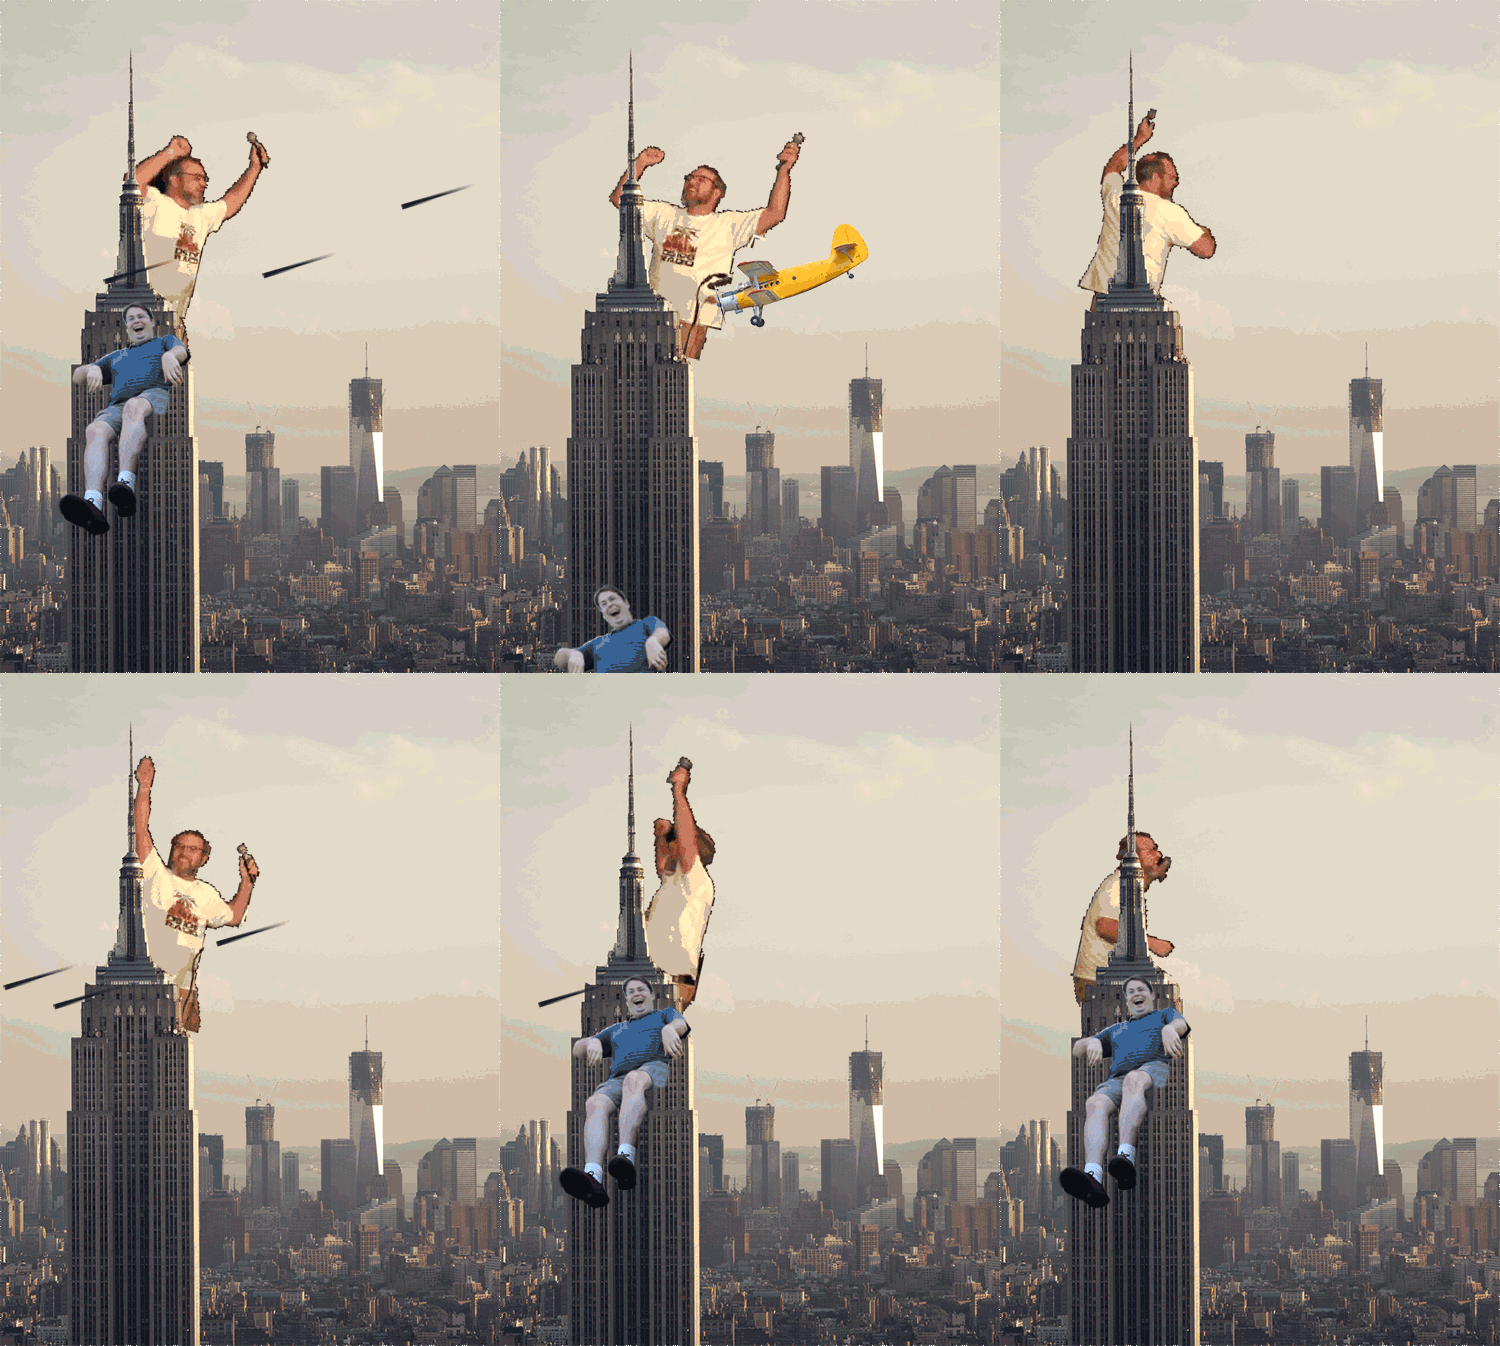
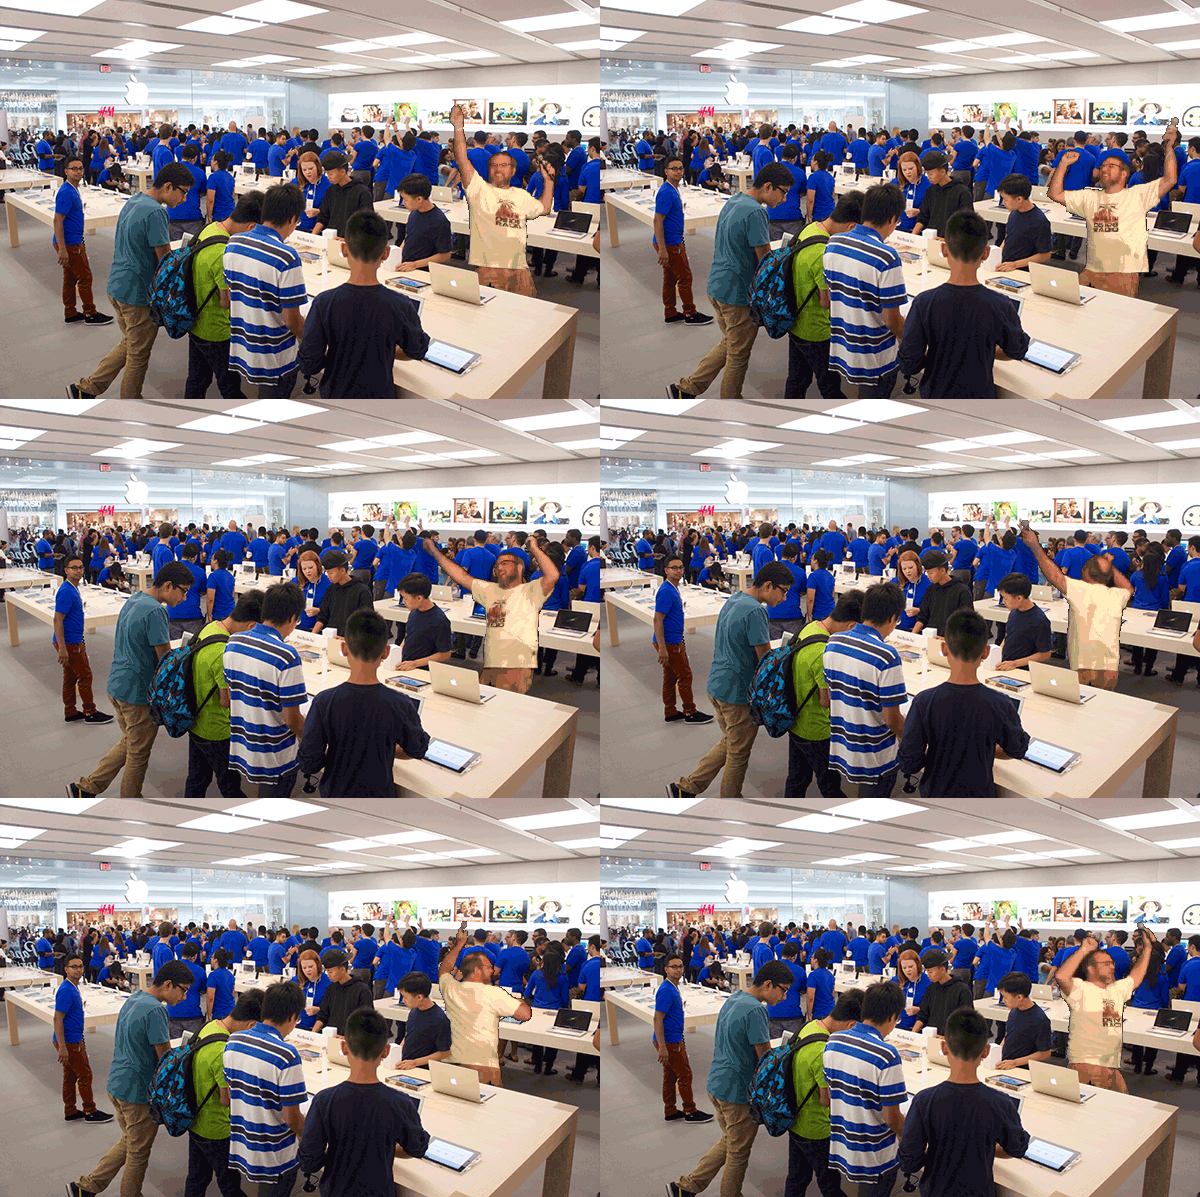
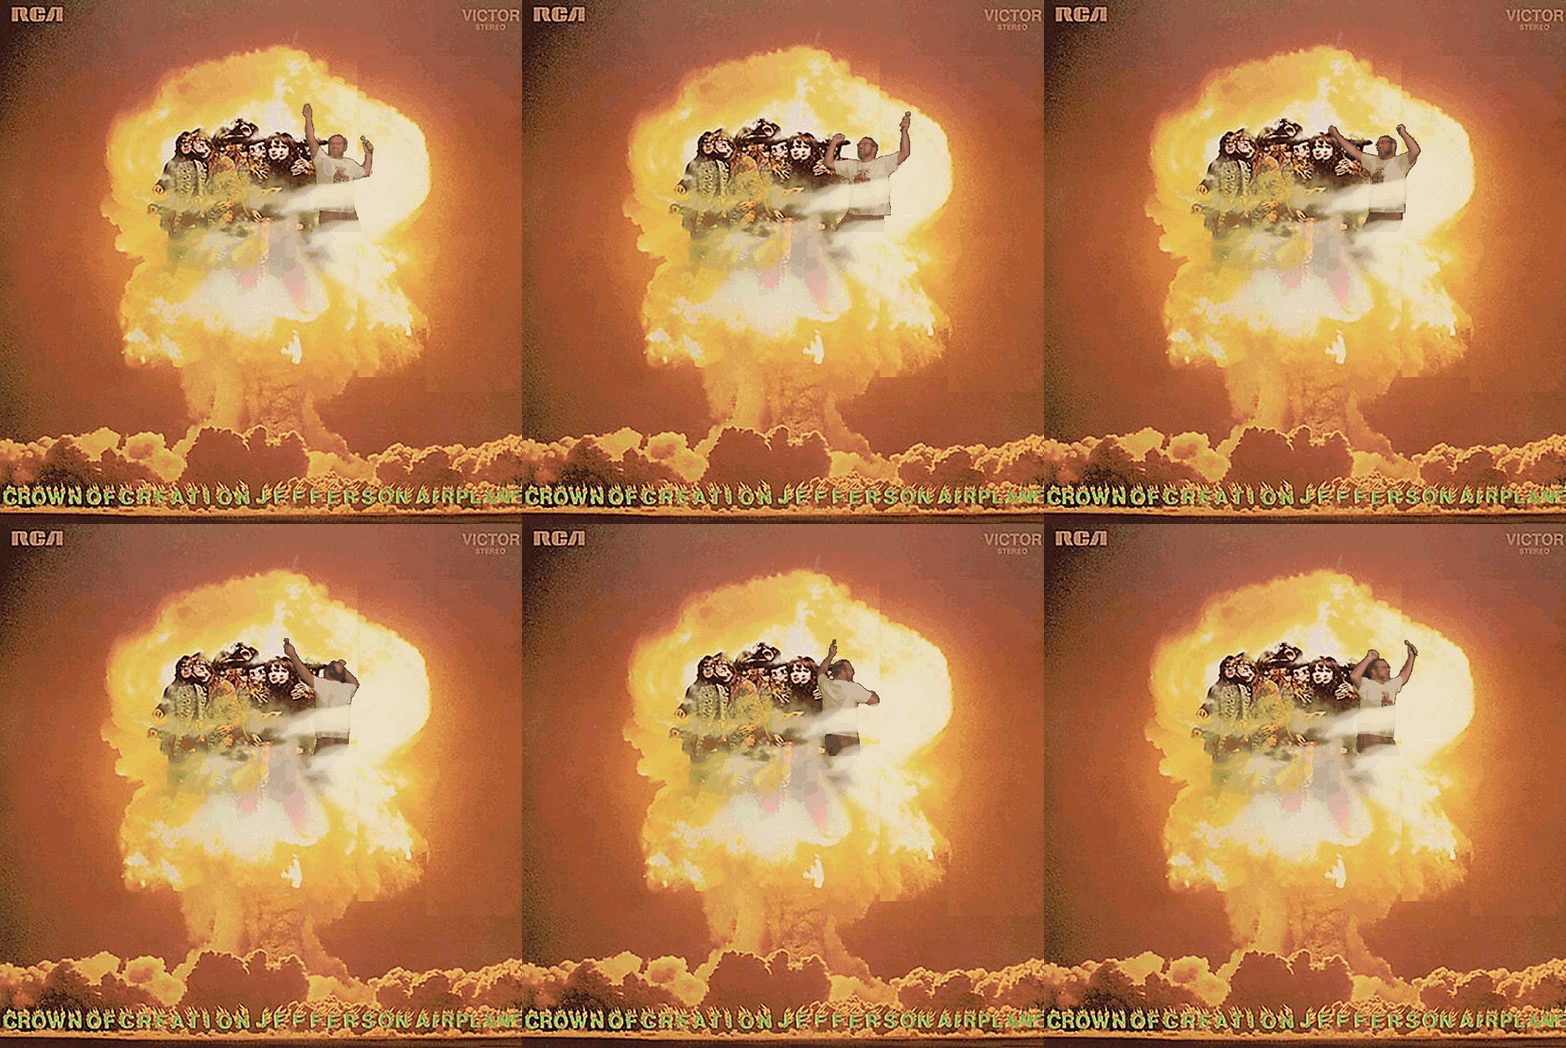
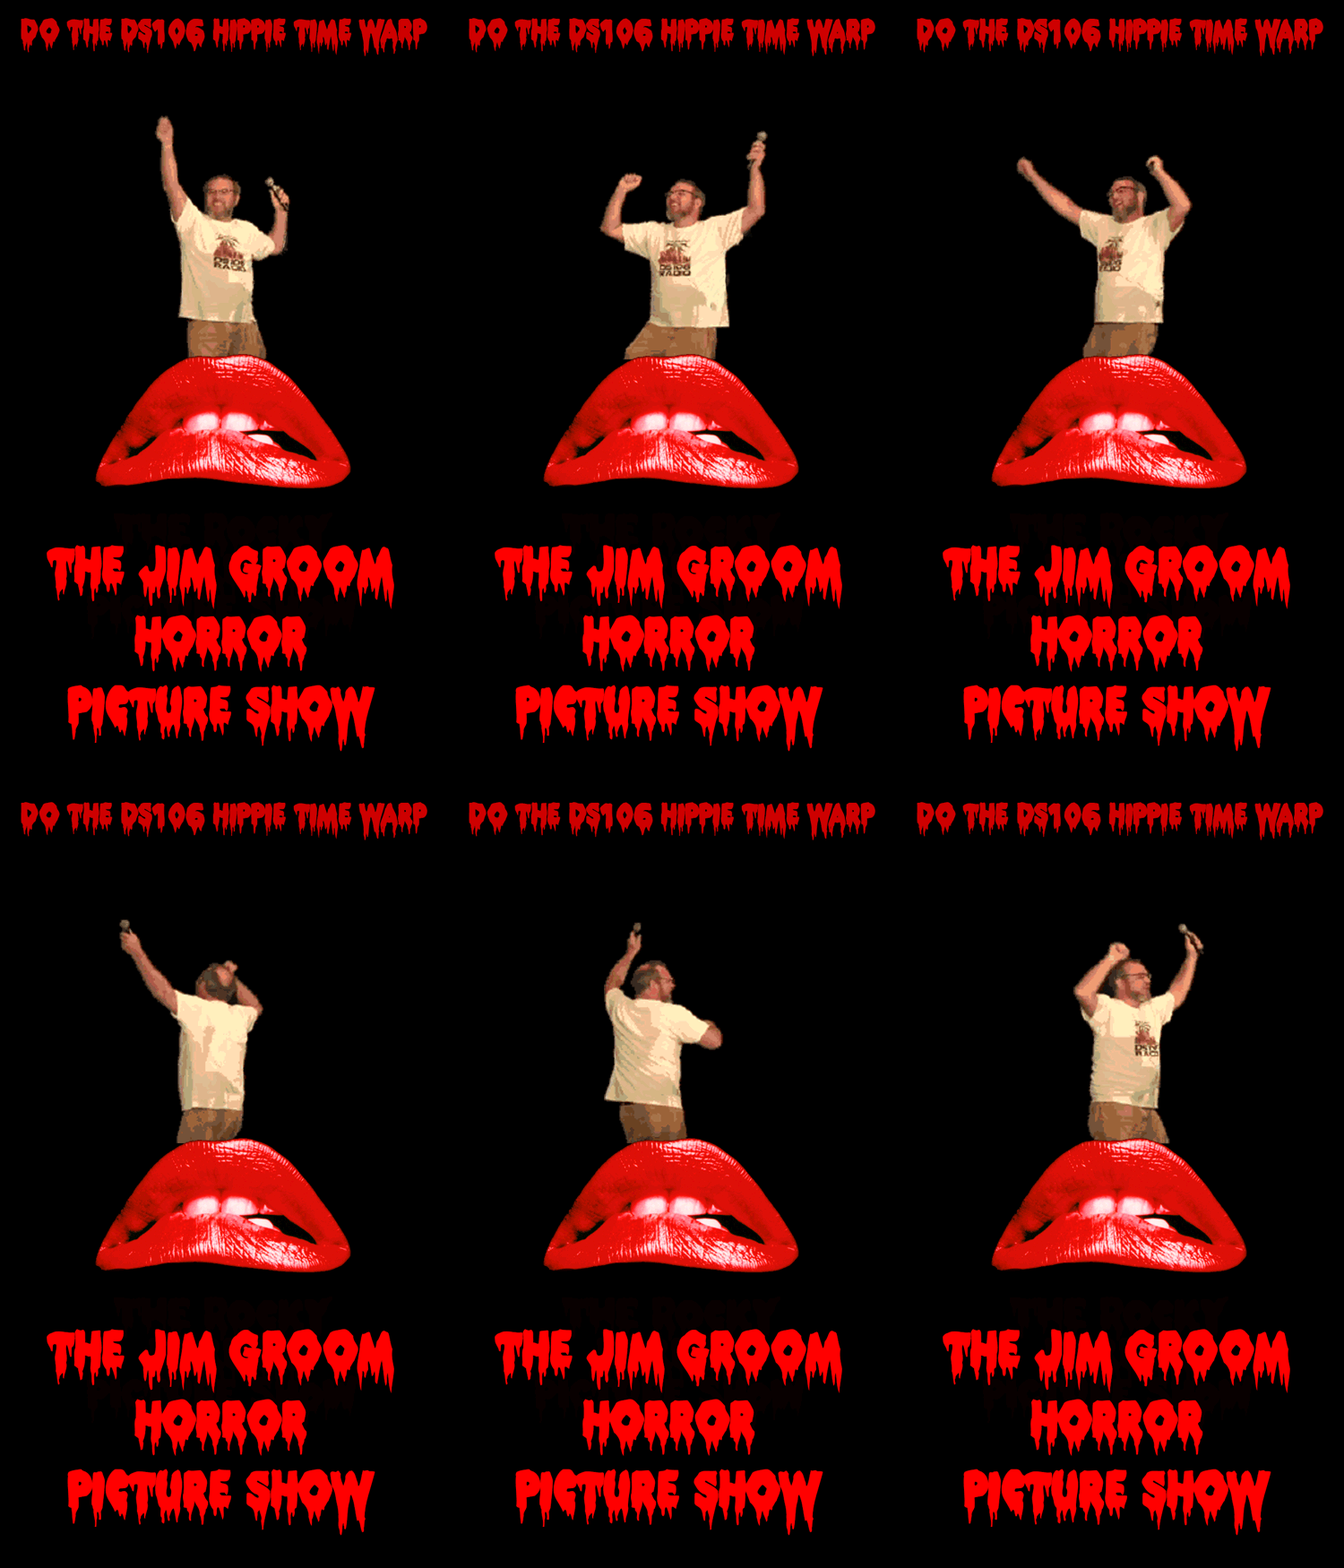
I did this assignment for a number of reasons, but mostly because only one other person has done it and it’s one-star, so it’s unlikely anyone else will. I thought it might be fun to up the game a little. Earlier this semester Jim riffed an assignment by Brian Bennett, here, where he took Brian Bennett’s version of this assignment and expanded it into a gif enclosed in an old ad. So, he made a Visual Assignment into an AnimatedGIFAssignment.
Well I took Jim’s Assignment and riffed it, don’t worry I have screenshots for a tutorial later, I added another layer and a whole separate process for combining the layers so that you can have Jim dancing in poor Norma’s mouth as she lets out one final scream in agony.
First of all, if you want to do this one you’re going to need to grab the .gif of Jim dancing a fool from this assignment. You should know how to make a .gif and what a .gif is at an image file level, this tutorial will help you understand that if you don’t already. You will need Brian Bennett’s .xcf of the TV with the transparent screen, found here. Here’s a link to Norma’s mouth, should you ever need that for anything else. And finally you should read Jim’s method of using a gif behind another layer of image, link here, specifically the section about duplicating image layer that will sit on top of the .gif. I know that’s a lot of information, but it’s easier to understand if you’ve read that stuff, because I would just be copy-and-pasting their instructions anyway and this way you can see multiple assignments.
So, my method is a lot like Jim’s. Except I add another layer underneath the dancing Jim Groom. Thus there are three main sets of layers that need to be created. Two of the sets are the same across every frame and one of the changes, fortunately you only need to pull the image of Jim Groom into the frame (much easier).
You will need to ‘Merge Visible Layers’. This is done from the layers window in GIMP. Also, we’re using GIMP. Should’ve said that earlier. First you get your layer on the same workspace. Then create a duplicate layer for every gif layer in both the front and back image sets. So, if your .gif image set is 12 images, then you should have 12 front images and 12 back images.
Now we layer, just like Jim shows us in his walkthrough. After you have arranged them correctly, click all the eyes so that no frames except those you want to marge are visable, like this:

Now click Merge Visible Layers, this will prompt a pop-up window, which may be hidden by the multiple windowed GIMP software, so look for it. It should look like this:

Make sure you click ‘clipped to image’ or it may rearrange the layers. Click okay and you should have a single layer in place of the previously visible three layers:

And then you will have the final product:

One Star? I feel like this was more than one star’s worth of work…


