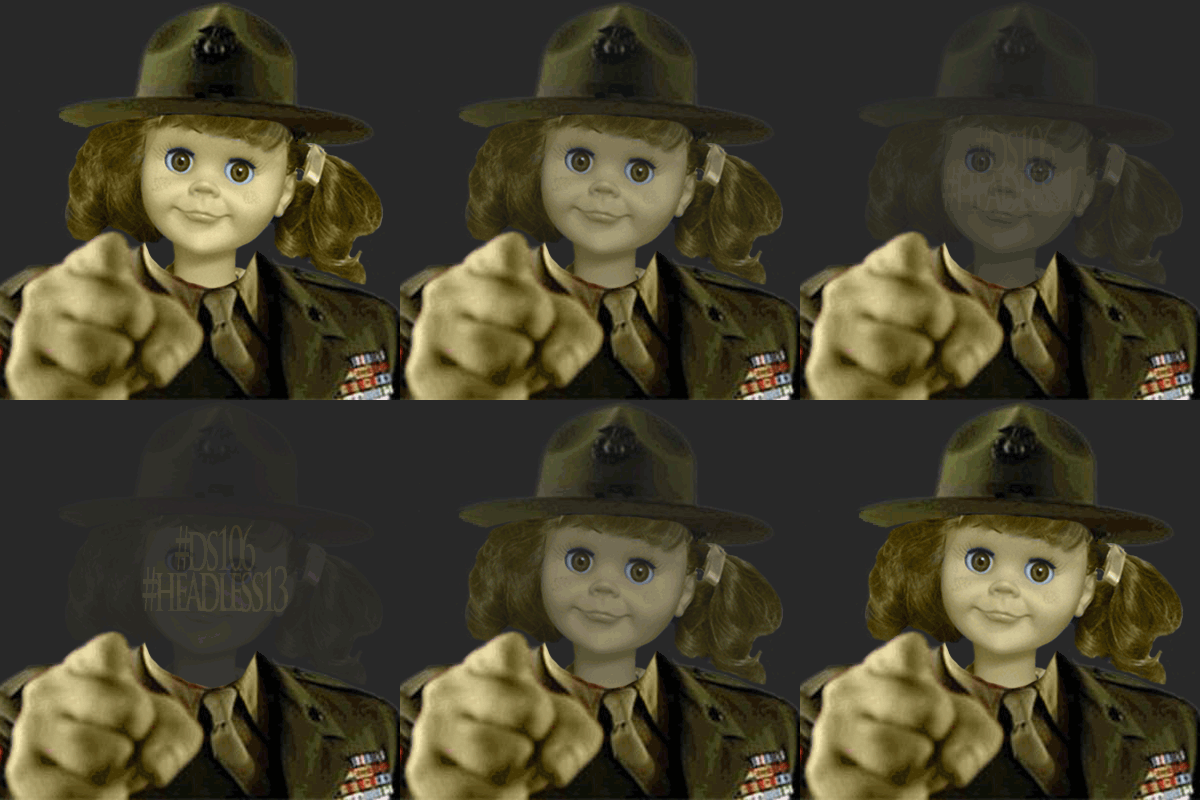
Who is really running the show?
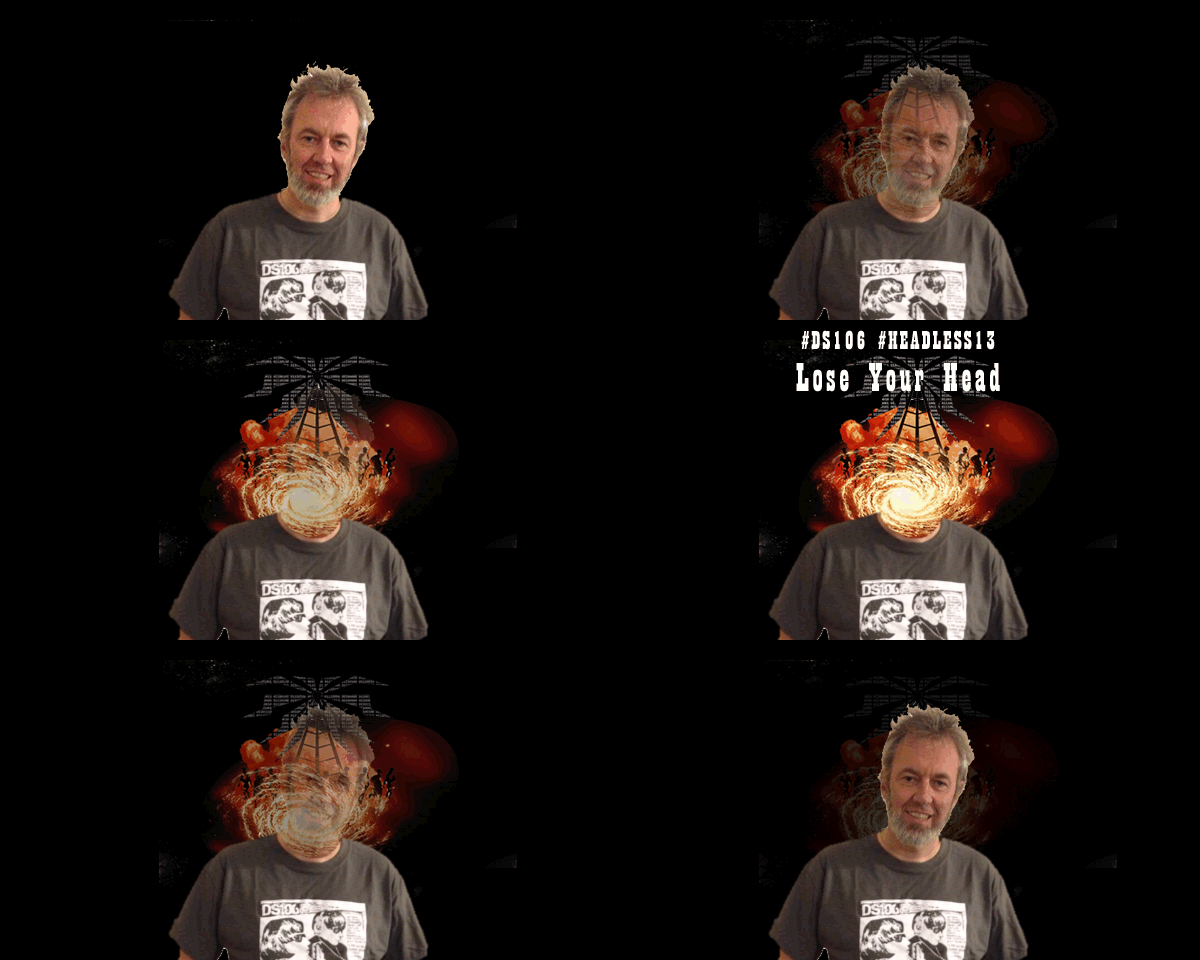
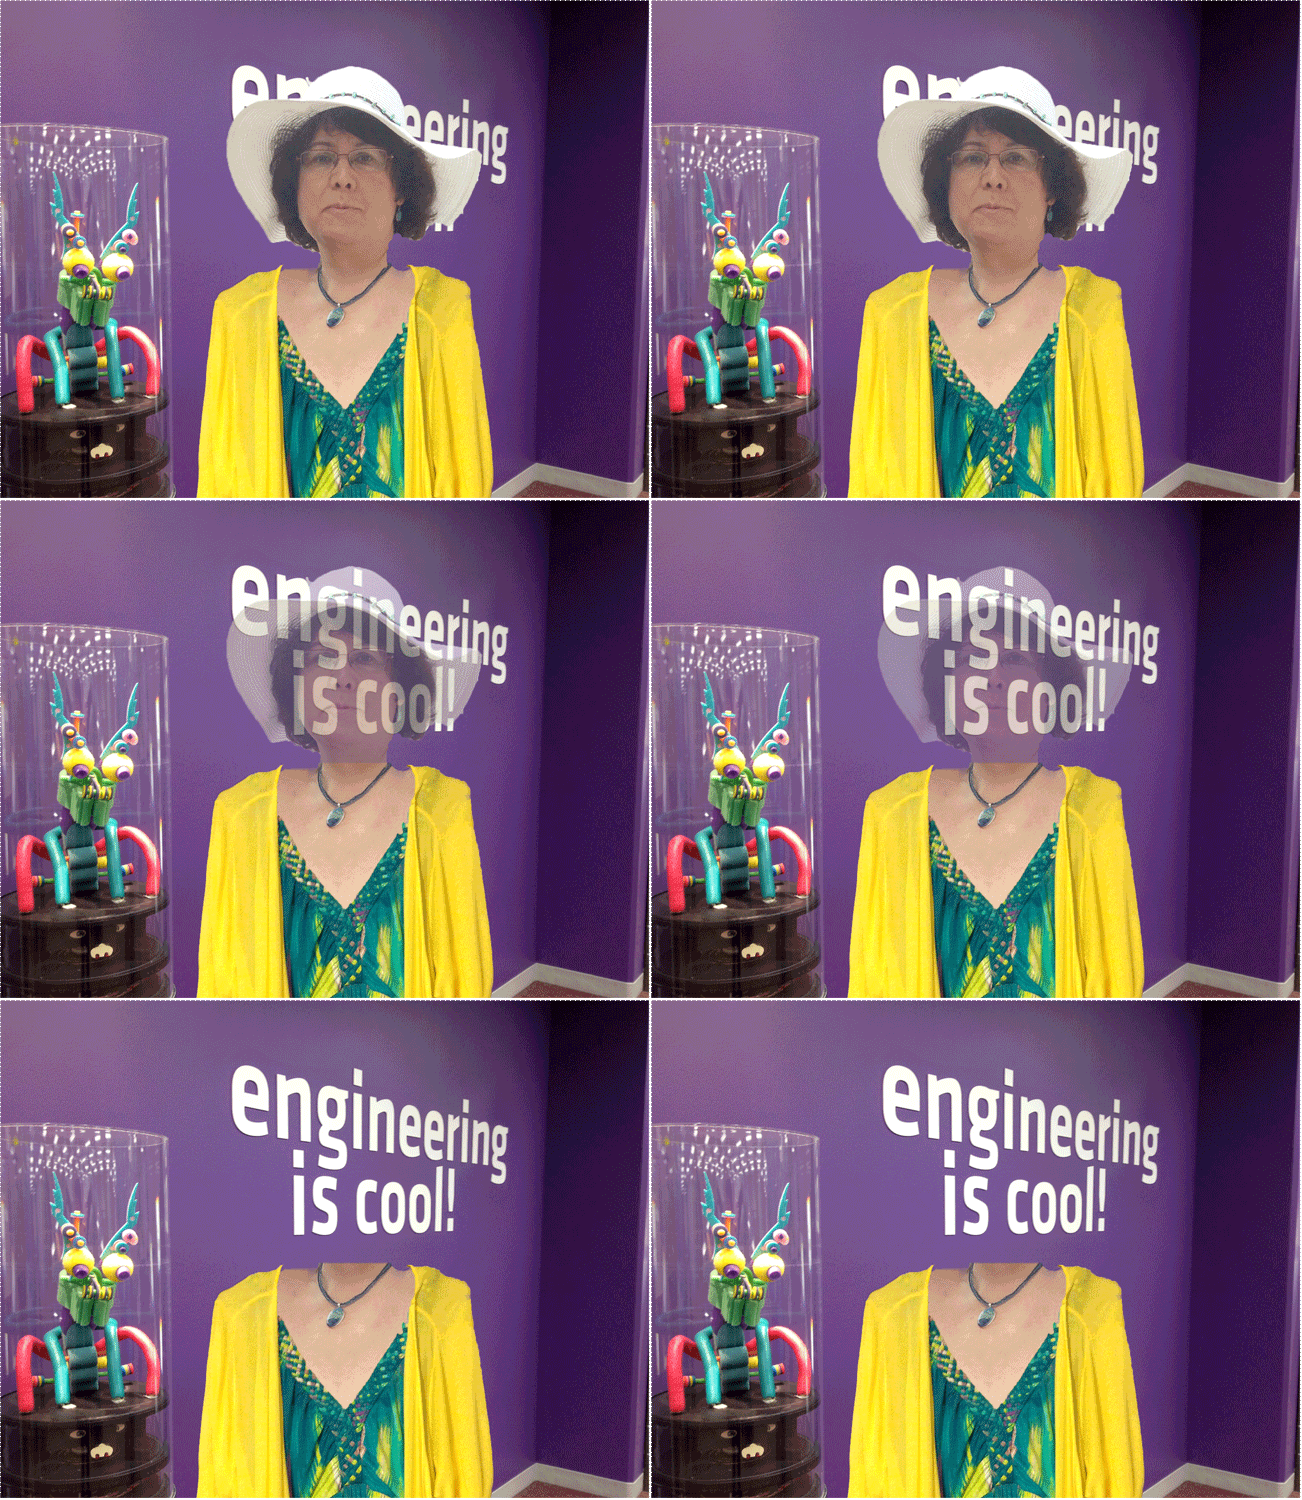
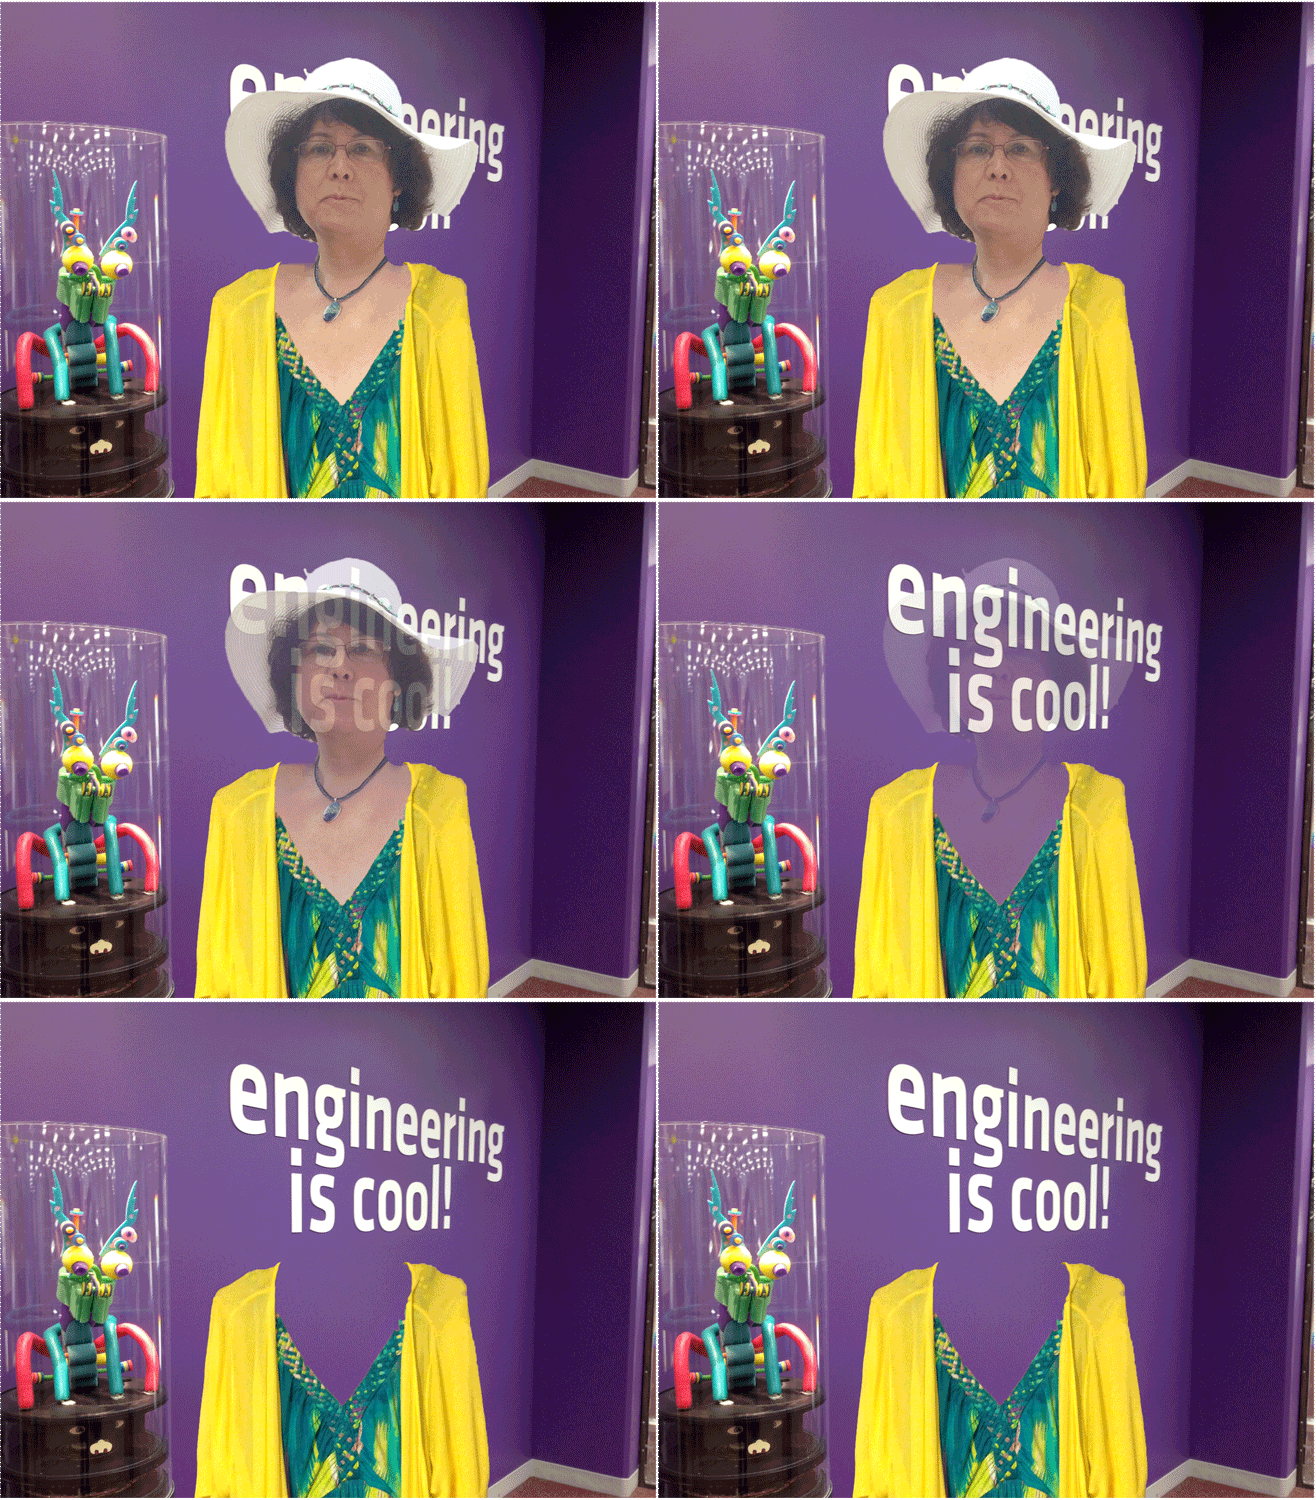
Here is my headless self (see also here)—though actually, it’s less headless than showing some other head hidden behind mine.
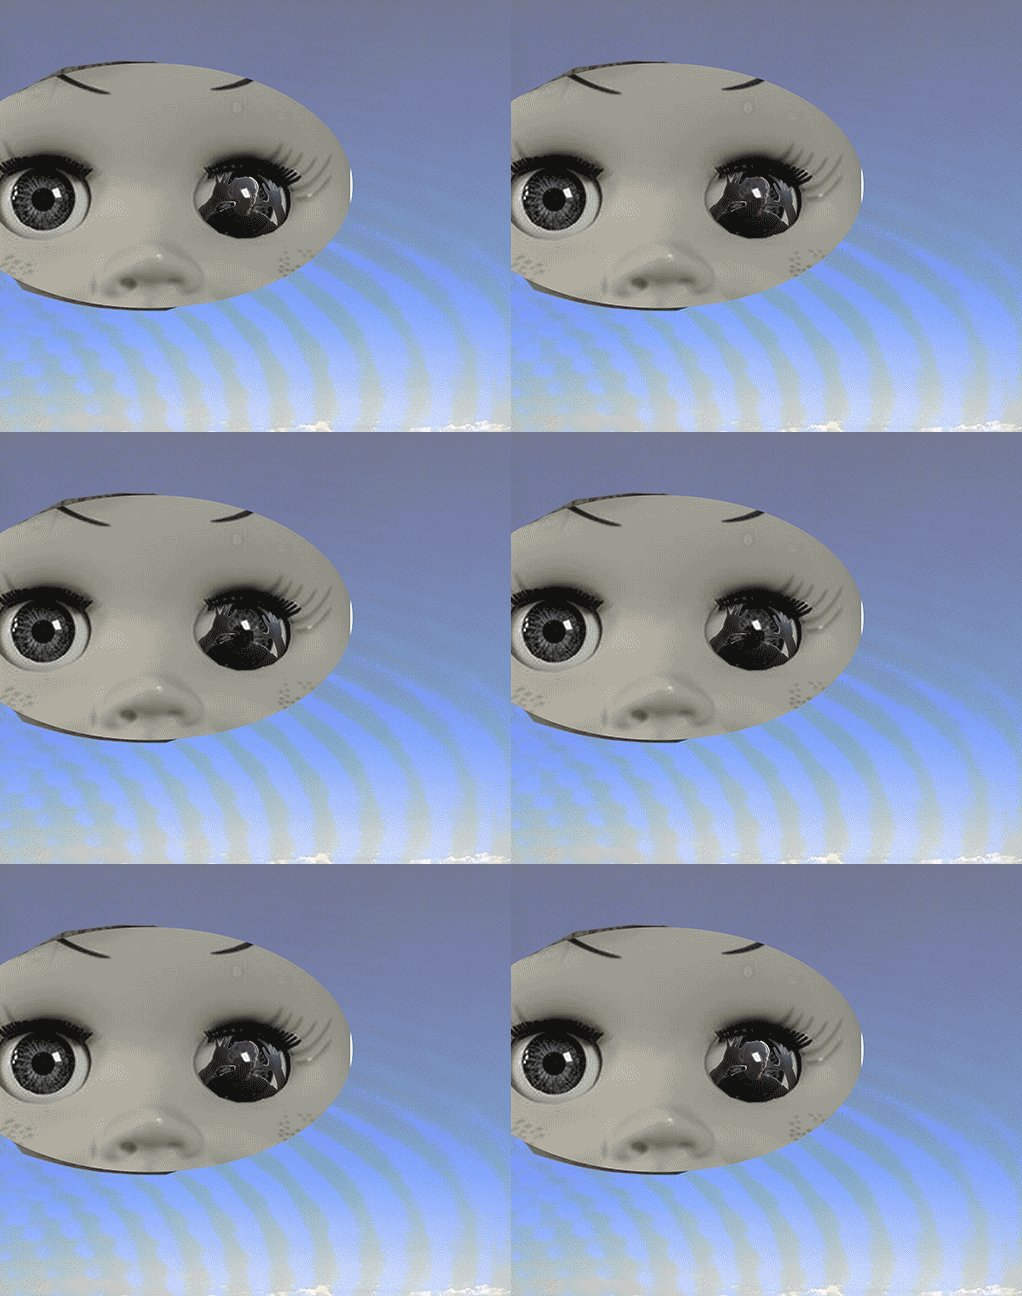
Truth be told, who is really running the show is my 6-year-old son, but since I don’t like to show his image in public on the web, I used one of my cat Snapper instead. I was on sabbatical in Australia for a year, and during that time my cat was staying with my mom in Idaho. I’m there right now to visit and take Snapper home.
Talky Tina has started an August animated GIF challenge for ds106, and given how long this one took me, my chances of doing one every day are very, very low. But I’ll do what I can!
This was really, really challenging for me. I honestly wasn’t sure how to even start. And it didn’t turn out how I’d like—the wicker chair behind my head got animated at the top of my head and I honestly can’t remember how or why I did that. And my chin doesn’t disappear until Snapper’s head comes through. Can’t recall why that happened either.
The process
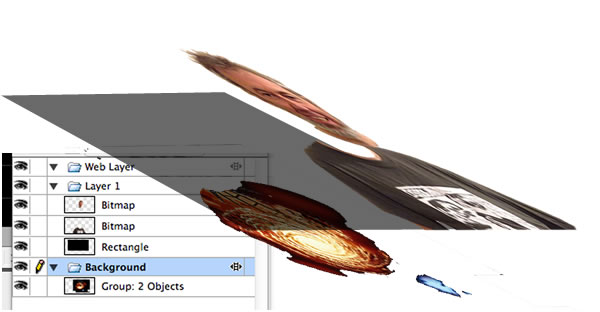
Here is a lesson for me (and others): if you’re going to blog about your process (which beginners like me sure do like because we learn a lot that way), then it’s good to take notes and screenshots while you’re doing the process rather than waiting until the end. Because I tried so many different things just to see what they would do, that by the end I wasn’t really sure what I actually did do that worked. And since I merged layers down after making layer masks and such, I no longer can get screenshots that show the process before the layers were merged.
Here’s what I remember—some notes I took last night right after I finally got this to work. I’m not sure it entirely fits what I did.
I used GIMP for this project, and two pictures: one of me, and one I took of Snapper yesterday.
1. I used the “lasso” or “free select” tool to do a rough selection around Snapper’s head. Then I used “create layer mask” on his layer, “to selection,” so that just his head was visible and the rest of the image was transparent. I also did the same thing around my head so that my head disappeared but the rest of the image stayed, so that then I had an image with my body and Snapper’s head. I had to move Snapper’s layer a bit to make his head fit into the “hole” I had made in my picture’s layer.
But that didn’t end up working well, because Snapper’s face shape doesn’t fit mine, of course, so I had to figure out how to get the wicker chair background behind Snapper’s head.
2. On a layer with my image, I created a background of wicker chair over my head with the clone tool. That was tricky—getting it to look reasonably realistic. I am still not entirely happy with that, but after spending a lot of time on it, doing it over and over, I finally just went with what I had.
What I can’t remember is how I determined how big to make this cloned wicker background so it would show up behind my head when my head disappeared and Snapper’s appeared.. Whatever I did, it didn’t fit exactly—more of the wicker chair animates than needs to.
3. I then put the image of me with wicker over my face under the Snapper head layer. Next, I made several Snapper head layers, each with a graduated opacity: 25%, 50%, 75%, 100%. I put the image of me with wicker over my face under each one, so that when Snapper was partly transparent, the wicker showed through. I then merged the Snapper head layers down onto the wicker chair head layers.
4. To do the same thing with my own face, I made a different layer mask on my layer than I did originally—one that allowed my head to show through and the rest of my body to be transparent. I put that one on top of the image with wicker where my head should be. I then created several versions of my head layer, again with different opacities: 100%, 75%, 50% (I just went to 50 on this one, not 25), and put the wicker char background layer under each of these—again so that when my head fades out there is wicker chair underneath it. I merged each “head” layer with the “wicker chair” layer under it, so each layer had my head at different opacities with the wicker chair underneath it.
5. I ordered these layers so that it started off with my full opacity image, then my head fades out 75%, 50%, then Snapper’s head appears 25%, 50%, 75%, 100%. Then I just duplicated layers so that the process went backwards in reverse order. And tried animating.
6. But GIMP animates from the bottom of the stack up, apparently (at least it did with this one…does it always? I don’t recall), so it started off with Snapper’s head, which faded out to mine, and back. So I had to reverse the layers. Searching on the web, I found that there is a tool in GIMP for doing this automatically instead of moving layers one by one (which I now vaguely remember doing at some point on another project). You just go to Layer->Stack->Reverse Layer Order, and voilà! It animated in the right order!
7. Lastly, I had to play with the timing of the frames so it animated a bit slower than the default. When you “export” and save as a GIF, you get a dialogue box that gives you a choice of milliseconds to delay between frames. It was at 100, but I changed it to 300. Then I had to click the check box saying to use that delay between each frame.
I expect there is an easier way to do this that wouldn’t take so long. If you know of one, please let me know in the comments!


