Unlimitedgyaan

Unlimited Gyaan is an all in one website for all your daily updates about Bollywood, Hollywood, Politics, interesting information, Technologies, Cultures, Sports, Entertainment, Grooming etc. In simple terms, Unlimited Gyaan is going to be your Digital BFF.

One of the Best Digital Tools for Students!

For my first web assignment of the week, I was tasked with finding an easy to use, digital tool online and give a brief tutorial about it. I am choosing to talk about Quizlet! Quizlet is a free platform that offers so many different study tools. Users can go and create study lists like vocab lists, formulas, translations, you can even input questions you are trying to study with their answers in a different column. You can either keep your lists private or you can share it with the rest of the Quizlet community. You can also then search for different lists that pertain to what you’re studying. The most common use for Quizlet is flashcards. Quizlet has now developed different study tools as well. If you are trying to learn how to spell words. Quizlet will even create a test for you with fill-in-the-blank, multiple choice, and true or false questions. It is a super easy tool to use and on top of that, its free! This tool has really helped me with studying throughout my career as a student.

Best Digital Tool for UMW

This is the absolute best tool that I know how to use. It is called Rate my Professor. This incredible website/tool can show you ratings of professors that you are thinking about taking a class from.

You simply go to http://www.ratemyprofessors.com. You do not need an account in order to check professors, but you do need one if you would like to rate a professor. Here are the steps to finding your professor:

  1. Go onto the website above
  2. Click “Find a Professor”
  3. Type in your school (for us, University of Mary Washington)
  4. Then right under it, type the last name of the professor for which you would like to know about
  5. Scroll down and you will see the ratings for the professor.
  6. If you look in the top left corner of each rating, you can see what class number it is for

This is the best website when making your schedule. I hope it helped!!!

Digital Tool: VLC Frame Extraction

I decided to write a brief tutorial on how to extract video frames in VLC media player. This is a tool that can prove useful if you’d like to create a GIF out of your favorite video or movie, or if you want to just save a batch of screen shots from the best scene. I used this tool to create a series of glitched GIFs from a fantasy film. (Read about it here!)

First, you’ll need to install VLC media player and download the video or movie of your choice. Once you have everything needed, open VLC and go to Preferences, then select ;Show All’ near the bottom left corner. A list should appear in the dialog box, and from there you should select ‘Video’, then ‘Filter’. A series of boxes will appear, and you’ll want to check ‘Scene Video Filter’ to enable the image-saving setting. Once you do this, return to the left menu list and display the drop down menu for ‘Filter’. Select ‘Scene Filter’.

Tools > Preferences
Show All > Video > Filter
UNCHECK when finished

Once you’re here, establish how many frames per second you want to save in the ‘Recording Ratio’ text box, and indicate the location where you’d like your frames to be saved in the ‘Directory Path Prefix’ text box. I’ve indicated in my example that I’d like one our of every 2 frames to be saved to my Pictures folder, but feel free to play around with the FPM; the lower the number, the more image files will be saved to your computer. When I create GIFs, I usually set it to 2-3.

2 FPM
Saved Frames after playing
UNCHECK when finished

Once your settings are saved, hit File and open the movie/video and play it through. Once finished, you should have all of your frames! Yay!

BEWARE! You should go back to Preferences > Filters and uncheck ‘Scene Video Filter’ so that VLC doesn’t continue saving images everytime you watch something.

Digital tool tutorial: Canva

Canva is bae. Canva is life.

I use Canva for most assignments for this class. It is so easy and simple to use. I’ve even used it to make custom Snapchat filters for events and such.

When you start, Canva gives you options of layouts to choose from, depending on what you’re designing. You can upload any image you want on to the website and alter it in many different ways. The easiest way to use it is to add graphics, cartoons, or other images to one another. It’s not hard to use and is super simple for projects such as the ones for this class.

I use it primarily for adding text to images, such as this one below:

There is a huge array of images you can add and be as creative as you want. Here’s another example, albeit a not as good one:

It’s a 100% free website unless you want to use certain graphics or features, but the surface level is more than enough. You can make very professional looking things, such as calendars and logos, but silly things, such as the one above. When done right, it is a very nice website to boost the look of a company or club. In my opinion, the adding of text features are what set it apart, because there are so many options and opportunities for creative freedom.

Canva Tutorial

For my first web assignment, I decided to do the Find a Digital Tool assignment. The assignment is to Find a cool, easy to use  digital tool online and to write up a brief tutorial on how to use it, and what it can be used for.

The tool that I will be writing a tutorial on is called Canva. Canva is a free design software that you can use to create posters, flyers, social media banners, anything really! We use it a lot for my work, and organizations to create our posters!

Here are some examples of work I created using Canva.

Using canva is fairly easy and it’s pretty user-friendly. You can start off by using templates or start from scratch.

After logging in, you will be given the option of what poster design you want, or set your own dimensions. For this tutorial, I will be using a simple poster design. 

On the right side corner, there will be all the outlines that you can use, and edit, as well as various other things you can use. You can change the background color, upload your own pictures, insert textboxes and use canva’s already created photos, lines, shapes, and grids. Canva is a click and drop design website, so you can easily just click what you need and drop it on the poster.

Whenever you are done with your poster, sharing it is easy. You can easily download it in PDF, JPG, or PNG format and upload it wherever you like.

I highly recommend canva for someone’s next design project.

This assignment was rated 3 1/2 stars

Ever Wondered How People Create Memes so Quickly?

I always wondered how people created memes and if it was easy or not. I never really took the time to research it. Well it turns out it is a piece of cake to create a meme. My inspiration for this tutorial is to help others to create memes and practice creating memes for our class theme.

In this tutorial I am going to talk about an app for the mac called iMeme which allows you to create memes quickly!

Once you download the iMeme application and open it, a screen will appear that looks like the image above.

On the left they have built-in memes you can select from.

For example:

:

Near the bottom they have a header and a footer to input the text you want on the image.

Also there are a plus and a minus button to shrink or enlarge the text next to the header and footer text boxes.

Some other features they have include:

  • Over 100 built-in templates.
  • Enter your own header and footer text.
  • Adjustable text size and alignment.
  • Use your own images.
  • Save as PNG or copy to the clipboard.
  • Print directly from the app.
  • Automatically upload to imgur.
  • Automatically post to reddit.
  • Works on OS X 10.5 and up.
  • Works on Windows XP and up.

I encourage everyone to install this simple to use meme builder. Here is the link to download it.

Digital tools for everyone!!

I decided to choose the assignment where we had to pick a digital tool and give a brief tutorial on how to use it and what you can do with it (3.5 stars). I have one sight that I use basically for everything when I don’t want to fight with Photoshop on my Macbook. Its called LunaPic and it is a free online photo editor.

I had a strong need to take stock images and remove them from a background when I was working on a certain art project and that’s when I found LunaPic. Below are all of the features that LunaPic offers on their website so take a peek:

screen-shot-2016-10-22-at-8-46-58-pmscreen-shot-2016-10-22-at-8-47-05-pmscreen-shot-2016-10-22-at-8-47-16-pmscreen-shot-2016-10-22-at-8-47-21-pmscreen-shot-2016-10-22-at-8-47-24-pmscreen-shot-2016-10-22-at-8-46-40-pm screen-shot-2016-10-22-at-8-46-43-pm screen-shot-2016-10-22-at-8-46-48-pm screen-shot-2016-10-22-at-8-46-50-pm screen-shot-2016-10-22-at-8-46-54-pm


I will show you my favorite feature and another cool one just because!

This is the transparent feature. If you need to pull an object off a background (good for changing the background colors or merging photos onto each other) this should be your go to! you can change the level of transparency too from a little bit to a lot.

screen-shot-2016-10-22-at-8-48-13-pm

screen-shot-2016-10-22-at-8-48-19-pm

You can mirror a photo:

screen-shot-2016-10-22-at-8-50-06-pm

You can add really cool filters like I did here:

screen-shot-2016-10-22-at-9-01-35-pm


I could keep going for a while, but I think you get the idea. The reason that I like LunaPic is because of how basic it is. Its pretty self explanatory. Some of the things offered takes some practice and getting used to, but it’s VERY user friendly.


Flagmaking in Inkscape

???½ (please add a half star symbol, Unicode)

For my second assignment from the Assignment Bank, I’m going to be finding a digital tool and writing a tutorial. To be specific, the tool I’m going to be using is Inkscape, an open-source vector graphics program. In case you don’t know, there are two major types of graphics: raster and vector. Rasters are based on pixels, while vectors are based on more math-y things like points, lines, filled areas, etc. Raster editors include Photoshop and MS Paint, while some major vector editors are Inkscape and Illustrator. I use Inkscape a ton for my worldbuilding and conlanging. For example, I use it to make maps, flags, and glyphs that can be used to make fonts. Here’s an example of a flag I’ve made with it:

juhashka

During this tutorial, I’m going to be making a flag for an tiny archipelago in a world I’m working on. Here it is on a cropped part of the map:

sarkik

With the background information out of the way, let’s get into the actual flagmaking process.

1) Preparation

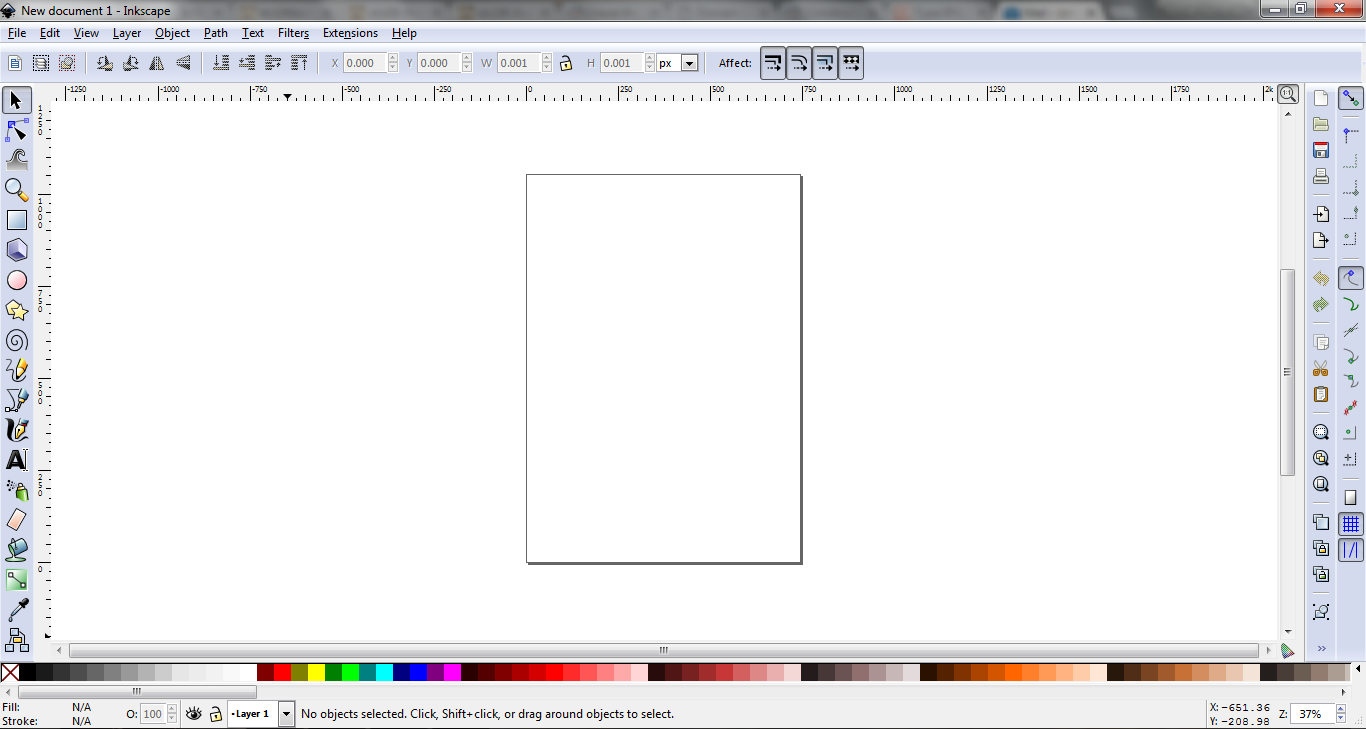
When we open Inkscape, it should look something like this:

You can use the + and – keys to zoom in and out to get a good view of your workspace. First of all, we need to set the flag’s proportions. The most common flag proportions in the world are 2:3, 1:2, and 3:5, so we’ll choose one of them for this project. You can really choose any proportions (for example, the real-life flag of Togo’s proportions are the golden ratio!), but let’s stick with one of the simple ones for this.

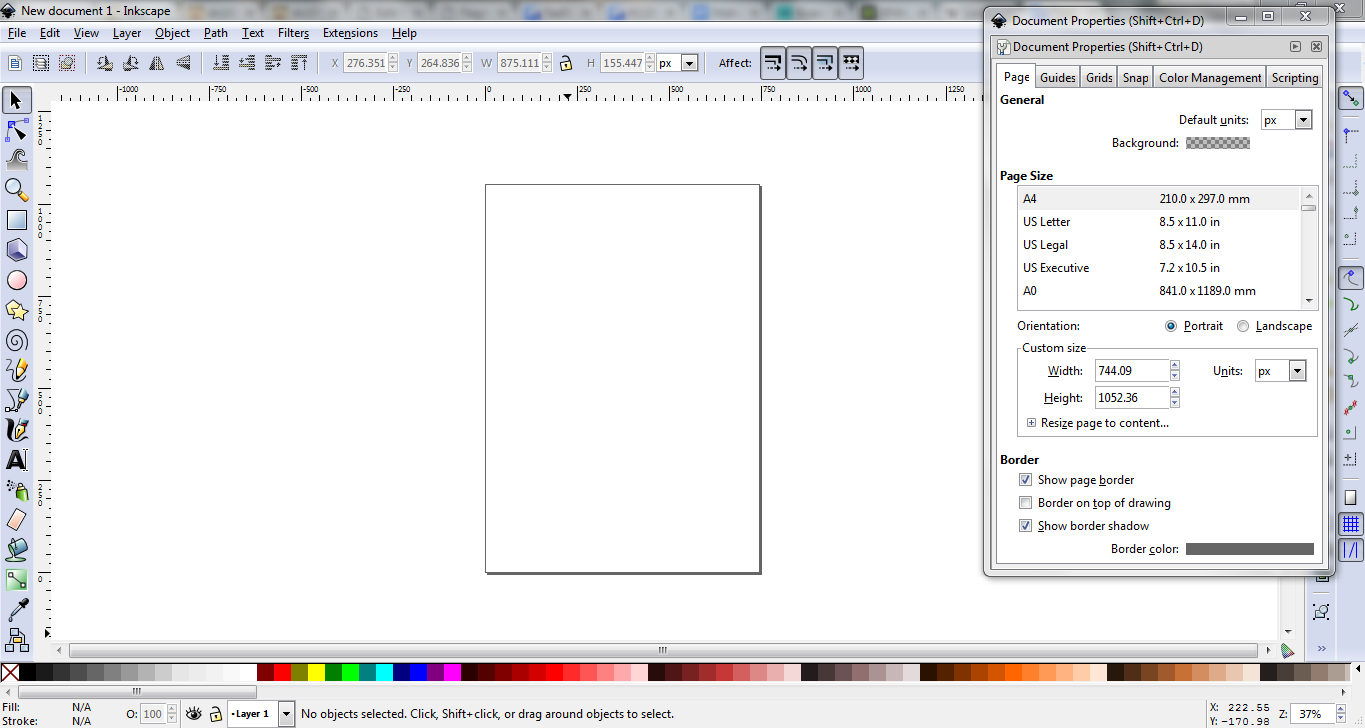
To change the aspect ratio, we go to File > Document Properties. It should open up a window like this:

About halfway down the window, you can see a section called Custom Size. We’ll set the width to 900 and the height to 600, a 2:3 aspect ratio. Close out of the window and you’ll see that the working area is now in the correct proportions:

Now we need to add a “background” for our flag. This is just to make sure the flag isn’t transparent. On the sidebar on the left side of the screen, there’s this button used for adding rectangles:

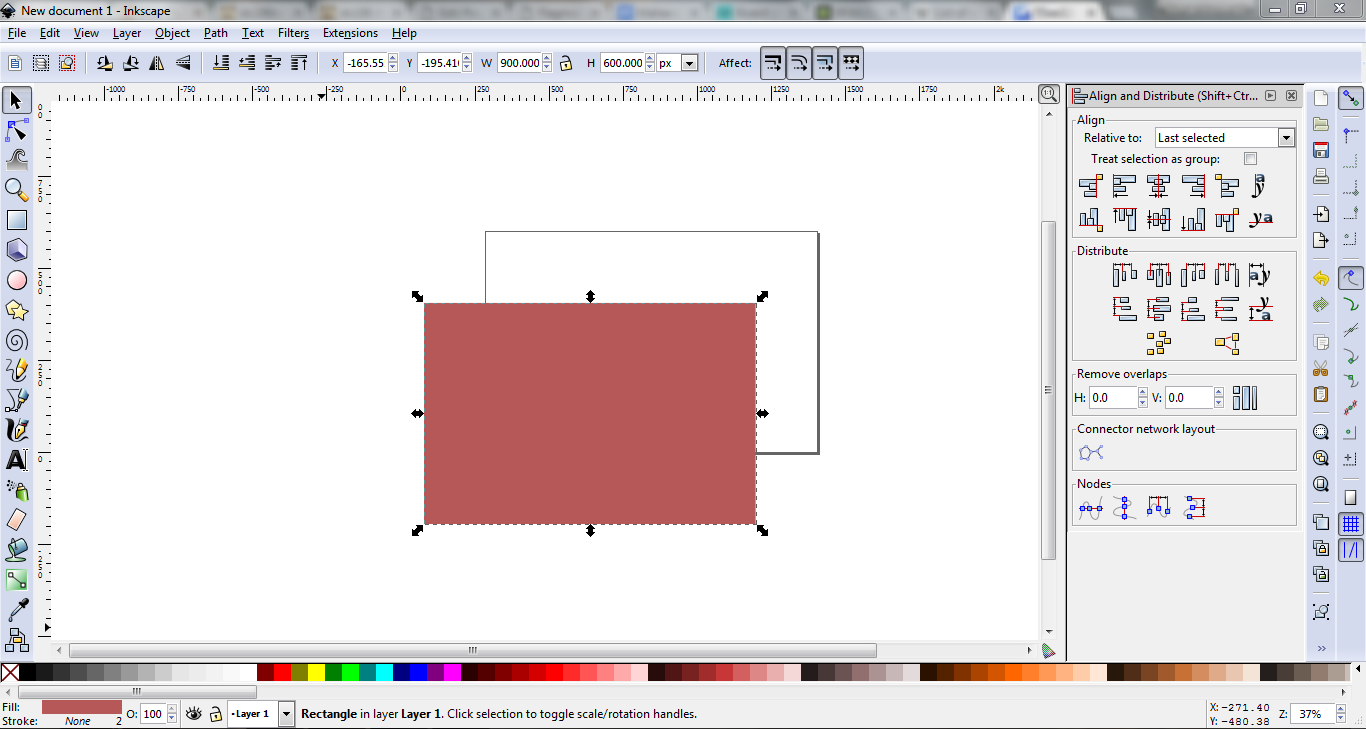
Click it, then click and drag in the workspace to place a rectangle. Size and location don’t matter here. Up at the top, you should see W and H followed by numbers. Type 900 into the W box and 600 into the H box (the proportions we set earlier). To align this new rectangle correctly, click on it, then go to Object > Align and Distribute. Your screen should now look something like this:

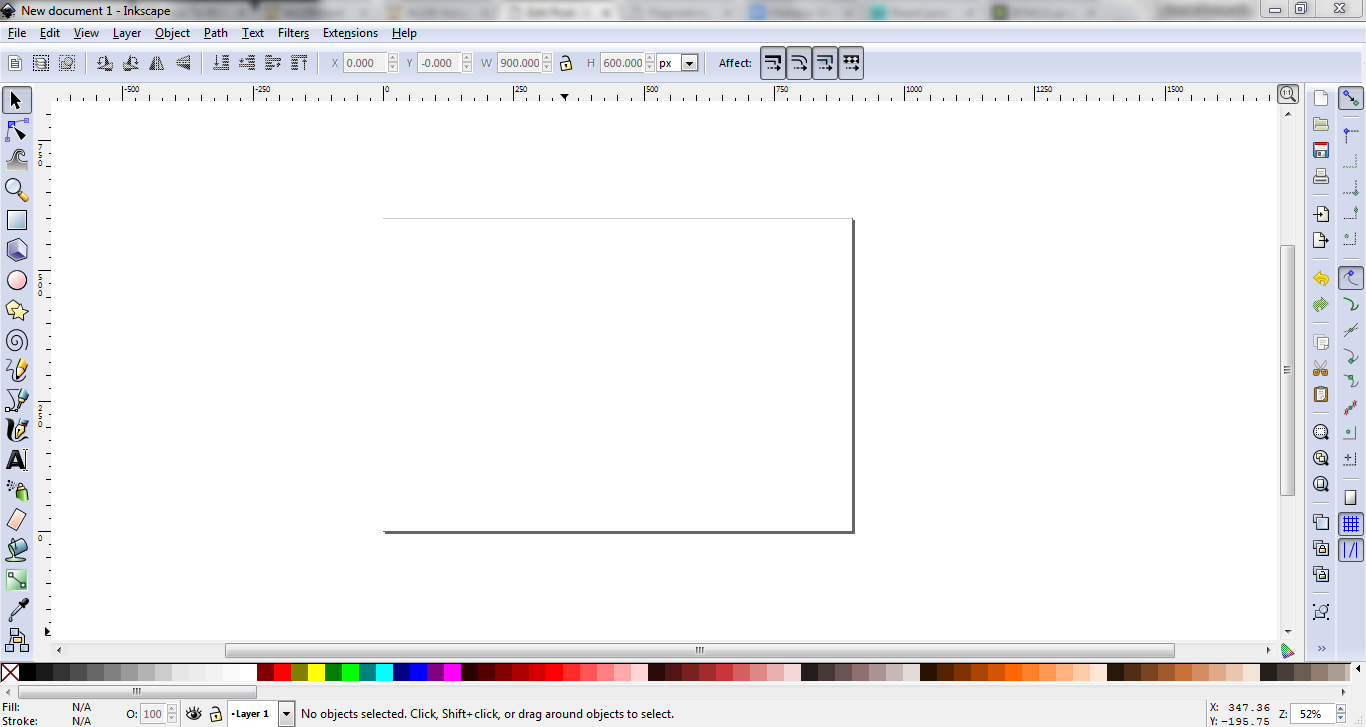
We’ll align it relative to Page. Click both of these buttons to center the rectangle on the workspace:

Then, in the spectrum of colours at the bottom of the screen, click the colour you want the background of your flag to be. For this example, I’m just going to choose white. With all this done, we’re ready to actually start designing our flag!

2) Design

Now that we’ve prepared everything, our workspace should look roughly like this:

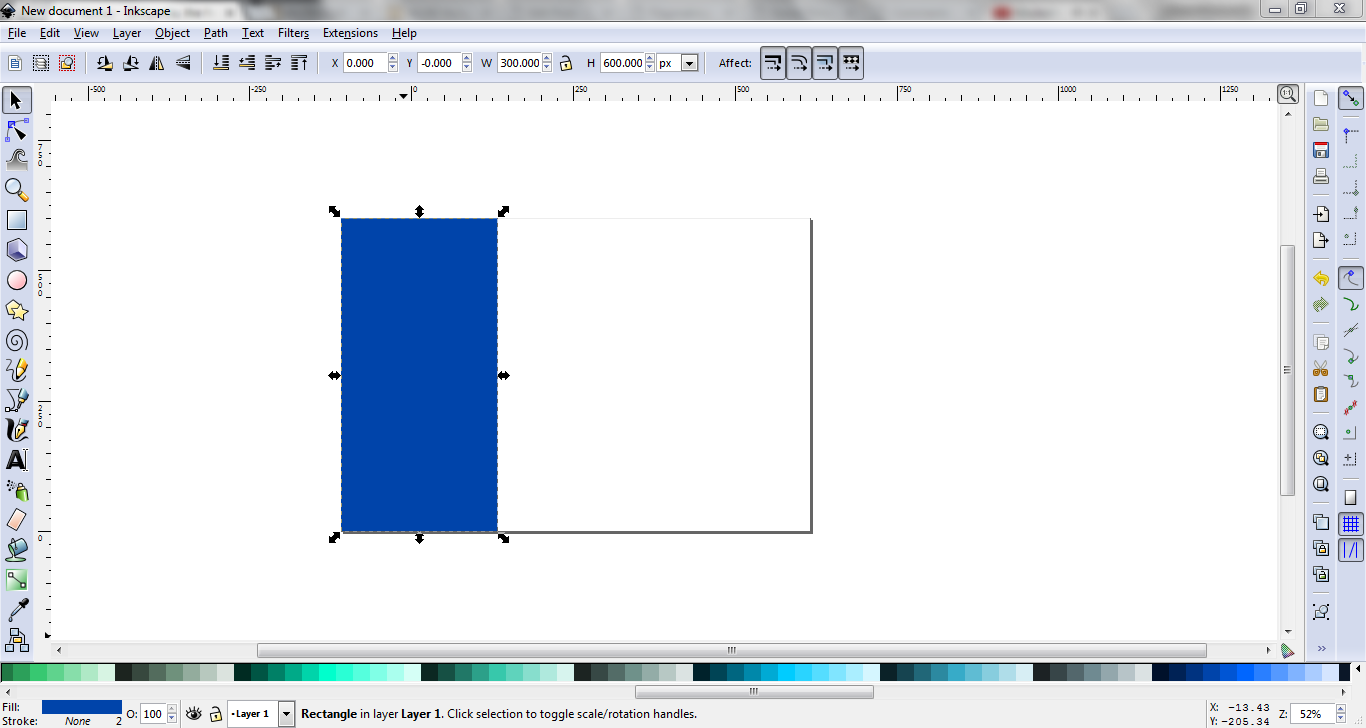
Now I’m going to add another rectangle. This one’s proportions will be W 300 (1/3 of the flag’s width) and H 600 (the whole height). In addition, I’m going to set both the X and Y values to 0, so the rectangle will be aligned correctly. I’m also making it a nice blue so we don’t lose it in all the white. The screen now looks like this:

Next, I’m going to add a circle. To do that, use the circle tool on the sidebar. That’s this one:

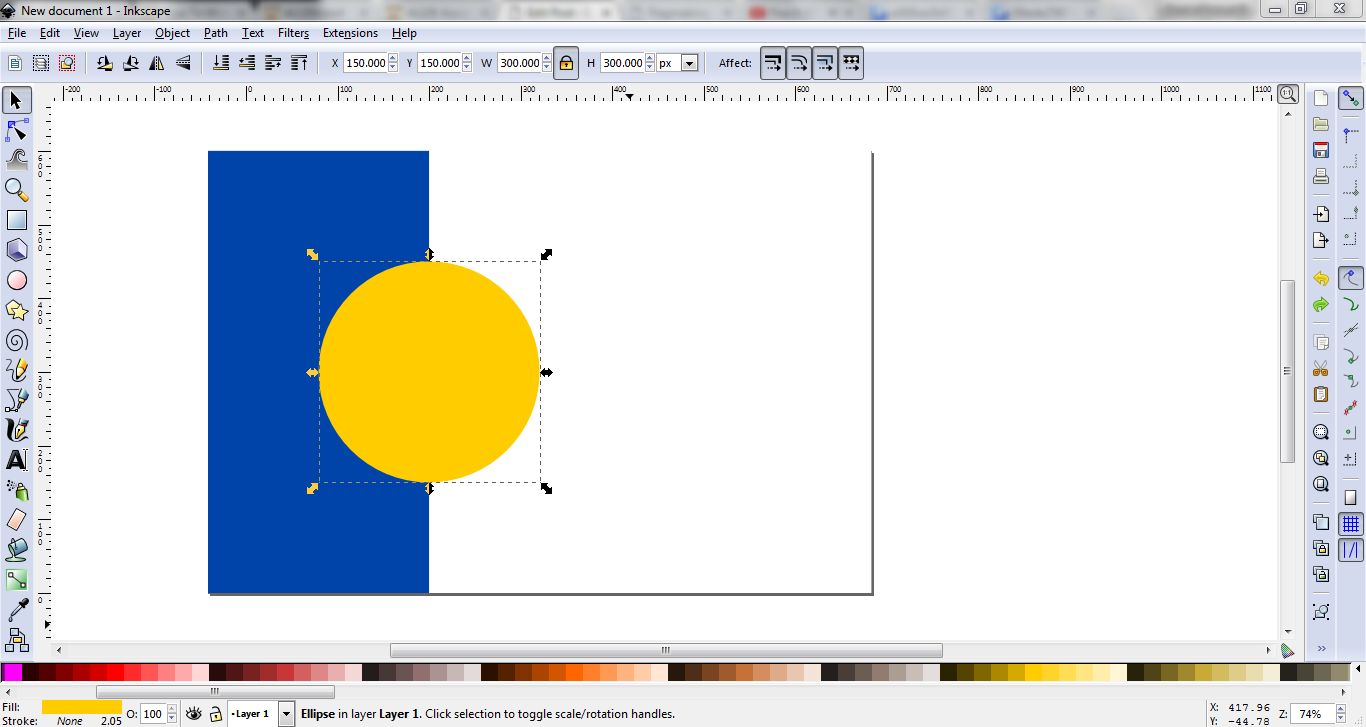
Once the circle’s added, let’s set its W and H to 300 each (we want a circle, not an oval), and its X and Y to 125. This should put the circle in the middle of the flag vertically, and centered on the border between the white and blue rectangles horizontally. Let’s make the circle a golden yellow, since sun imagery is really big in Sarkik:

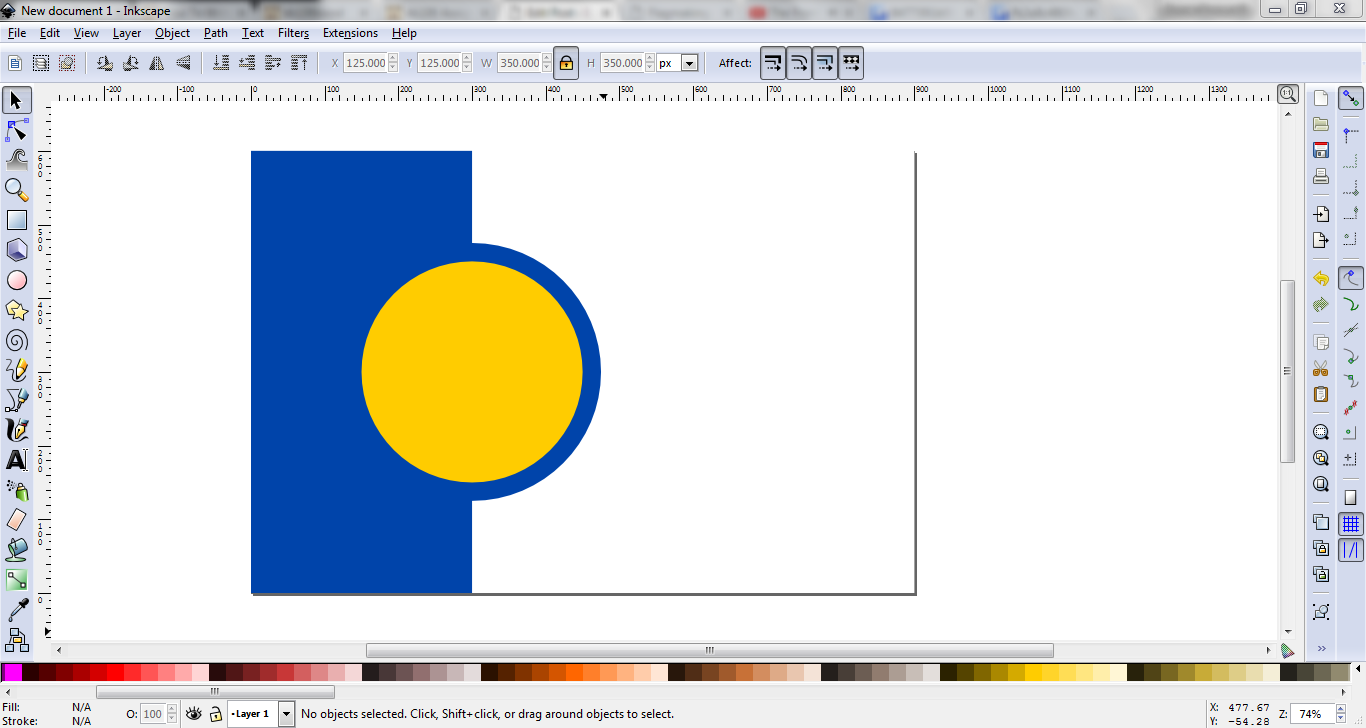
Now do the same thing over again, but set the values to W 350, H 350, X 125, Y 125. Then, using the colour picker tool on the sidebar, pick the colour of the blue rectangle. Lastly, click the “lower selection one step” button at the top to but this blue circle beneath the golden one. For reference, here are the two tools:

Our flag now looks like this:

This’d be a perfectly respectable flag, but I’m going to make it a little more Sarkik-y. Take this cropped map of Sarkik and copy and paste it into the Inkscape workspace:

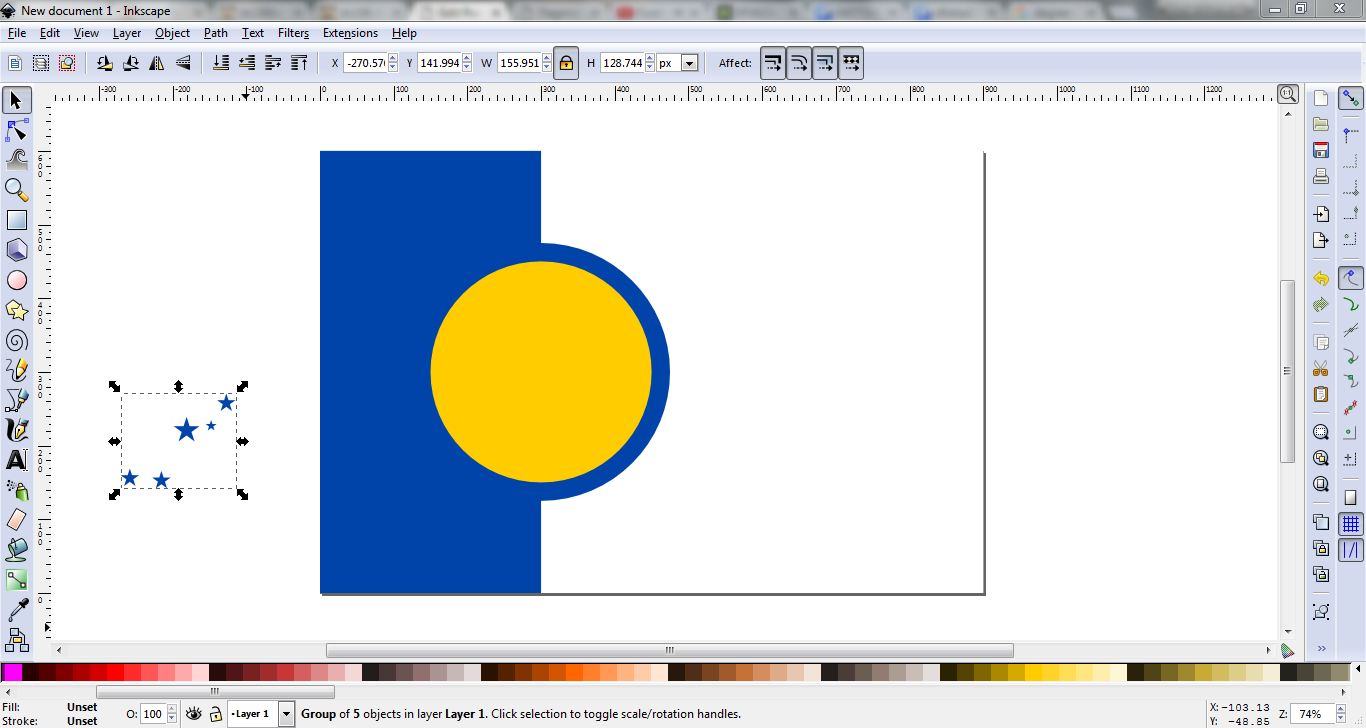
Set this image’s W and H to 225 and 205, respectively. Now, using the star tool, put some five-pointed stars over the locations of the islands. For a better effect, make the size of the star relative to the size of the island. The star tool and the appropriate settings:

If you hold the Ctrl key while placing the stars, they’ll snap to some shaper angles, so you don’t end up with stars at 37.652°. Once you’ve placed the stars, feel free to delete the map. Now, click and drag over the stars (or Shift-Click each one). Then, go to Object > Group. The stars should now be grouped as a single object. Now we should have something like this:

While you have the stars selected, Shift-Click on the yellow circle. Once you have both selected, go back to Object > Align and Distribute. This time, we’ll be aligning relative to Last Selected. Click those same buttons as we did earlier to center the stars inside the circle. Once you’ve done that, the flag should look like this:

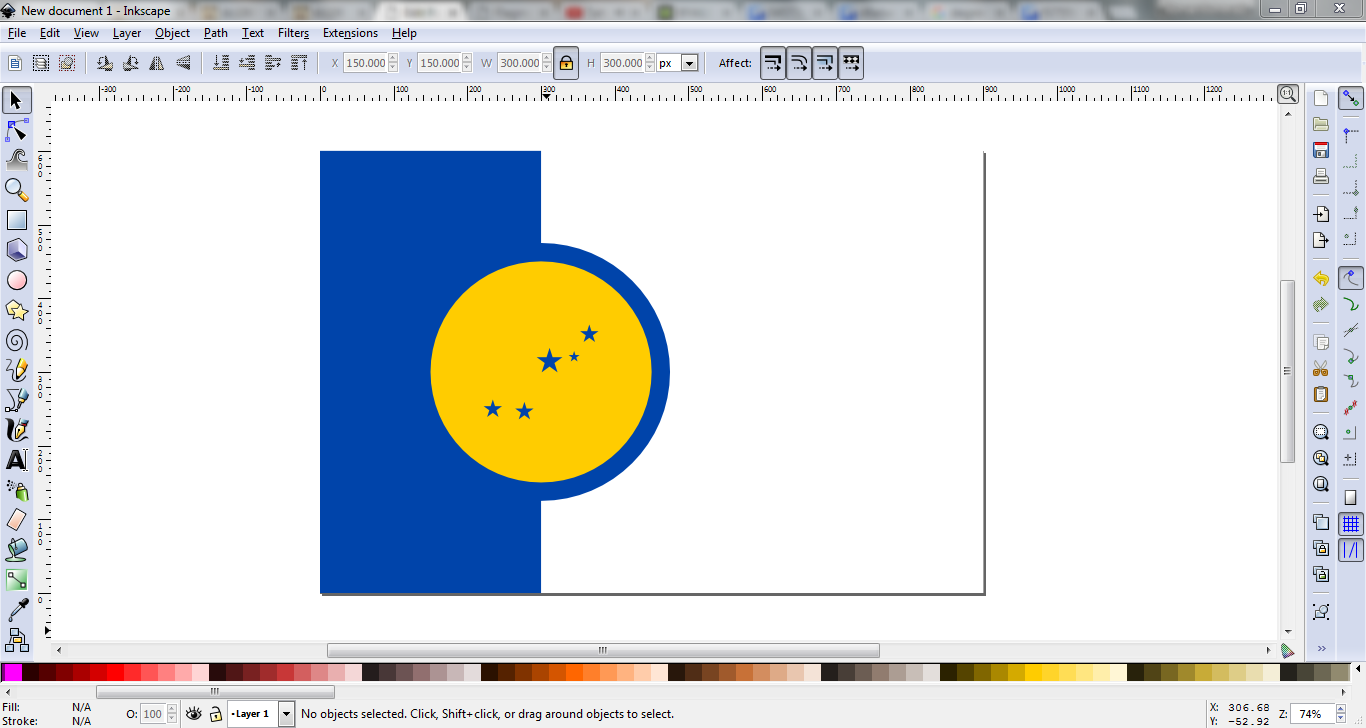
And that’ll be our flag! It’s not the most complicated thing in the world, but I don’t think it looks too shabby.

3) Saving/Exporting

Now just save it as a .svg file (that’s an acronym for “scalable vector graphics”. It’s a common vector file type). To export a raster image, go to FileExport as Bitmap. Make sure you have the Page option selected, then just click Export and you should get a .png file of the flag!

Once all that’s done, we end up with this:

sarkik outline

(I’ve added a black outline so you can still see the flag correctly on this white webpage)

And that’s how you make a flag in Inkscape! There are some more complicated things you can do, but flags tend to be relatively minimalist (unless you’re a Liberian county) and simple, so you won’t need to do anything too complicated for most of them. Now you know how to make flags, and I have a flag for a country that I’ve been putting off making a flag for (honestly the reason I chose this assignment. Multitasking!). We both win!

Also, check out this cool animation of our flag waving:

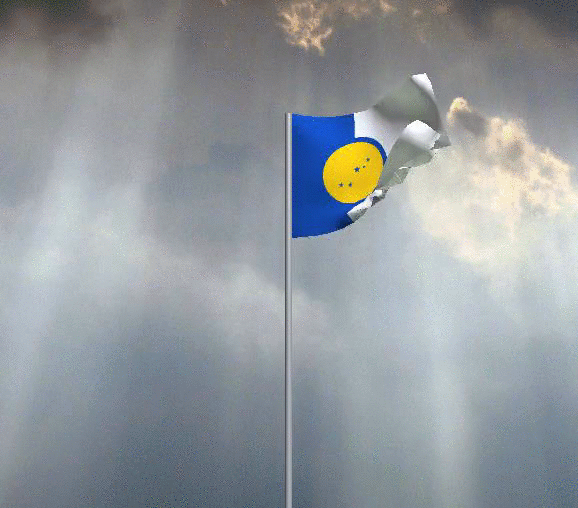
or the high-quality version on the waving flag generator.

The tools I used to make this post:

  • Inkscape (obviously)
  • Gyazo (for taking the screenshots and the gif)
  • Online Flag Waver (rad tool for generating a waving flag animation)

The Triangle Tool!

I chose to complete this assignment because the image of the paint brush sparked some good memories for me. The image reminded me of a painting software that I used while in elementary school during computer time and I always enjoyed my time playing with it. So, I thought it would be fun to try to find a similar online computer art tool. So, while completing my daily create the other day I found the online tool I wanted share with you. I call it the Triangle painter! It is very similar to the painting software I previously used but instead of painting just lines, it will only paint using triangles. It is really fun to use and actually for me, when I gave it a try it was a nice little break that I found to be relaxing. The triangle tool can be found here and you can give it a try! It is a pretty simple and straight forward tool to use. As such, in order to use it you first must choose the size of your triangle grid for your image, then you can choose the color you would like to start your piece of artwork with. You do this by clicking in the lower left corner where you see the square box of color (typically black when you open up the tool). Once you click on this, a box should pop up that provides you with many more color options. Once you have your chosen color you can begin painting and to change the color just go back and click on the color box in the corner. If you make a mistake don’t worry, you won’t have to start over. Just use the eraser by clicking on the eraser icon next to the color box in the left corner of the screen. It may seem simple to draw what you would like, but by only painting triangles it makes it a bit trickier to paint what you were aiming for! This tool is great if you need to create a small image or painting for a class assignment or if you just want to take a few minutes to relax and have a little fun. To give you an idea of what a picture created by this tool would look like I added an image below that I created using the triangle tool!

This assignment was worth three and a half stars contributing to this week’s 10 star requirement.

CPSC106 Apil 10 daily create image using triangles