

I did “Superhuman in Everyday Life” Mashup Assignment.
Summary:
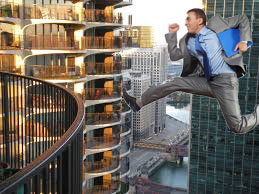
I had to use Adobe Photoshop and mix 2 images together by showing what I wanted my superpower to be. It’s close but I can’t really show invisibility through images now can I. So Super Jump/Leap it is! I didn’t choose fly because it’s so overrated and exaggerated that I think super jump would be much better. All I did was mix a man in a business suit who looked like he was in air and a picture of a tall building or a skyscraper. For this image though I had to add a lens flare, because of the difference in lighting.
PLEASE NOTE:
If you do have to add a lens flare make sure you do it on the layer you want to add it on, and/or separate the object you want to add it on, because once you add a lens flare you can’t take it off unless you undo it or restart everything you did. Please make sure all adjustments are done before lens flare is added and don’t just keep adding lens flares unless you need one on a different layer.
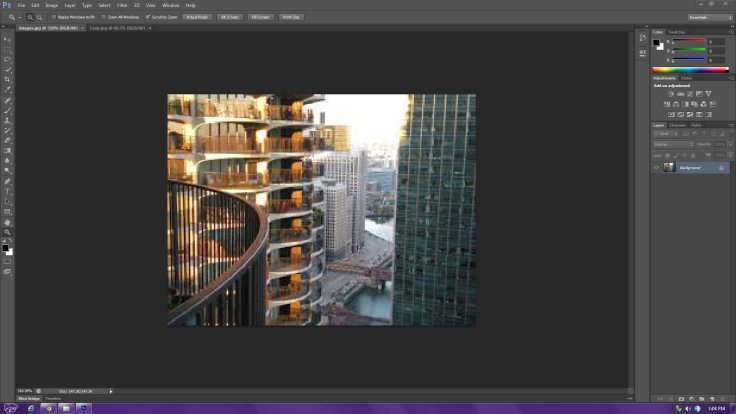
My original images:
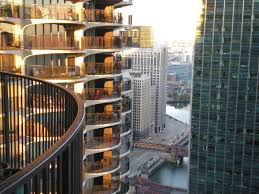

Bring all your images into Photoshop by either double clicking Photoshop, clicking file, open, and than selecting your images, or if Photoshop is your default photo viewer, than you can just double click the images.
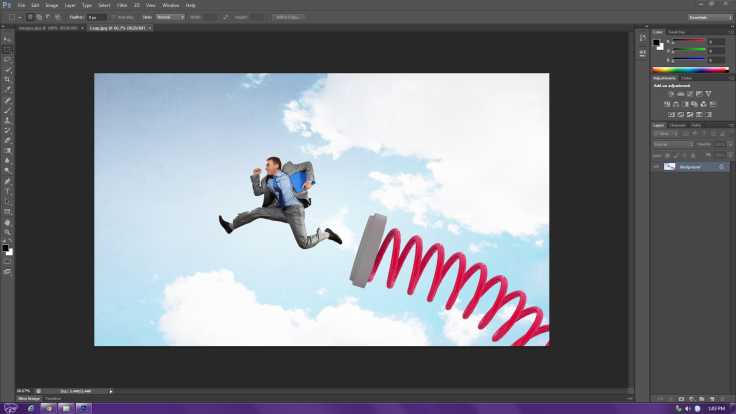
So now that we have the images in Photoshop, we can select the part of the image we want from one of them and merge it with the other image.
We want to select the picture we want and click the Quick Selection Tool, this tool is handy for when you want to select a particular area.

For this example and Assignment bank I want the guy in the air, but maybe somebody else wanted the spring, also for recommendation I would suggest to save all of your original images before you change them, as well as if you might use them again.
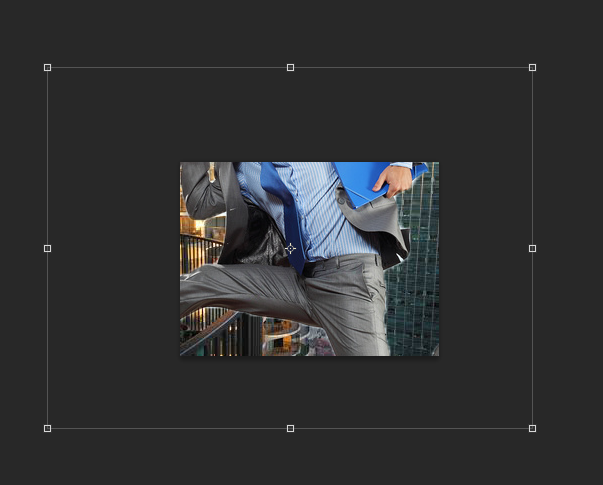
So you want to select the object you using completely while trying to get rid of excess space. As you can see in the picture I tried to get as much as possible of him as I could, but I tried to get as least as possible of the background. If you mess up don’t worry, there is a quick selection minus which is in the left corner. Make sure to size your quick selection tool for the right position and you don’t have to be perfect.

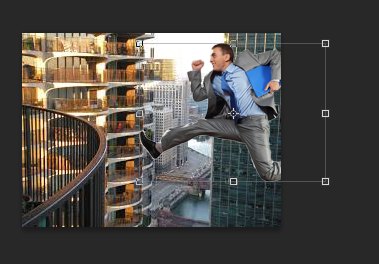
The next part you are going to do is click to your move tool or press V on your keyboard. This is your main tool. You are going to Click and Hold than Drag it to the other image. It should pop up with whatever size it was in the original image it was in which could be fine. If it is too small it is no good, it is too big than that is perfectly fine. Trying to resize a small image to a big image can merge the pixels and make it blurry, making it a mess and horrible to look at.
To re-size you are going to want to hold down Shift + Ctrl, because if you don’t you are damaging the original image and making it distorted. Make sure you are holding them down when you are re-sizing because as soon as you let go it will distort.
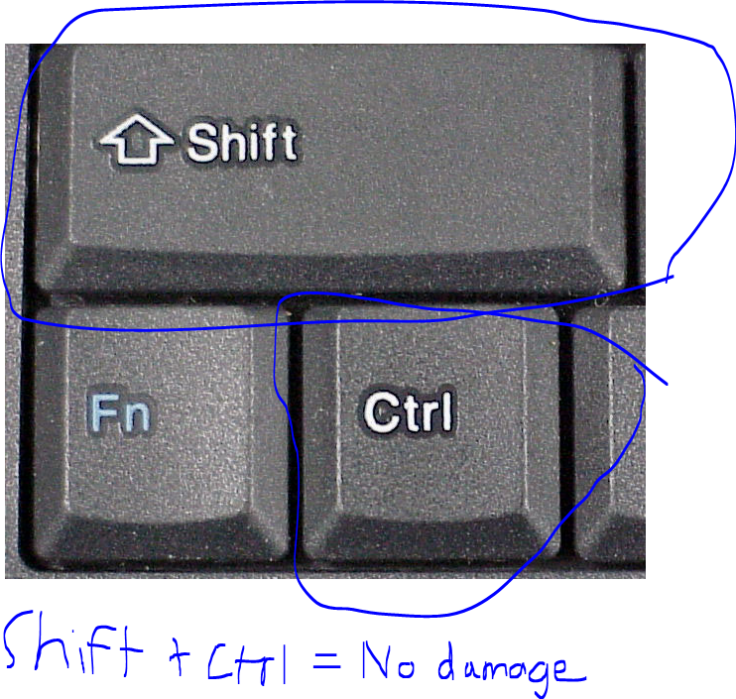
When you finish it should look smaller, (or a little bit bigger because you can’t make a image really big without merging pixels.) Place the image where you want it and than we are going to do a special effect called a Lens Flare.
Lens Flare:
PLEASE NOTE REPEATED:
If you do have to add a lens flare make sure you do it on the layer you want to add it on, and/or separate the object you want to add it on, because once you add a lens flare you can’t take it off unless you undo it or restart everything you did. Please make sure all adjustments are done before lens flare is added and don’t just keep adding lens flares unless you need one on a different layer.
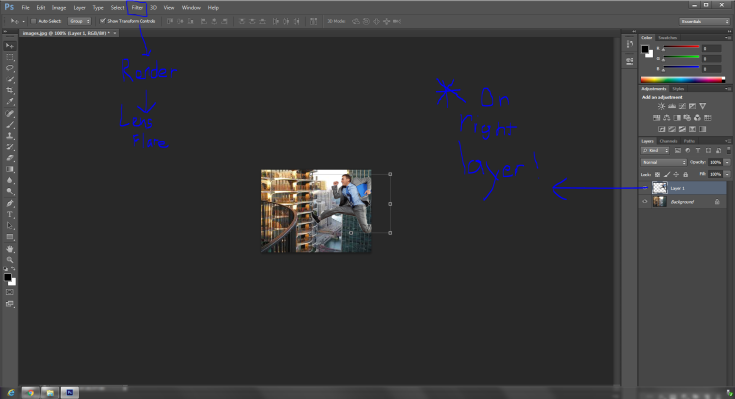
To add a lens flare I couldn’t actually show where to go, but you click Filter -> Render -> Lens Flare, please make sure you are on the right layer. If you mistakenly added it on the wrong layer or messed up in general just click Edit -> Step Backward or press Ctrl -> Z on your keyboard, (only works once.)
When you click Lens Flare this box will pop up. The small plus sign is where the lens flare is and Obviously the slider box is brightness and the Lens types provide different lighting types. Pick the one you like and the distance and the brightness. You also never want to go full brightness, unless of course you want the object to be completely white.

My final image is below.
If you want to try it yourself and do way better than I did, you can find it here, http://assignments.ds106.us/assignments/superhuman-in-everyday-life/

![]()


