Tutorial for Cropped Signs
I didn’t exactly do this assignment, but I did a remix for it. So I’m going to walk you through everything it took me to do the remix (which was adding a mustache to my final product), but if you do not need the remix, you may take away the last step.
I used BeFunky to create this assignment. They have tools from photo editing with photoshop-esque tools, filters, and other tools. They also have a collage feature where you can combine multiple pictures, and add edits at the end. For this project, I used the photoshop tools. Below, I have listed the steps I took to complete this project.
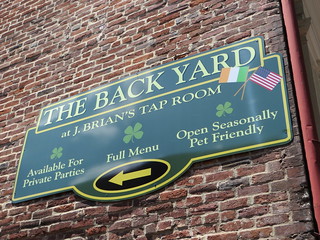
- First, I started by uploading my picture to BeFunky.
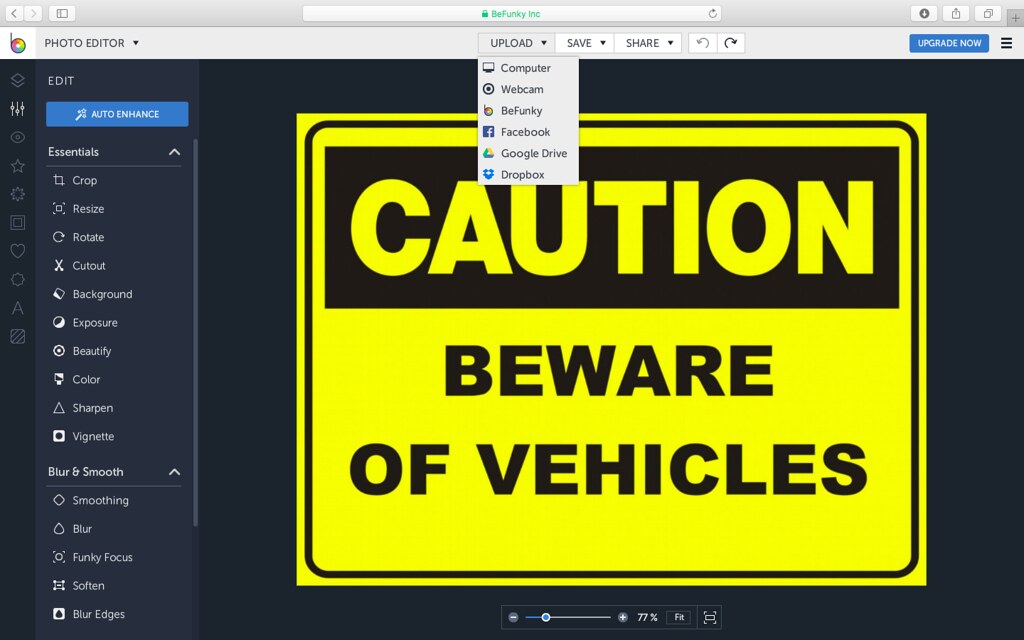 2. In order to edit the word that you want to remove, select the cutout option. Use whatever tool you want to, I used the square tool, and select the area that you want to remove. Once you have it selected, click on “Export as Layer”. This will allow you to edit the word separately from the rest of the picture.
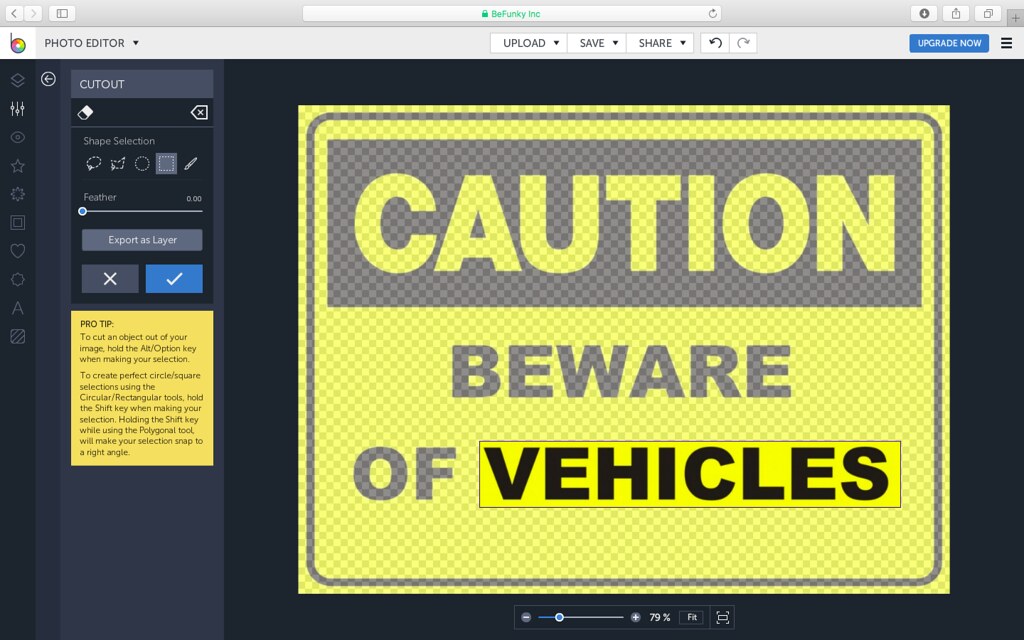 3. Now, you can go to the “Layer Manager” page, and select the layer you want to edit. You should use the color picker in order to make the layer one solid color, making it look like it doesn’t even exist. With the color picker, select the color you want to make the layer by clicking on the eye dropper tool, then clicking on the existing color in the image.
4. Once you have selected the color, in my case yellow, make the intensity 100% so that the word will disappear into the background.
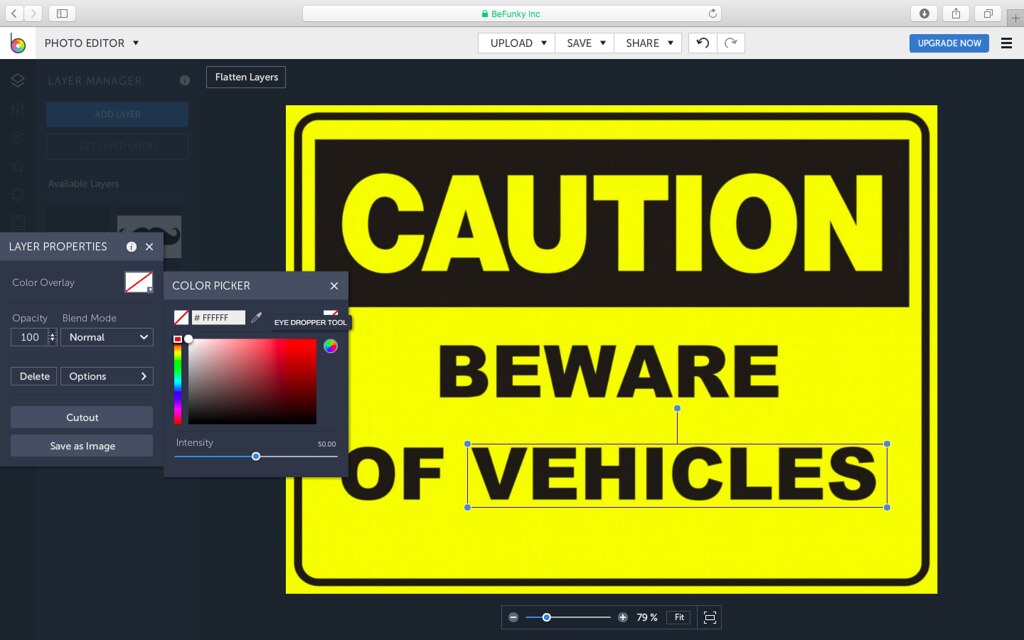
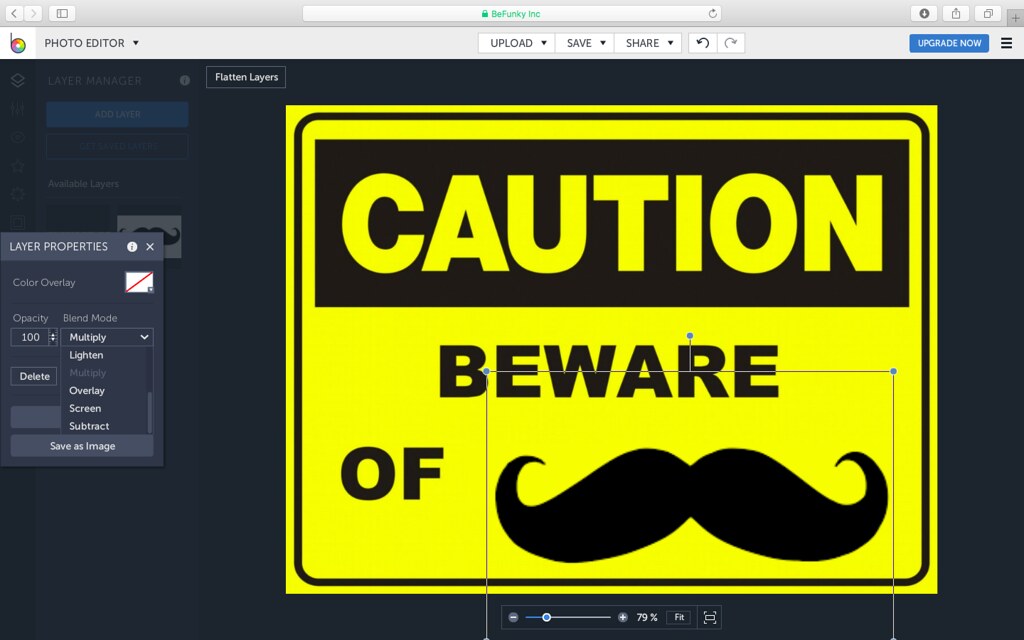
 5. If you are not going to add anything to the sign, you may skip past this step. Otherwise, keep on reading! I uploaded the mustache where it says “Add Layer”. I put the mustache on top of the image, and it had a white background. In order to get rid of this, I went to “Blend Mode”, and I selected “Multiply”. This makes the white background a transparent background. Now, adjust your image to the size and placement you want, and voila! One additional step you may take is to click the “Flatten Layers” button to make them one cohesive picture. However, if you save the image to your computer at this step, that will not make a difference.
 6. Lastly, you need to save the image onto your computer by clicking on the save button, and following the instructions to save it to your computer!
I hope this tutorial has proved useful. You can comment below if you have any additional questions about how to use BeFunky or do this assignment!