Pods embed error: Pod not found

Ahhhhhh! The hand! The hand! This is for August Animated GIF…


Ahhhhhh! The hand! The hand!

This is for August Animated GIF challenge #10: Monster Chiller Horror Theatre 3D style GIF. It is also a new animated GIF assignment on ds106. The idea is to find a 3D style movie scene and somehow

find your own way to emphasize the moving of a thing out of the screen and into your face in a GIF.

I found this scene from a 3D Dracula movie trailer on YouTube.

I wanted to try to emphasize the hand moving out of the screen somehow, and came up with the idea of selectively colourizing it. I discovered that if I selected the hand with the lasso, or free select tool, and then inverted the selection (so everything but the hand was selected), then I could go to Colors -> Desaturate, and it would make what was selected b/w (everything but the hand) but not what was unselected (the hand).

I did a few layers that way, but then realized that what would be really cool is if it started off in full colour and gradually went to b/w except for the hand…like the hand was really coming out at you while the background was fading into, well, the background.

So for the layers that would be first in the gif, I kept the first two full colour, and then gradually desaturated the next few: 20%, 40%, 60%, 80%, then one at 90% b/c I wanted another step there. How I did this was to free select around the hand, invert the selection, then use Colors -> Hue-Saturation, and chose the amount of desaturation for each layer. Then the last layers of the gif were full desaturation.

What took the longest, of course, was doing the lasso/free select tool around the hand on each layer. There were a couple of layers where the hand didn’t move very much, so I could keep the selection from one layer and use that for the next layer too, for desaturation purposes. But for most of the layers (12 total, 10 desaturated to some degree) I had to do a new free select around the hand each time.

I actually started off with twice as many layers as I ended up with, and deleted every other layer to end up with half as many. That saved a lot of time, and made the gif file smaller. Desaturating most of the image made the gif file smaller too.

I realized too late that I wanted to have more of the full colour and gradual desaturation layers, so the desaturation was more gradual. But I’d have to re-do all the free selecting to change the saturation level on any of the layers. So instead I just slowed down the first few layers by putting the time in milliseconds I wanted them to last after the layer name (e.g., “full colour (300 ms)”). Then when I exported as a GIF, I chose something like 200 ms for all the layers that weren’t otherwise specified for length. The first few layers go a bit slower than the last ones that way. It’s not quite the effect I wanted, but it’s close. If I were to do it over again I’d have more full colour layers, and do the desaturation more gradually, over more layers, with just a couple at the end fully desaturated.

Finally, I used a new trick I learned from Alan Levine’s comment on my last post, as well as Talky Tina’s reply on Twitter: dithering. When I was done with the layers, I went to Image -> Mode -> Indexed (because GIFs get indexed when exported anyway), and chose the fullest number of possible colours (256 for a GIF) and clicked the check box for dithering. I played around with several dithering options, and just used the first, which is called “Floyd-Steinberg (normal).” And I didn’t get the colour banding I’ve been getting on my other GIFs! Sure, the quality isn’t perfect, but it’s an animated GIF, after all.

I had a lot of fun with this one, even if it took me awhile to finish because of the hand lassoing of most of the layers!

And I think my favourite part is that—ha ha!—Dracula never gets to grab the woman. He keeps trying and trying and he never does it. A nice twist on the fact that these horror creatures continually attack women. Not this time. In your FACE Dracula!

The August Animated GIF Challenge: Challenge 4 – Where Did the Soda Go?

The August Animated GIF Challenge

@iamTalkyTinaHulka challenges you to an awesome August Animated GIF-a-Day. Are you up to it?

@iamTalkyTinaHulka challenges you to an August Animated GIF-a-Day. Are you up to it?

So the fall section of ds106 will be starting in a few short weeks. August 26th to be exact.

During my time observing and then participating in the ds106 Community, it has become apparent to me that each session of ds106 seems to be prefaced by a period of manic GIFfing by various members of the community. And since I have so many Friends here now, I thought it would be fun to contribute to the mania.

So I’m going to do my own little @iamTalkyTinaHulka and challenge you folks to GIF your way through August. Do you think you can do that? A Daily GIF? I’m wondering if @jimgroom will crawl back from his hideaway and make some inroads on that Art Lack of his. Maybe he can do one a week?

I’ve just poked my little eyes through the ds106 Assignment Bank Animated GIF section, and see that there are already 38 GIF assignments there — and there are no doubt some other, older GIF assignments squirrelled away in some of the other categories, too. So I think I’ll have no problem finding some inspiration when I need it, and will rely on my natural imagination the rest of the time.

Each day I will post the August 2013 Animated GIF Challenge here on my blog, and will aggregate the challenges on the August 2013 Animated GIF Challenge page. Each one will be defined in the Assignment Bank — either as an existing assignment or as a new assignment. Just post your contribution to your blog and tag it as usual so that it will syndicate into the Assignment Bank and we can all enjoy them long into the future as examples of wonder, archived for all the future GIFfers. Whoo Hoo! 

I’m going to create a new Animated GIF Assignment for August 1st, but I will post it separately from this post so that it can stand as its own item. And I’ll create another variation of my @iamTalkyTinaHulka animated GIF for it. So that will put me at two for day one. (Did you notice that my @iamTalkyTinaHulka image above was animated? Look closely!

I hope that you will play along! It is so much more fun doing ds106 assignments (they are so much fun, they AREN’T assignments!) when Friends do them too — and riff off of them!  So be a Friend, and play!

Turbo Charged Animated GIF

Are your photo editing skills up to the challenge?  Create an animated GIF with at least 3 seperate animation zones.  [See example here] I suggest starting with a simple movie poster, photograph or greeting card. You’ll be becoming best friends with the lasso tool and layers, so you may want to brush up on those.  This is definitely a 5-star assignment. 

Animated Orange Cat GIF

http://amcandre.com/uncategorized/animatedgif-assignments-turn-a-gif-into-a-fig-4-stars/

This is a funny cat GIF.

AnimatedGIF Assignments: Turn A GIF Into A FIG- 4 stars

Recently, I was exposed to reverse-animated GIFs. I must say, some are hilarious. Find a video clip, or shoot one of yourself, and then make it playback in reverse over and over again as a GIF. Try to find a situation that is absolutely mind-blowing when played backwards.
Link to assignment: http://assignments.ds106.us/assignments/turn-a-gif-into-a-fig/

This is a funny video of a cat I reversed. Enjoy!


orangecatanimated (1)

Animated GIF Assignments: StereoGIFs- 1 star

Back in the 1800s, stereograms were a popular way of creating the optical illusion of depth in a static image by placing two very similar images side by side. they could be viewed using a stereoscope to create the illusion. The New York Public library has an extensive collection of stereograms, and recently created the Stereogranimator tool (http://stereo.nypl.org/) to allow people to turn these into animated GIFs, which are just as effective in creating a sense of depth. Use the Stereogranimator to create an animated GIF that makes the image appear to be 3D, or try manipulating the frames to create another interesting effect (e.g. http://stereo.nypl.org/view/41623)
 

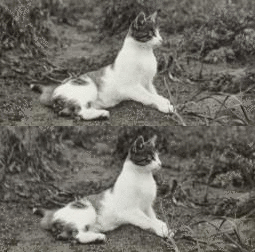
This is a cat Gif….


GIF made with the NYPL Labs Stereogranimator - view more at http://stereo.nypl.org/gallery/index
GIF made with the NYPL Labs Stereogranimator

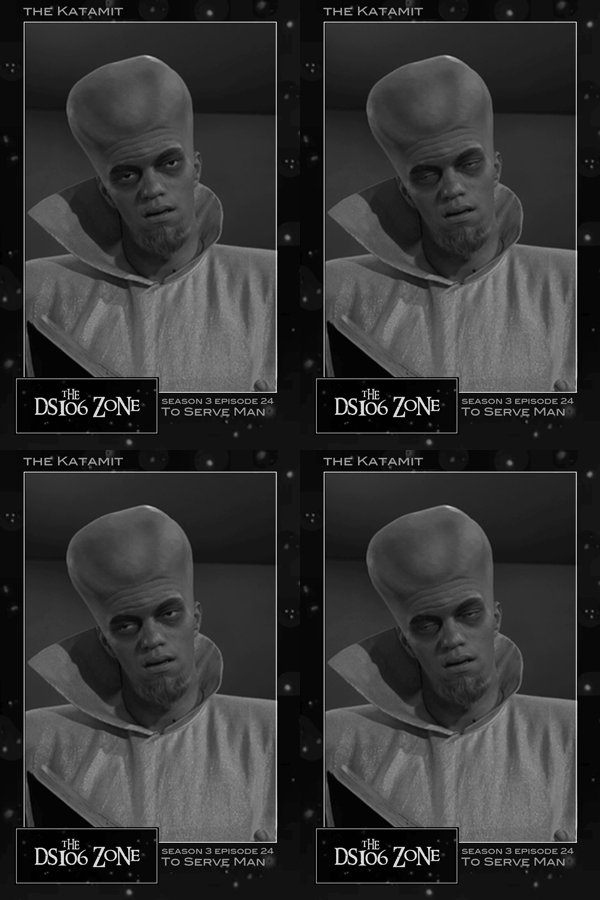
Animated GIF Movie Trading Cards: To Serve Man

"Katamit Trading Card, animated" animated GIF, by aforgrave, from "To Serve Man"

“Katamit Trading Card, animated” animated GIF, by aforgrave, from “To Serve Man”

From Movie Trading Cards, to Animated Movie Trading Cards

Last night I worked on the Movie Trading Card assignment, creating a Trading Card aesthetic and then placing the Intruder and the Alien Woman within the template I had created. This was part of my attempt to work on some non-GIF assignments and get my 10 stars for The Intruders.

As soon as I had that done and posted, I gave myself permission to GIF, and placed three frames from my animated GIF Katamit within the Trading Card. The Katamit still finds humans awfully boring.

And then …

—- and then decided to place some other Twilight Zone GIFs-in-need-of-a-home within the Trading Card as well. I started, got 2 done,  but then sleep called and I left them in progress. Those GIFs will appear in a future post.

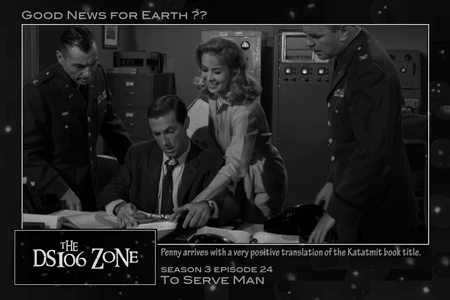
However, today, while I was away from the computer, Jim Groom jumped in, and extended his Movie Trading Card assignment to include Animated GIFs, and placed his animated Intruder within a similar Trading Card format. He created a landscape formatted card, which I immediately realized would be better to fit in movie scenes which are landscape in nature. Thanks for that Jim! I’m pretty good now at remembering to turn my iPhone into landscape mode when shooting a movie, but had used a character focus last night for my cards and so had designed them in portrait mode.  Therefore, this evening, I set about to update my Trading Card to support a scene-based, landscape formatted card. Once that was done, it was easy to select a still from To Serve Man, and place it within the landscape frame.

"Good News for Earth ??" scene-based Trading Card, by aforgrave, from "To Serve Man"

“Good News for Earth ??” scene-based Trading Card, by aforgrave, from “To Serve Man”

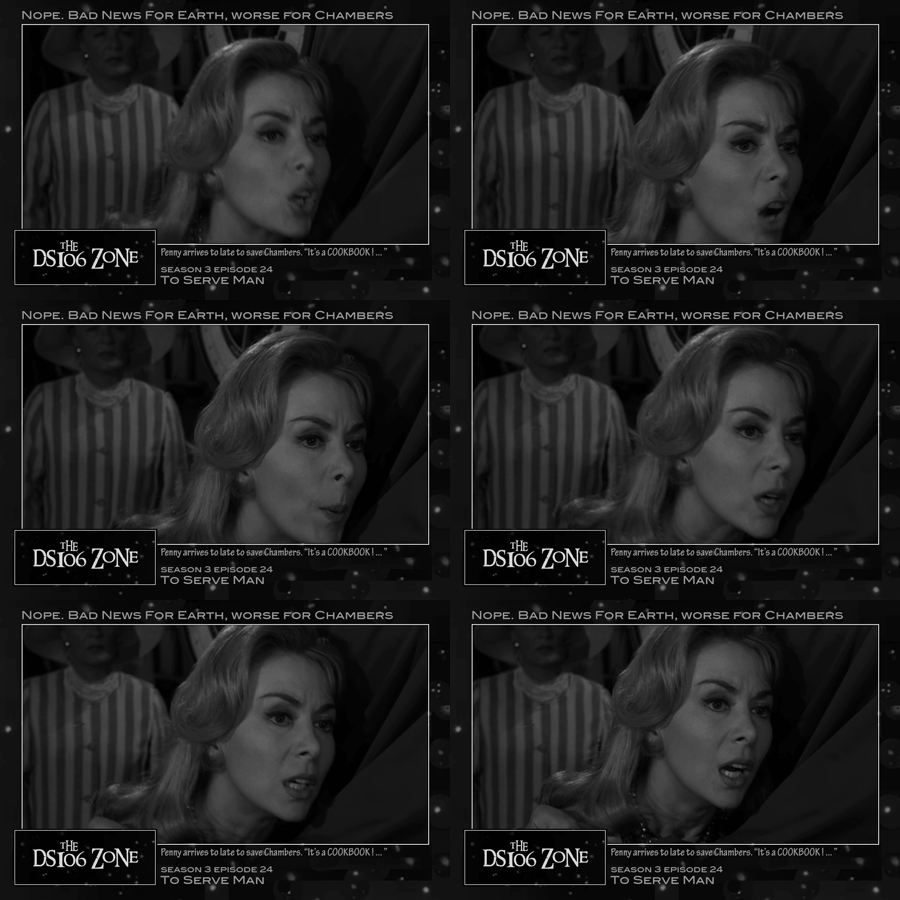
Of course, having done the “good news” moment from the episode, it made perfect sense to do the “bad news” moment as well — and as I looked to select one frame, I got caught up trying to GIF it. The problem was the lady in the background who in the scene moves as much as Penny. Mega-distraction. I spent over an hour trying three different approaches to deal with her (layering over her with an unmoving image, layering changing background images over top of the changing image, and  placing a static image at the bottom of the stack and erasing her and the background from all of the changing images) — and in the end went back to the first approach, compromising in the end order to get the GIF done and into the scene-based Trading Card framework:

caption

“Nope. Bad News for Earth, Worse for Chambers” scene-based Trading Card, by aforgrave, from “To Serve Man”

As fate would have it, I finally got the card posted — with the lady still demonstrating some bizarre neck aberrations, when I noticed that all of the text was jumping on one frame and there was a blinky gap at the bottom for most of the frames. So I revisited the .psd Photoshop file, managed to resolve the text issues, and took another run at fixing the lady in the background, too. In the end, it works pretty well. Tidied up nicely.

Sharing is Caring  CC-BY-NC-SA 2.0

@cogdog (Alan Levine) suggested that I make the .psd files available for folks to use in making their own ds106zone Movie Trading Cards — they could be either static or animated — and so I share the two files below.

A couple notes:

  1. Paste your intended image into the .psd file and drag it to the bottom of the layers stack — it will show through the transparent space in the artwork layer. Once in place you can use the Move tool to reposition it. I
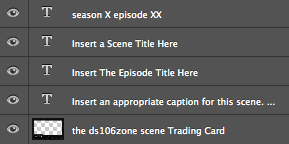
    Layers for the Scene-based ds106zone Trading Card

    Layers for the Scene-based ds106zone Trading Card

    find that the Edit  >>> Transform >>> Scale is invaluable, together with the Move tool, to getting the image properly framed.  Depending on the dimensions of your original image, you may need to do some cropping.

  2. There are three editable text layers in the Character card, and four editable text layers in the Scene card.  For consistency, I would suggest that you do not change either the fonts or the font sizes unless you are looking to take the file and transform it into a completely different (non Twilight Zone) theme.
  3. Reduce during Save for Web

    Reduce during Save for Web

  4. Once you have finished placing the image and edited the text layers, you are ready to use the File >>> Save for Web …   The workfiles have dimensions that are designed to be reduced upon output. While the image sizes are 752×1128 pixels (and 1128×752 pixels), they are designed to be saved out at 300×450 — just change the dimensions in the Save for Web … dialogue — I normally set the smaller dimension to 300 px, and the link keeps the ratio constant and changes the other to 450 px.
  5. You can do what you like, but I have been saving the files as ds106zoneTradingCard_Scene_EPISODE_SceneName.gif and ds106zoneTradingCard_Character_EPISODE_CharacterName.gif — just helps me keep them organized.
  6. Reduce during Save for Web

    Reduce during Save for Web

And so, without further ado, I present the following two files for your use and enjoyment:

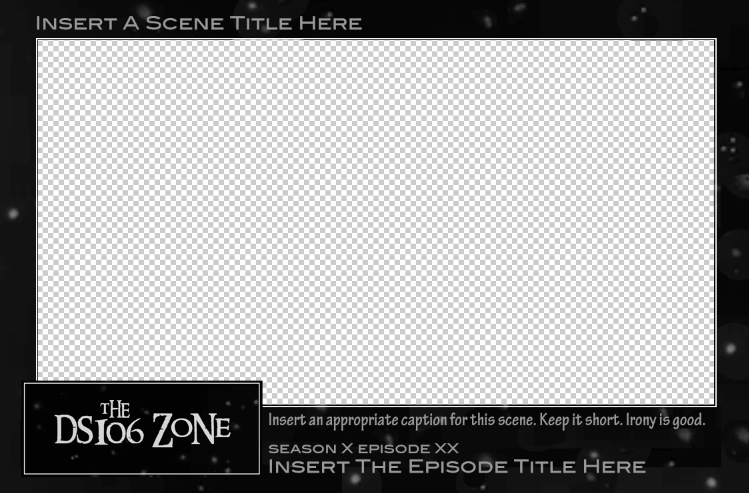
File ds106zoneTradingCard_BLANK_scene.psd
CC-BY-NC-SA 2.0
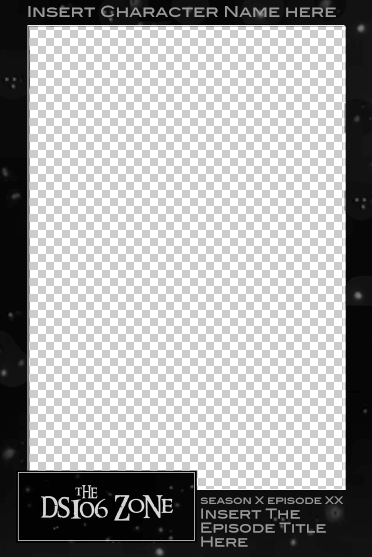
ds106zoneTradingCard_BLANK_character.psdCC-BY-NC-SA 2.0
Looks Like ds106zone_scene Movie Trading Card ds106zone character Trading Card image


Twilight Zone “The Invaders” Animated GIF Assignment

From The Twilight Zone, And Beyond …Assignment, this is when the lady strikes the “invader” out of the attic.

click here for the gif:

twilight zone


http://www.flickr.com/photos/67520151@N03/8830466692/