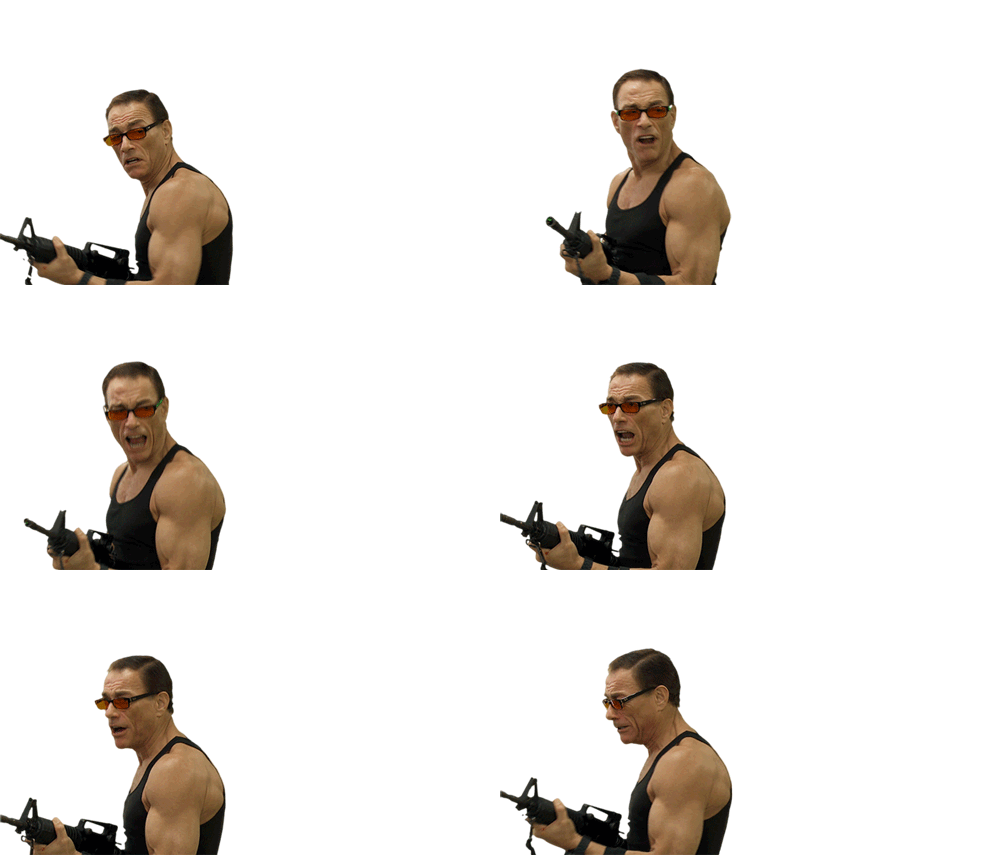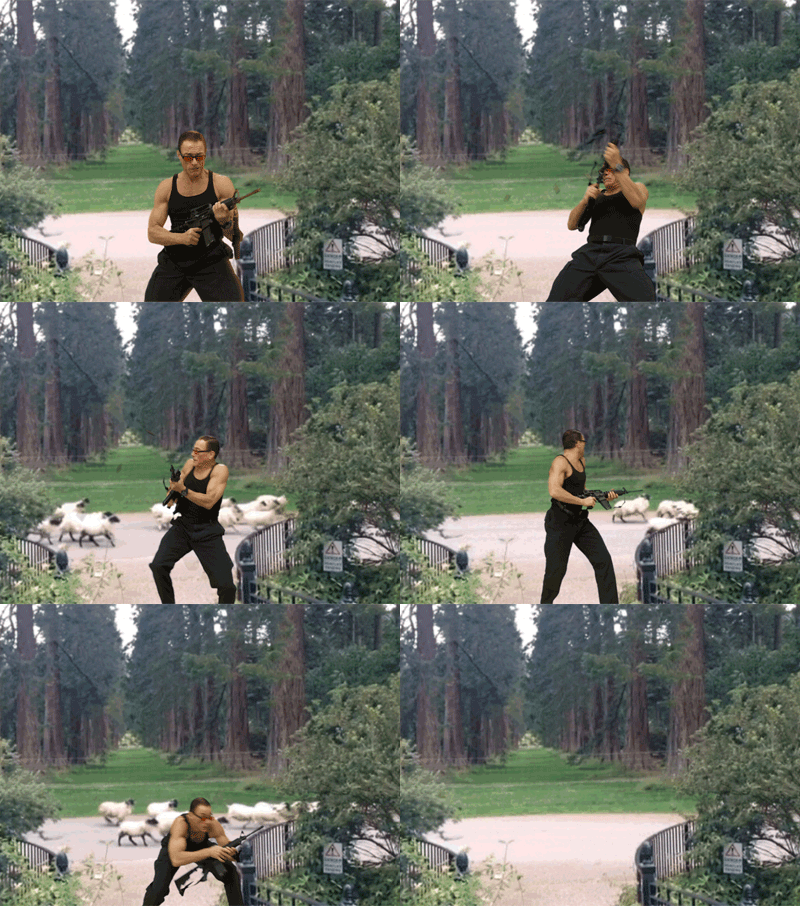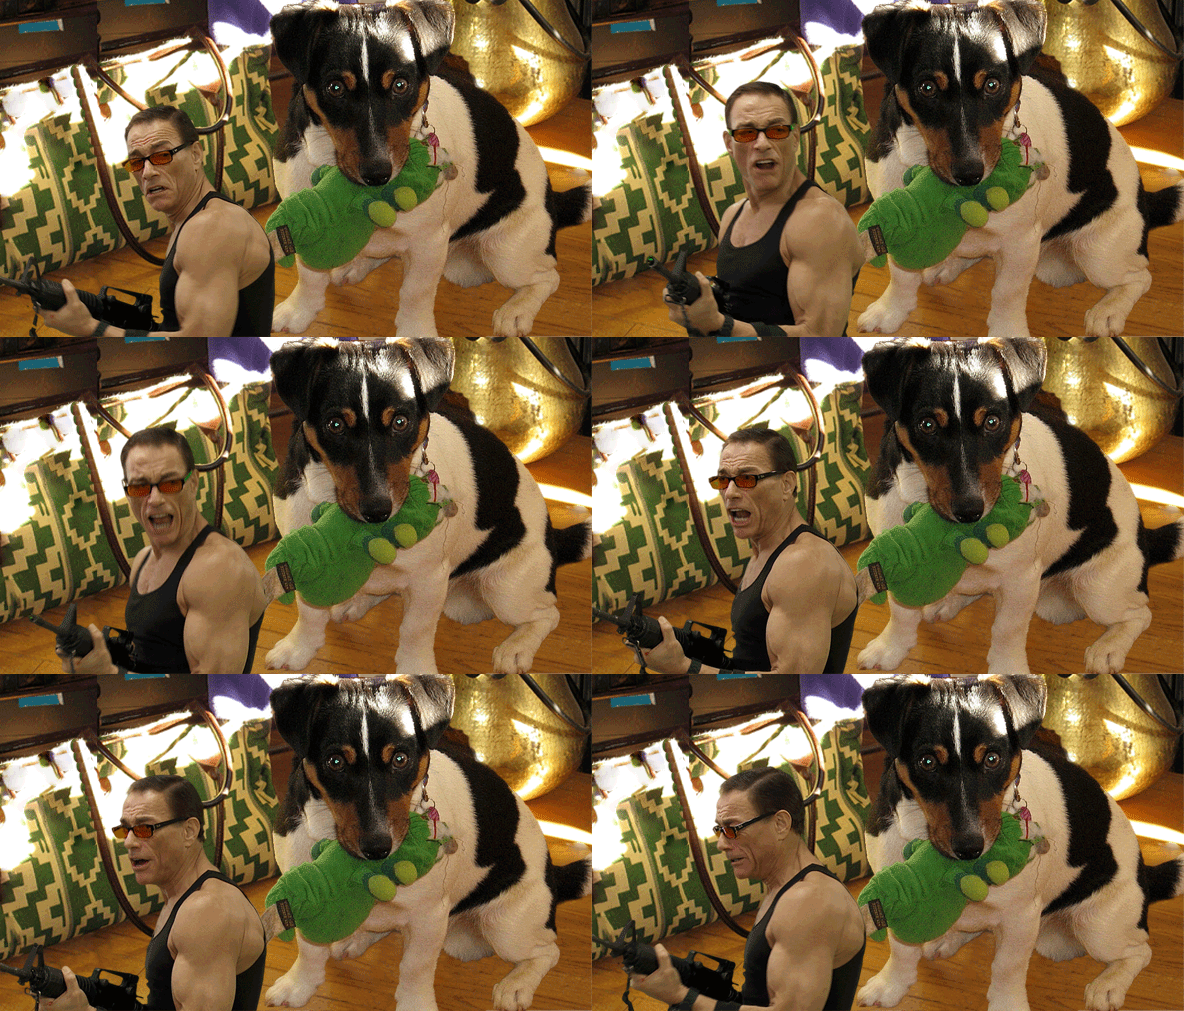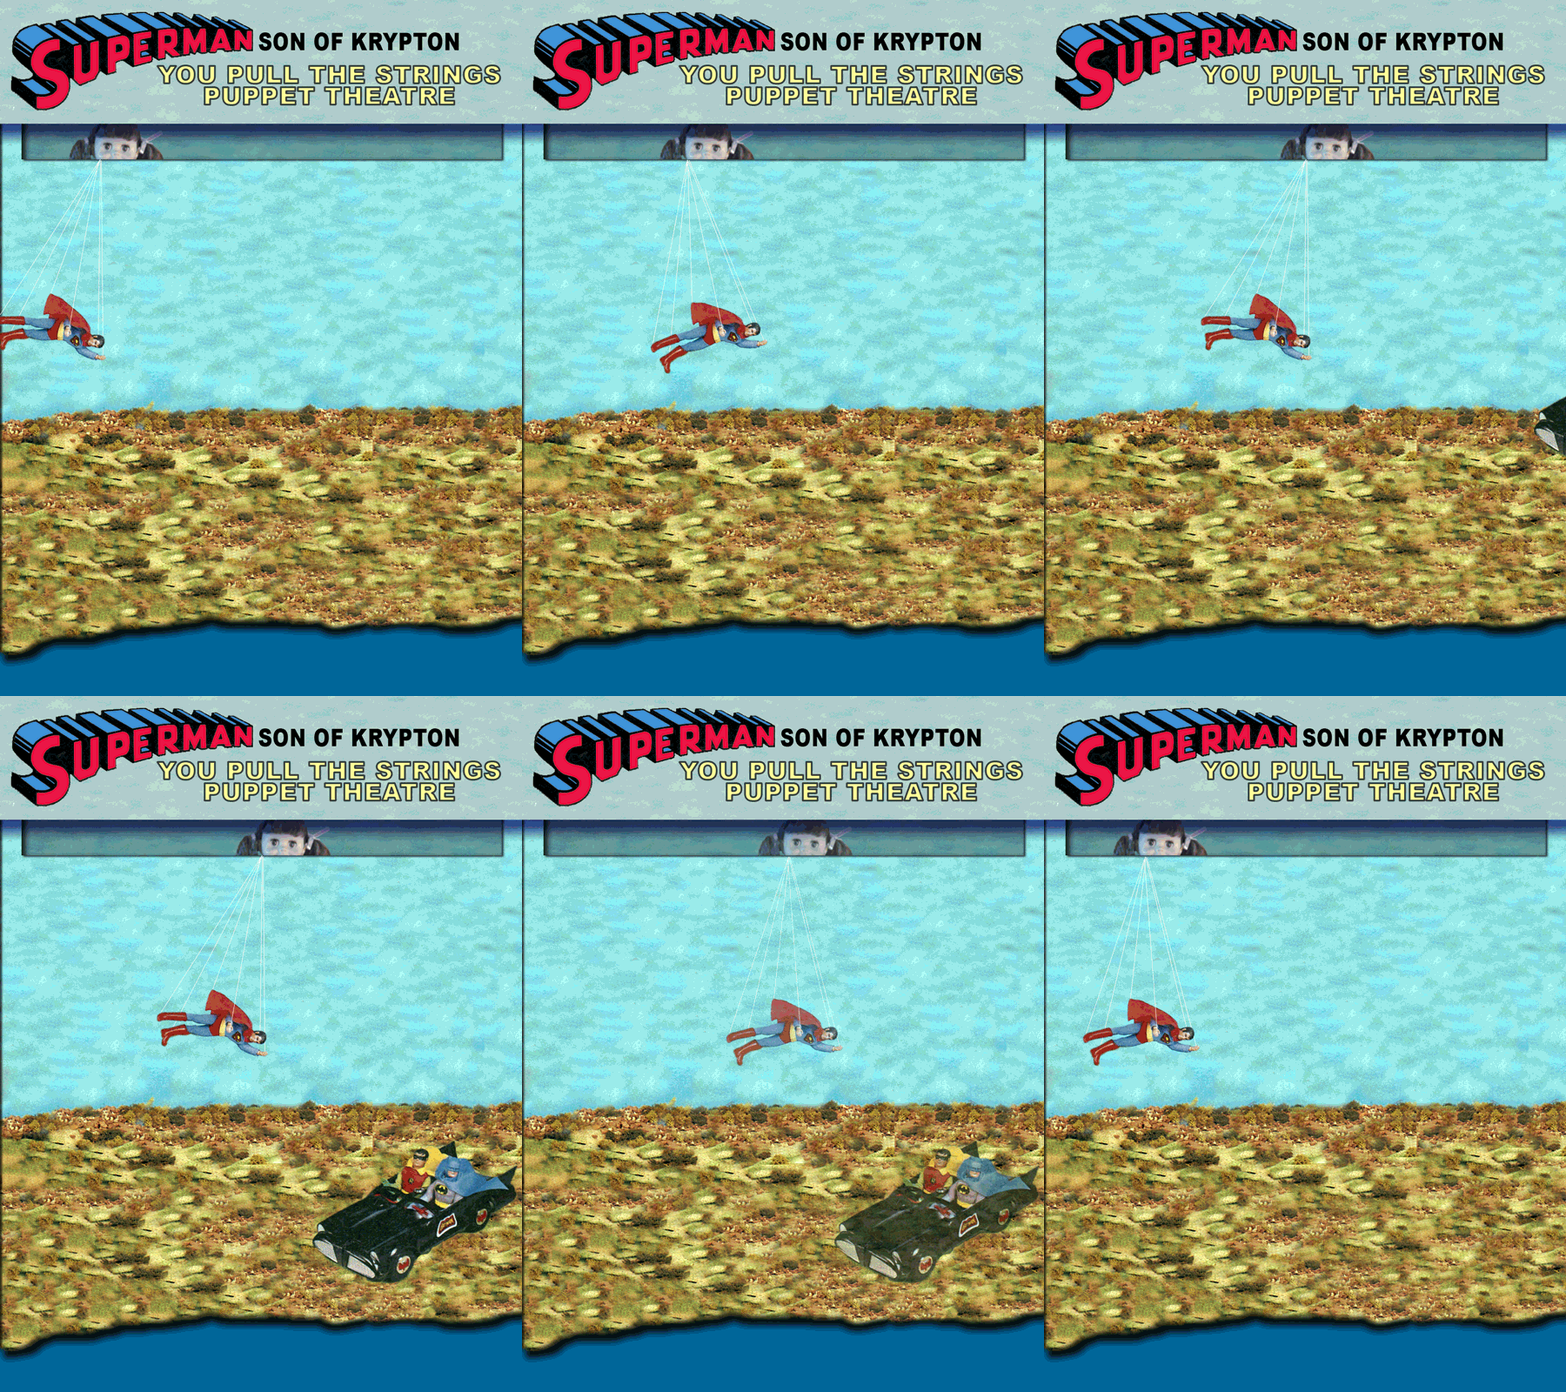
“Oh Sheep! This is gonna look bad.” – The directors cut. (Created by Rochelle Lockridge for the JCVD #GIFFight)
My latest round of creativity induced OCD started with a new GIFFight challenge from Michael B Smith (@mbransons)
There’s also a DS106 Animated GIF Assignment 1190 for any of the GIFFight projects to post to.
After downloading 1.1GB of short .mov clips of Jean-Claude Van Damme from Funny or Die JCVD Make My Movie Challenge there was no turning back. I was riding the dopamine wave. There were some new learnings and tricky bits with the Adobe Elements software I was using that I’ve included below in the process portion of this post.
My first GIFs used downloaded images from the Tate Collectives which I had been introduced to through a previous GIFFight Challenge. Animate the crap out of 1840′s Tate Artworks as part of the Tate Museum 1840′s GIF Party. (There’s also a DS106 Animated GIF assignment 1248 for this too.)
Two of my Tate 1840′s GIF Party entries:

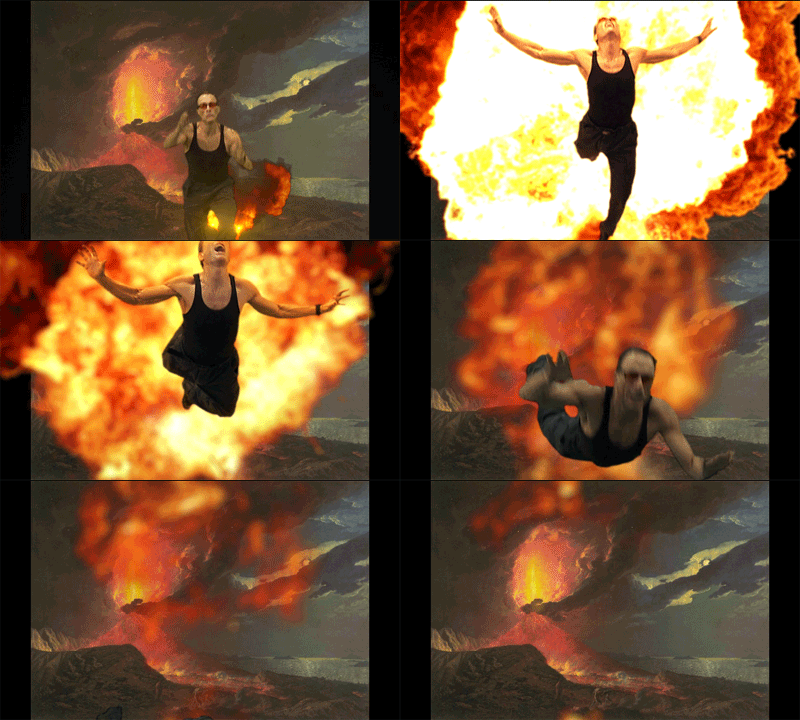
JCVD Erupts With Mt. Vesuvius
Vesuvius In Eruption from the Tate Collectives

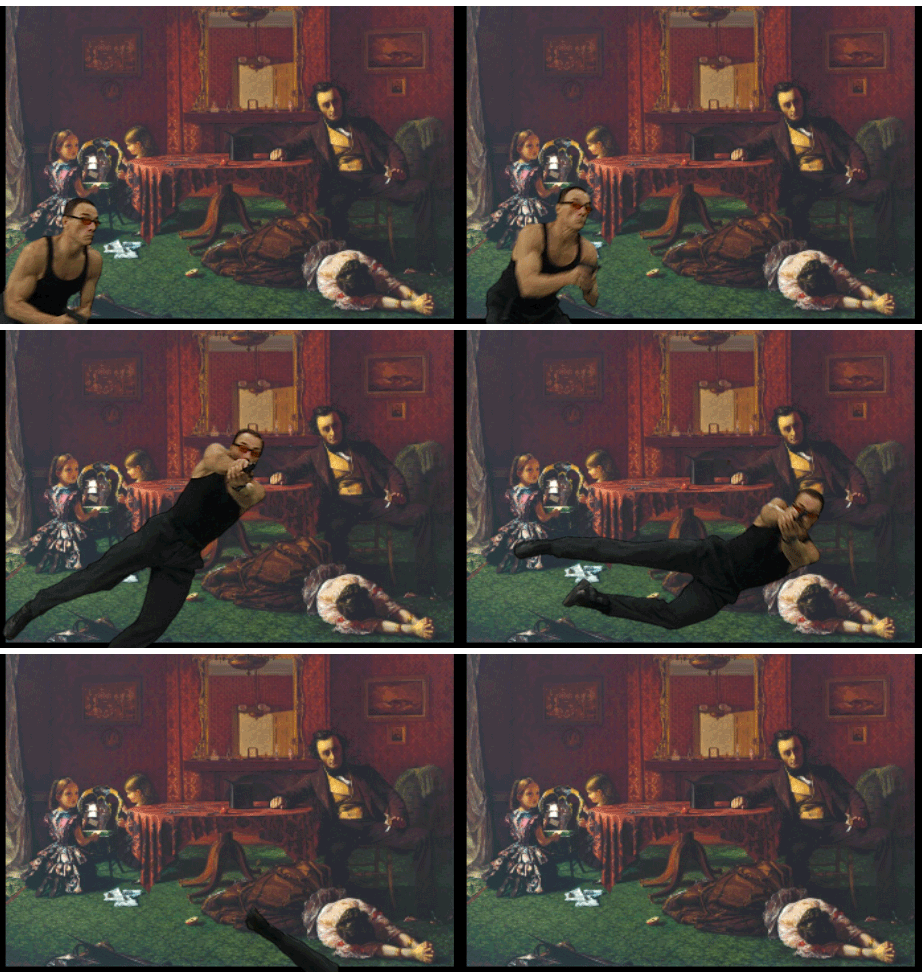
JCVD To The Rescue. “I’ll protect you.”
Past and Present No. 1 from the Tate Collectives
The continued ride on that dopamine wave resulted in me making the following JCVD gifs to give a few of my DS106 mates a giggle.
Wanting to celebrate John Johnston’s hitting 106 likes on his JJGifs Tumblr site I searched through his posts and found a GIF of sheep running past that I thought would work well. Due to Tumblr size restrictions I was forced to shorten the “directors cut” version you see at the top of this post. I just thought having him shooting the place up then realizing it was just sheep passing by added another layer of absurdity. The shortened version below is still funny watching JCVD slink away with the sheep though.

“Oh Sheep! This is gonna look bad.” Shorter version due to Tumblr size restrictions
Sheep GIF from JJGIFs
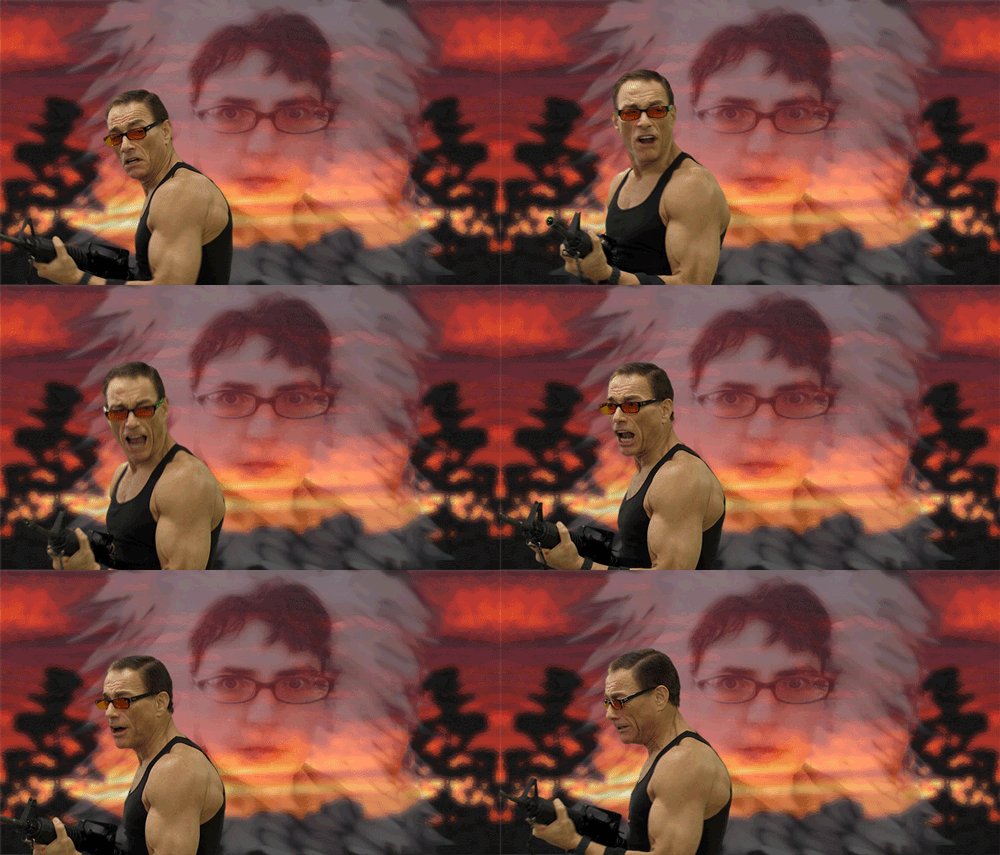
The GIFaChrome corporation recently posted that Colin’s new body guard, Jean-Claude Van Damme may need to tone down his enthusiasm somewhat. He’s going to scare everybody off…. not just the bad guys.
A crazed Jean-Claude Van Damme freaked out on Twitter. His overactive testosterone levels blinded him to the fact that DS106 doesn’t need protecting from @clhendricksbc.
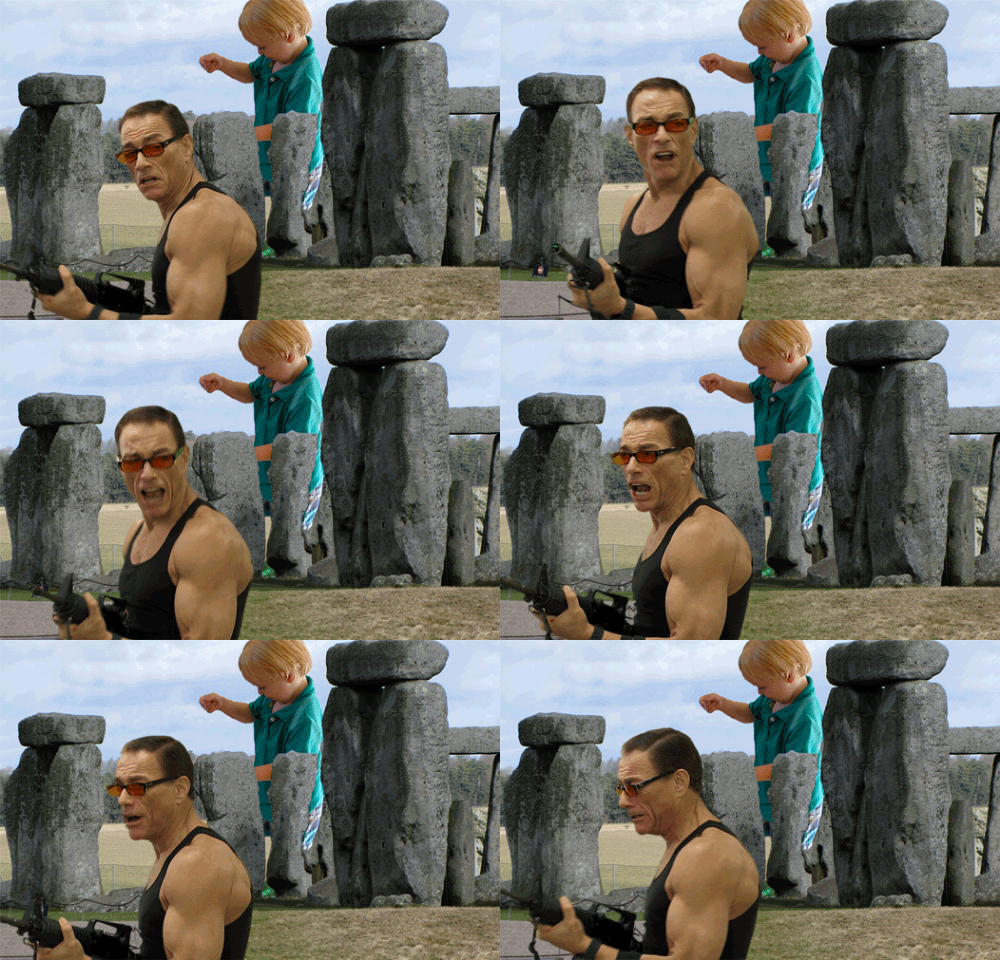
Remember the DS106 Headless ’13 Riff-a-GIF spontaneous collaboration Riffs Sprouting Up Overnight? Which started out as a doctored photo of my grandson “DJ at Stonehenge“, Glad Jean-Claude wasn’t in the picture back then “protecting us”.

Stonehenge under attack – “Run for your lives! I’ll cover you!”
The How I Did It portion
I’m thinking it would be helpful if I were to create a screen cast tutorial for this process. Like I said above, it’s a little tricky and has taken a fair bit of effort on my part to learn how to do it. Future project……
- Downloaded the 1.1GB (yes Gigabytes) of .mov clips from Funny or Die JCVD Make My Movie Challenge.
- Imported the clips into Adobe Premeire Elements 12 and added them to the time line.
- Added the still image onto a track under the JCVD clip. Premiere Elements knew that the movie clip was formatted so that it should have a transparent background and automatically created a video merge effect.
- Render, Publish+Share as Computer files => Scroll down to choose JPEG
- => Advanced => Basic Settings Click “Export as Sequence”
- To easily make the GIF in PSD from many images without having to drag and drop each. (A very painful process when you have 82 frames.) The easy way…. File=>Place
- File => Save for web => make sure to check the “image sequence”. Check for compliance with Tumblr size restrictions max 500px wide and must be less than 1MB
Going one step further, so that I or others (or me  ) could use the JCVD transparent images for their projects I produced a GIF and accompanying layered PSD file.
To create transparent background of JCVD for use in PSD files.
- Added JCVD movie clip to time line.
- This time our background will be a solid color that we can delete when it gets into Photoshop.
- Open project assests => New Item => Color Matte => pick color (I used green screen)
- Render, Publish+Share as Computer files => Scroll down to choose JPEG
- => Advanced => Basic Settings Click “Export as Sequence”
- Save
- Open jpg series in Photoshop Elements with File=>Place.
- click on layer changing it from background to layer
- Select a portion of the green. Select Similar. Select Inverse.
- Refine Edge. Output decontaminate Colors – amt 100% – Output to New Layer
- Smart Radius = 2.1 , Smooth = 1
- Edit => Cut (or ctrl-X)
- Delete original layers with the green background
- File => Save for web => make sure to check the “image sequence”. Check for compliance with Tumblr size restrictions max 500px wide and must be less than 1MB.
