Need help?

Ever go to work on something and feel like you can’t seem to understand how to complete it? Well don’t worry, you’re not the only one. Certainly here in ds 106 we all have been introduced to assignments that consist of various aspects such as audio, design, video, images, etc. I am sure we all also have looked at an assignment and been like “how am I suppose to do this”.

Well here’s the good news…

I bring you a tutorial for how to do a particular assignment in ds 106

Now here’s the bad news…

I don’t have a tutorial for every assignment in ds 106. I know bummer, but this will certainly help and is a start!

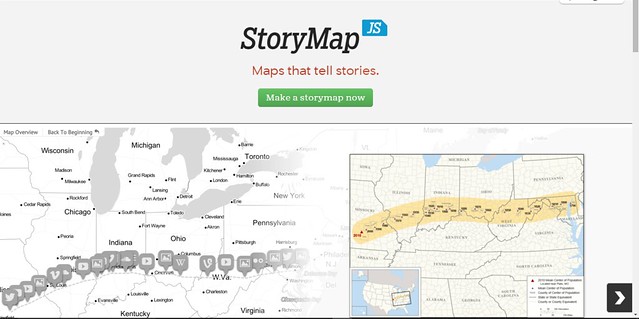
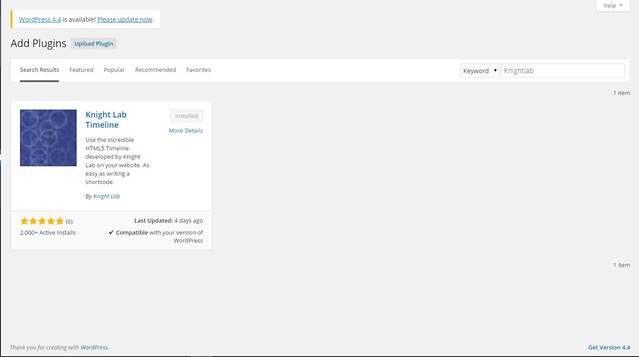
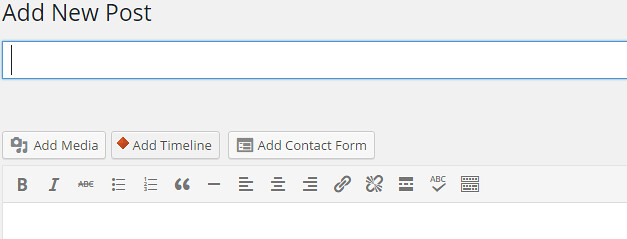
The particular assignment I have created a tutorial for is called story map, a three and half star visual assignment. This assignment asks that you create a map telling a story of a trip you took or plan/want to take by using Knightlab’s Story Map. When I completed this assignment I found it super easy and fun to participate in. This may have been so because I have had numerous experience with Knightlab. That being said I know others may not be aware as to what that is.

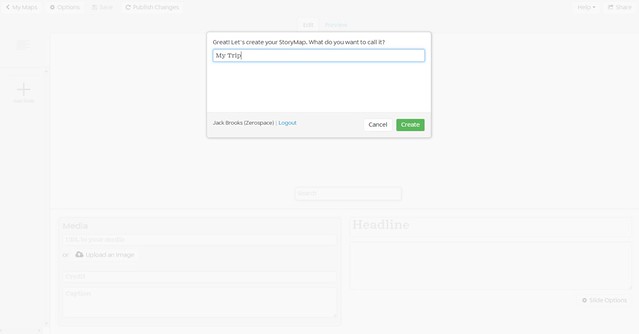
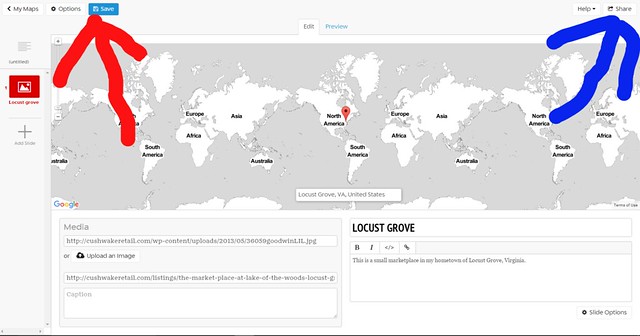
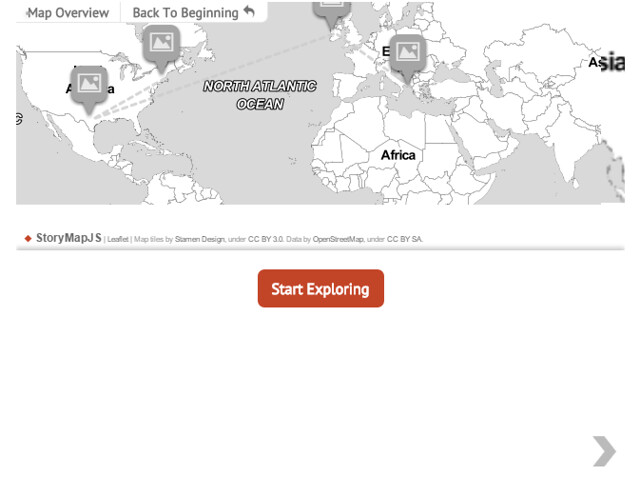
So… Knightlab Story Map is a website where individuals can ultimately create an interactive StoryMap. This essentially takes the approach of a timeline and makes it more interactive while focusing on various locations or destinations, hence the map part. StoryMap allows you to log in with your google account making it super simple to create and save your work.

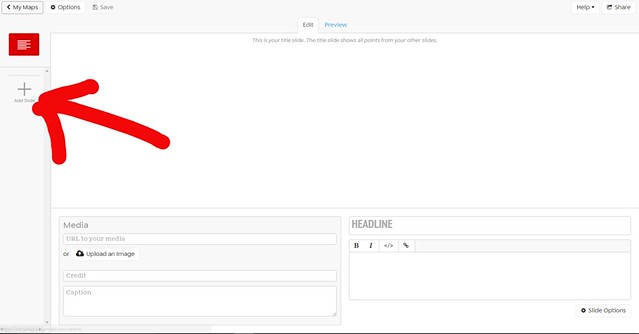
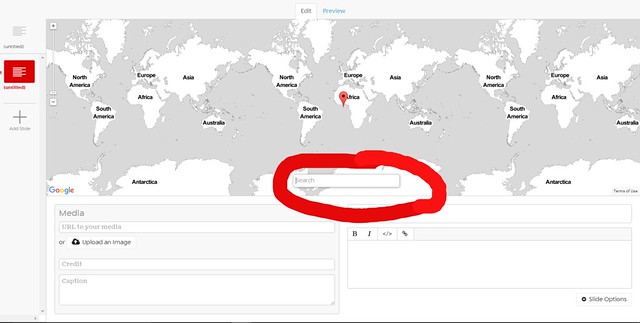
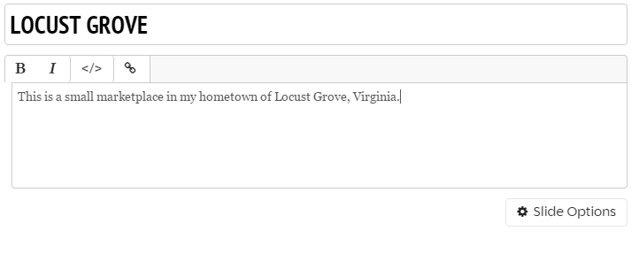
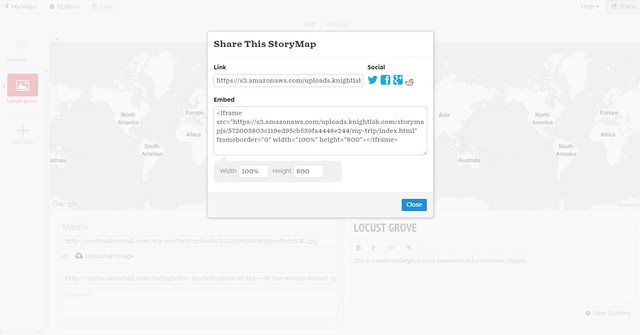
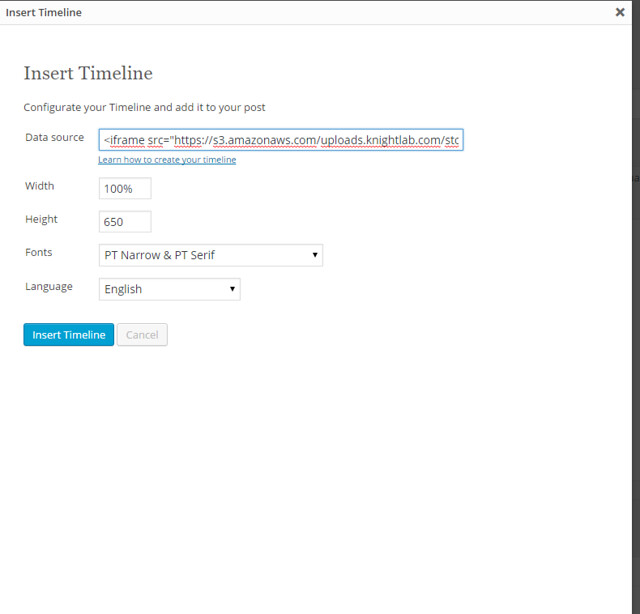
When working in StoryMap individuals have the ability to add titles, copy, images, links, videos, backgrounds, fonts, etc. Essentially anything you want on your map, you can have. Likewise when your map is complete you have the ability to share it any and everywhere.

Working through story map is quite simple even though it can appear frightening. I know my first time I was nervous and slightly unsure as to what I was working with. However after numerous projects I became very comfortable and familiar with it.

So without further ado, I have recorded a video for anyone that needs help learning and navigating Knightlab StoryMap. I hope it helps and makes creating your assignment easier!

If you want to see a fully finished map check out my blog post for this particular assignment with my finished map!

How to Embed a StoryMap

So, for this tutorial, I am more interested in embedding the StoryMap on a WordPress site than on creating the storymap itself. This is something that I spent a bit of time investigating, so I just wanted to simplify the process for anyone interested. I tried the plugin, and it did a lot of really odd things, none of which were successfully embedding my storymap. So, if you would like embed your storymap, you can do the following:

1. Go to your Dashboard on your WordPress site.

2. Click the link in the tab on the left to go to “plugins.”

3. Click add new, then search for “iframe” and you will see a plugin called iframe shortcode.

4. Click install, then click activate.
5. Now, the once forbidden iframe codes can be displayed on your site. (this means more than just storymap embedding, by the way.)
6. So, for the plugin, you replace <iframe     > </iframe> with [iframe   ] The final version of your url will look like this,

iframe src=”your full url, do not remove the quotes” frameborder=”0″ width=”100%” height=”800″

Yours will need brackets around it, though. I had to remove them here so it would not try to embed here.  The final product will look like this,  although your storymap is likely must prettier than mine.

How to Make a Story Map

The KnightLab Story Map is a fun way to tell the story of a trip in an organized manner.  I used this in my final project about a wanderer to help me tell their story from their various destinations.

Steps:

  1. Click the “Make a story map now” button in the center of the KnightLab home page.

Map1

2. Name your story map whatever you want

Map2

3.  Click add slide on the left side to create the first point of your trip

Map3

4.  Search for the location of the destination in the search bar in the center of the screen.

Map4

5.  Add media to your slide by posting the URL to the image or upload an image.  Make sure to give credit in the credit field as well.

Map5

6.  Add the story and title to the slide in the right side of the bottom half

Map6

7.  Repeat the first 6 steps for as many destinations as you have in your trip

8.  Save the map by clicking the icon in the top right.  Then click the share button to bring up the embedding options.

Map7

Map8

9.  To embed your post in WordPress, you must install the KnightLab Time Table plugin.  Add a new plugin and search for “KnightLab” in the plugins store.

Map9

10.  After installing the KnightLab plugin, an “Add Timeline Option” will be added in the blog editor.

Map10

Click on it and copy paste the embed code from the embedding options in the story map editor into the Data source field.

Map11

This will add an interactive story map to your blogpost.  You’re done!

Map12


Story Map

Using Knightlab’s Story Map, create a map telling a story of a trip you took or would like to take. Include pictures. They can be your own, or from flickr (just give them credit).