Sketchy Kids

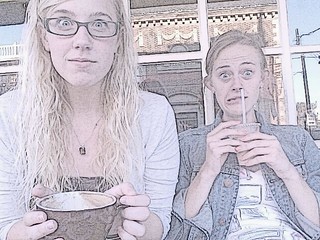
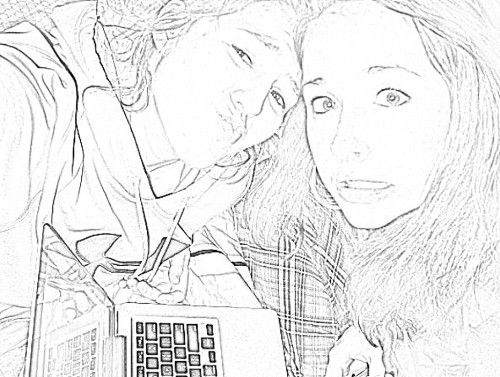
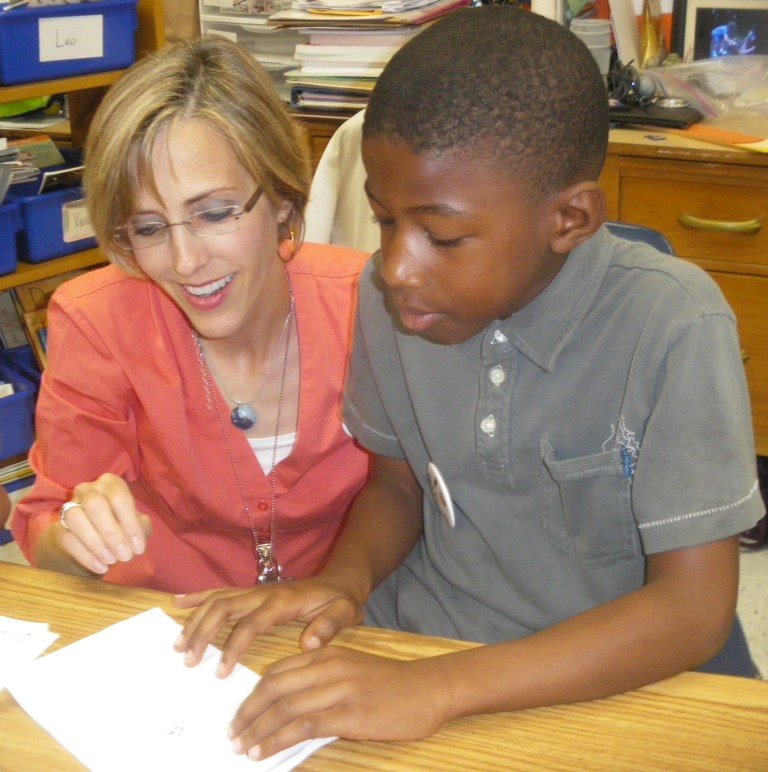
For my last visual assignment, this one we were told to take a picture and transform it to make it look like a drawing! So I used a picture that I already had on my computer to do this assignment. My friend Grace and I like to go to this coffeeshop downtown. Last fall, once soccer was over, this was one of the first things we decided to do together!

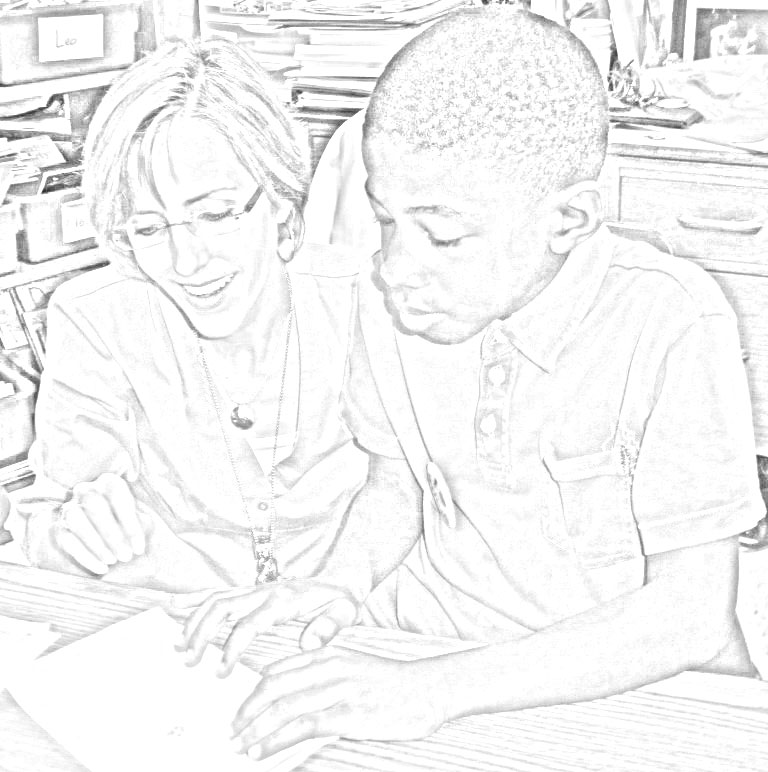
We went downtown, got coffee, and tried to start doing homework… but just ended up taking selfies instead… not surprised. This was one of my favorites of the few I took and it ended up becoming a profile picture of mine on Facebook for awhile! Anyways, so I opened the picture in Picasa, an image editing software I have on my laptop. I opened the picture and went to the effects section, and clicked on Pencil Sketch. I really wanted to make this picture look like it was sketched with a pencil on a notepad. I really like the way the picture turned out. The geometric lines in the background really caught my attention and how sharp and detailed the Pencil Sketch effect made them become.

Sketchy

Draw It!

For my first Visual Assignment for this week, I’ve decided to do Justin Baker’s Draw it. “Take a photograph of something and transform it through GIMP, Photoshop, etc, into a drawing.” I also decided to attempt to also make it a tutorial! (:

My first thought when I saw the criteria for this work was, “I really want to make my “drawing” look like something out of a comic book.”

I started by looking through the photos on my computer and decided which photo would look amazing as a sketch. That’s when I came across this photo of my neighbor Nick! And I knew THIS was the photo I was going to work with! I pulled up the photo with my basic computer editing software which came on the computer when I purchased it, I hit the “draw/sketch” icon and BAM there it is. I also decided to mess with the contrast and color options to make the photo drawing more effective! (: This activity was fun and easy. I just used the basic software from my computer and transformed my photo into a drawing. This assignment was worth two stars (:

Picture into a drawing… Visual Assignment

To turn this picture into a drawing I asked google to show me a website that would convert a picture to a drawing. I used a website called dumpr.net and sent the image to my iphoto application after it was converted.  After it was downloaded I uploaded it to flickr and tagged it with the appropriate tags.  The picture was taken my freshmen year in college one night.  The girl in the image was one of my best friends at the school I first attended.  This image brings back great memories that I made at the school and the friends that I made there.

Draw me

Draw it

babyme_sketch

I used the random spin wheel for this assignment. And I got Draw it! Here I took a picture of a picture that I have from my mom. Its of me sitting in a fridge. Long story… haha. So I uploaded this photo into Dumper. Here they automatically make whatever photo you upload into a sketch drawing. Very easy site to use.

Drawing A Cat

So as I was trying to figure out what other VisualAssignment to do for the week, I came across this one. It seemed quite simple and I thought I could use Pixlr again. Turns out, I was wrong. I couldn’t figure out how to use Pixlr to do this. I went back to the assignment page and looked for a tutorial. One of the tutorials used GIMP. I remembered I had downloaded GIMP for our gif project and decided to give it a try. It turned out to be really easy. I followed the procedure step by step and it worked perfectly! The only thing extra I added was adjusting the lightness/darkness of the picture. The original with out this step was really light and you could barely see the lines. The most difficult part of this project was finding a picture that looked good and didn’t have too much shading or too many lines. I didn’t have any particular picture in mind, so I just went through randomly trying pictures I had on my computer. The picture of my cat, Huckleberry, turned out to be the winner. You know what they always say, sixth time is the charm. He turned out pretty cute as a drawing too. I could never draw like this!

A Man and His Dog

So I was clicking the good old “random” button on the Week 5 assignments and came across, “Draw It.” I figured, “Hey, I used to use Photoshop in school all the time and I remember there being a filter to just change it! Too easy!” Well, turns out, GIMP does not have that feature.(Or at least I couldn’t find it) I wish I knew where my Photoshop CS2 CD is…even though it is majorly obsolete by now! But I used the tools that GIMP gives and from what I remembered, and a little prodding on GIMP Forums, I was able to create this:

Okay, so he isn’t actually MY dog, but I was watching him while my old suite-mate’s family came to visit him. (Odd how this was almost exactly a year ago!)

So of course I wanted to see how other people’s pictures turned out. And first on the list was Kiersten Pyrtle’s How to draw a horse! I also noticed that she had made a tutorial of what she did…after I did my own! SMH. Anyways, gotta love the fact that you can use different techniques to get a similar end result! I think I may post again with my own tutorial about how to create this because it was basic use of GIMP and anyone can do it!

4/10

How to draw a horse!

This is my assignment and tutorial (using GIMP) for the 2 star Visual Assignment, Draw it. I hope you find it helpful!

DRAW IT BEFORE

I used GIMP to transform a photo of my horses into a sketch!

First, open gimp and drag the photo you wish to use into the GIMP screen. Now click “duplicate layer” under the “Layer” tab.

Next go to the “colors” tab and choose “desaturate.” (When the dialogue box pops up choose “lightness” and click “ok”) All color should now be gone!

Like this:

Now click on the “filters” tab ? “edge-detect” ? “edge”

Once you do this, a window will pop up:

You can play around with the Algorithms if you’d like. I chose Prewitt Compass. (They are all about the same) When you choose the algorithm you want click “ok”

Now your screen should look something like this:

Looks creepy I know! But we aren’t done quite yet!

Next, you need to click on the “colors” tab and then “invert”

And you get:

Yay! Much better!

Now if you want to take it a step further and add a little bit of color:

Go to the “Layers-brushes” window…

Now make sure the layer you manipulated is selected and lower the opacity from 100% (I lowered mine to about 70%)

And now we have our final product!

DRAW IT AFTER

I hope these directions help, Please let me know!


Visual Assignment #4 – 2 Stars

For my 4th Visual Assignment, I’m doing the Draw It assignment.  We are to take a photo and make it look like a sketch or drawing.  I used Photoshop Express Editor to make the photo look like a ‘sketch’.  I absolutely love this website, as I mentioned in my last edited photo, because it makes it so easy to alter a photo 100% within just a few seconds.  I think I edited both photos within a timeframe of one minute.  Just because I like the photo so much, I put it up on Flickr.

We took this photo last week and I thought that it would be a good one to turn into a sketch.  Hopefully you all feel the same way!  Let me know what you guys think in any comments.

Draw It: Next Visual Assignment

I’m still struggling with Warhol Something so I was concerned the Draw It assignment might stump me too. Instead, it went swimmingly. This isn’t the first picture I tried, but it’s the one I’m happiest with how it looks. I was worried about the business of the background but it worked.

The original picture is of our principal talking to one of my students at our writing celebration.

Here it is as a drawing.

Turning a photo into a drawing

Task for digital storytelling course DS106 was to transform a photo into a drawing.

Here’s the original – I chose a photo that meant something to me (this is a friend’s baby) and that had plenty of light and dark areas.  

Image

Using Serif PhotoPlus (don’t ask, it came with my computer), I wanted to see if you could represent the curve of skin as effectively through digital shading as you can with a pencil…. I tried this two ways: firstly, by using the pencil draw quick-fix tool under the Artistic menu.  It didn’t work out that well, as you can see:

Image


I then followed J-rabbit’s excellent tutorial which got me much close to the effect I was hoping for….

Image

It needs a little more grainyness, and perhaps some more dark areas to really show the potential of the shading, but overall I think this is a good start.  Thanks J-Rabbit!