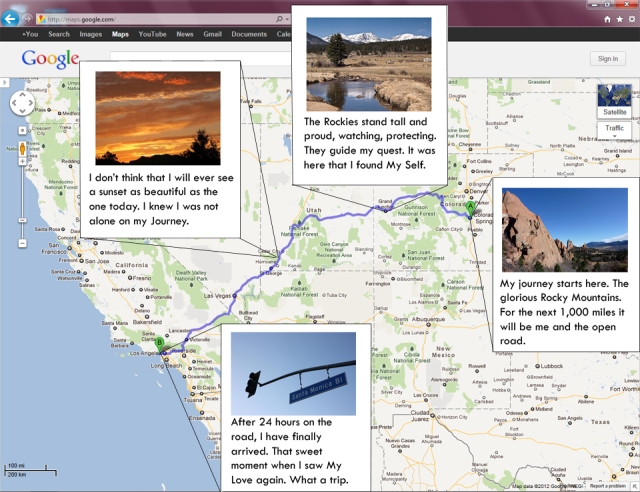
For my second Web Assignment of the week, I decided to complete Google History Maps Story for 3 stars. This assignment asks you to tell the story of a literary or historical figure through Google Maps. The map itself, from its locations and directions should tell the story of the person/character you are talking about. It’s not a super complicated process, but I will give detailed instructions on how I created the Map below. I decided to tell the history of Anne Frank, a young Jewish girl killed in the concentration camps of Germany during World War II. Most of Anne Frank’s life is described through the popular diary that she kept which was later published in the United States after her death. I have always respected the great courage and sacrifice she gave as such a young woman in the concentration camps. Here is the map I created, detailing her life from birth to death in Nazi Germany. The green location is the starting point, Anne Frank’s birth, and the yellow location is the place of her death. The red locations represent different moments in her life. You can follow these different moments via the lines which are labeled Line 1, Line 2, etc. Each location also has a detailed description of what happened to Anne Frank at the time that she was in this location. By moving from one point to the next, you will get a story of the short-lived life of Anne Frank.
Here is how to complete the assignment:
- Go to Google Maps.
- Go to Menu—My Maps–Create Map
- At this point, you can title your map what you please and give it a description.
- Add locations to your map, documenting the life of the person you’ve chosen.
- Search for the specific location in the search bar (e.g. “Frankfurt, Germany”).
- After finding location, click Add to map.
- Edit the title and description of the location, as well as the icon/symbol and color to desired setting.
- Repeat step 4 until all desired locations are on the map.
- Add lines to your map, connecting all of the locations.
- Under the search bar, click on the symbol that looks like 3 dots connected by a line.
- Start with the cursor on the first location in the timeline (e.g. “Birth”), and drag the line to the second location.
- Press Enter on your keyboard. You will then be given the option to customize the appearance of the line as well as it’s title and description.
- Repeat step 5 until all desired lines are on the map.
- Drag your set locations and lines to the desired order via the left bar on the side. (I chose to place each line in between the separate events/locations.
- Your map automatically saves, so at this point you’re done! Congratulations on creating your own Google Map!


 used Google maps and clicked on the icon on the left to start (my master piece).


