For my second star assignment I choose Actor Transformation. This assignment was to pick an actor and put to together different clips from through out their career to show how much they have changed over the years.
I immediately knew that I wanted to do a child actor. They seem to be the ones who have the most dramatic changes through out their career. I ended up googling Disney child actors to help me decide who I wanted to do. I ended up choosing Selena Gomez. For those of you they didn’t know Selena (and Demi Lovato) got started in acting from Barney. Since her Barney days she has been on just about every Disney Channel show and is now starting to break off into movies. She has also managed to work pretty consistently since she started so I wouldn’t have to worry about having too much dead time in her timeline.
To show this progression I used Mozilla Popcorn. While I found some issues using popcorn the first time, I decided that I would try to use it again. (I think the fact that I use Firefox helped since Firefox and Popcorn are both made by Mozilla). To start making this video I first went to Selena’s IMDB page and pulled out some significant shows or movies that she had done. I then went to YouTube and started looking for good clips from each of the ones I picked. It took me a bit of playing around to decide exactly which clips that I wanted to use for each.
After deciding which clips I wanted to use, I open Popcorn. When you first start up popcorn it looks something like this:

To get started you simply clip Start a Project. After beginning my project I went ahead and entered all of my clips into my file. To do this you clip on the Media tab and then enter each YouTube link and then click create clip:

After you enter the clip it will appear in the media gallery section listed just below. Here is a picture of what mine looked like after I had entered all of my videos:

I then entered in each clip one at at time. I started off with the earliest clip I had of Selena. I then edited the time of the clip. This can be done by pulling on the arrow circled in the picture below.

After getting the first clip entered how I wanted it, I added the rest of the clips in one at a time each in a separate layer doing the same thing. Do not forget to line up each of the clips so that they are touching like in the example below (I accidentally put one in out of order which is which is why they do not go down in a even diagonal line).
After getting all of my clips in and in the correct order I added in a popup to say what the show or movie was that she was in and what year it was released. You can add in pop ups by clicking the events tab and then the popup tab. (If you have video paused exactly where you would like the pop up to appear you will not have to move it at all which was quite helpful). You then add edit the pop up to say whatever you would like it to say.
Finally I added in a title. I did this simply by adding in a picture (I just used a simple blue background that I got off of google). To enter your picture you select events and then image. After you have the image tag open you simply drag in the picture that you want. I then added words on top of the picture for my title. You can add words by going to events and then text. Here is a picture of what my popcorn looked like with the title placed in:
After adding your clips, popups, and title you are good to go. Just press the save button at the top and you are done!
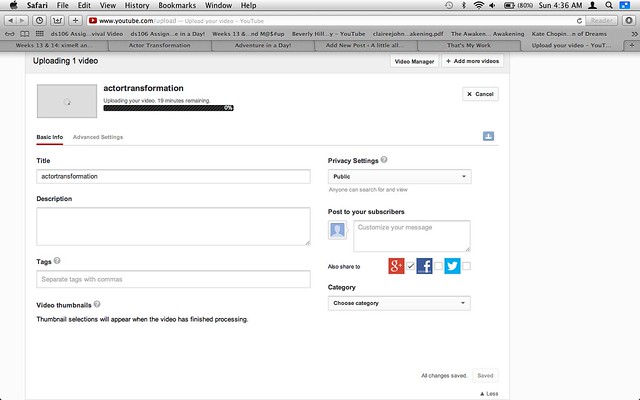
Here is my final video! Hope you like it:
6 stars down and 0 to go!!


