Hey guys! Andrew is here to help you create your very own replay video in 15 steps using Sony Vegas Pro.
Step 1. Find A Video
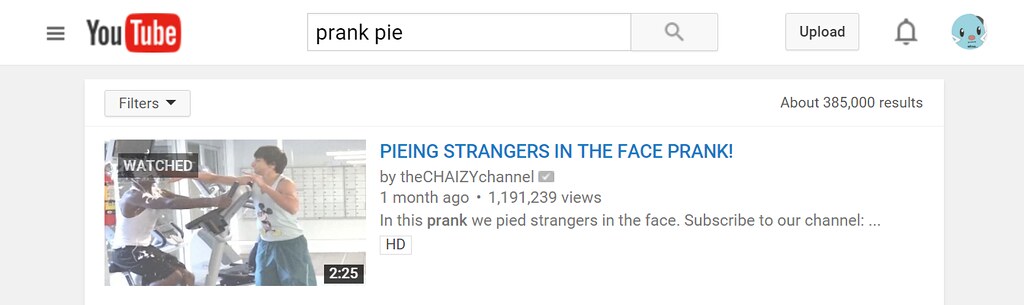
What you need to do first is go to a site like YouTube and find the one video that you think would be hilarious if it was slowed down like a replay. I chose the one of the many Pie Pranking videos. If you already have a video or your own video that you want to use, skip to step 4.
Step 2. Copy The Link 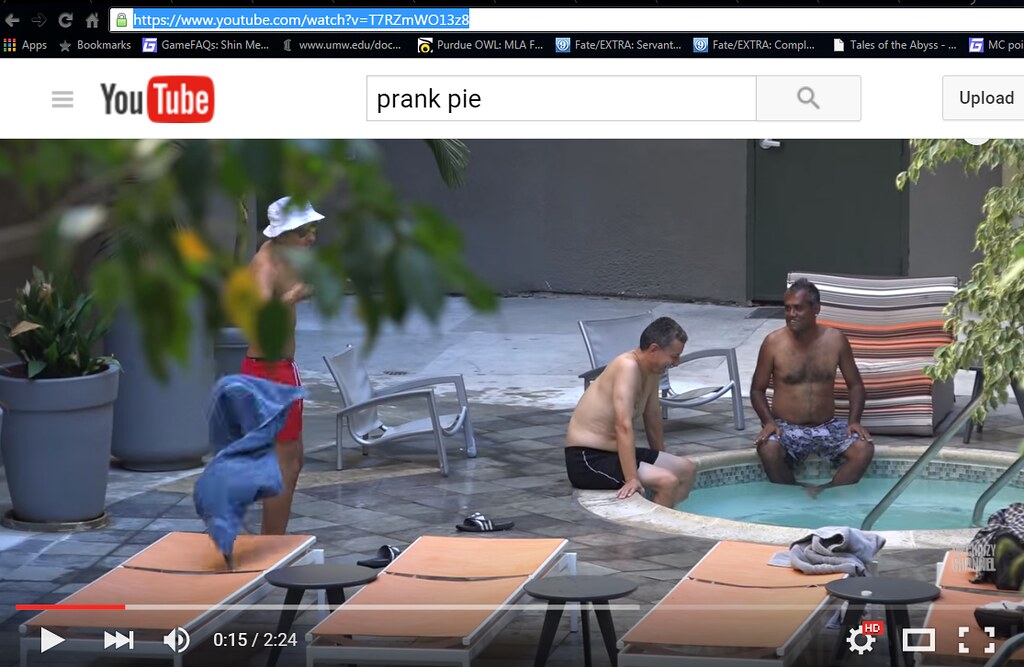
Once you have your video, you want to copy the link address for the next step as it is important to continue.
Step 3. Use a Video Downloading Site
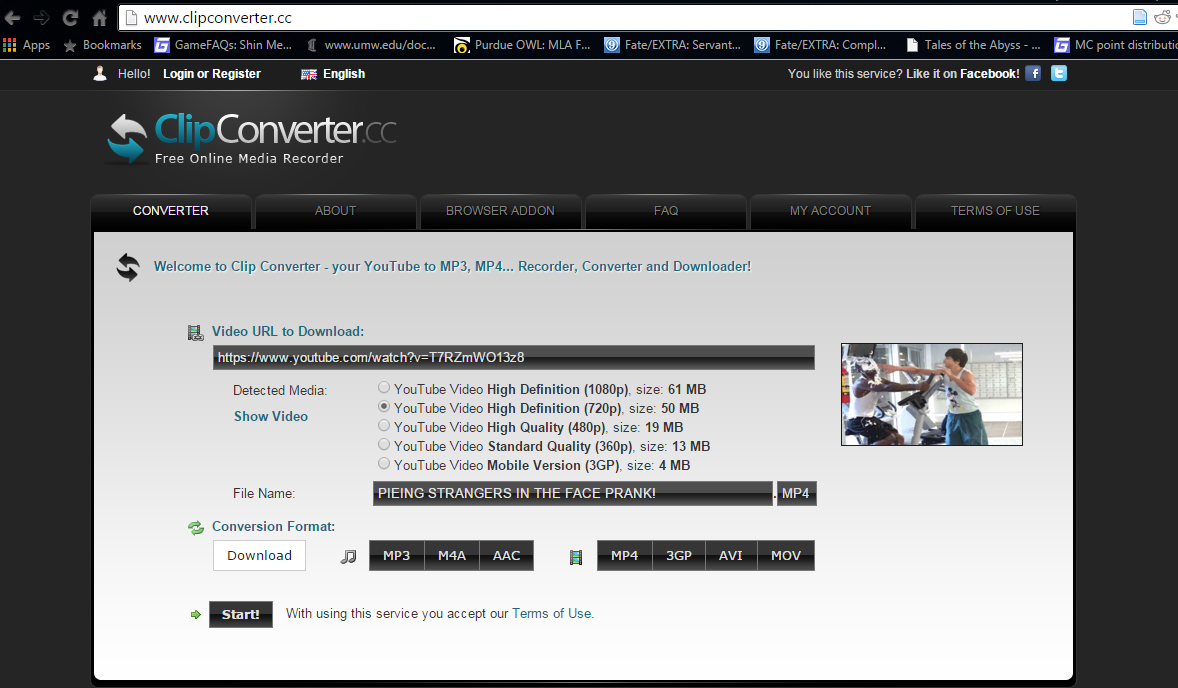 For this step, you want to take the link that you copied in the previous step and paste it under “Video URL to Download:”. You then want to chose the quality of the video and click on the “Start!” button near the bottom.
  A new screen will appear, allowing you to finally download the file. In order to use this file we need some sort of video editing software, so can you guess what I am going to show you next?
Step 4. Acquire Sony Vegas Pro
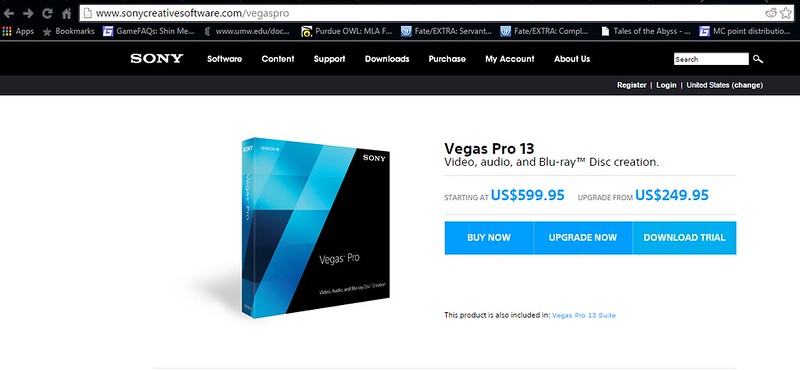
For this step, you want to go to the Sony Creative Software website and download the free trial for the Vegas Pro 13 video editing software.
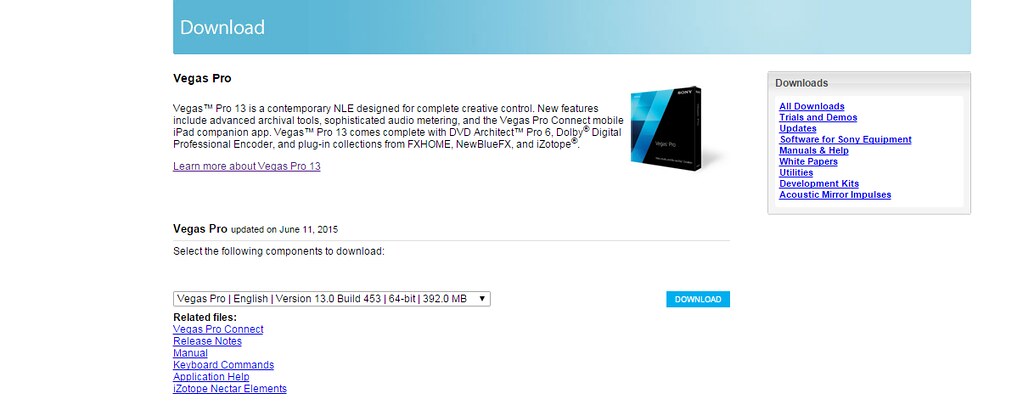 Once you click the “Download Trial” button, you will be taken to a page where you can actually download the software. You will then be ask to create an account before downloading, so after you finish that, you will be able to finally install the Trial Version on your computer and it should look similar to the image below.
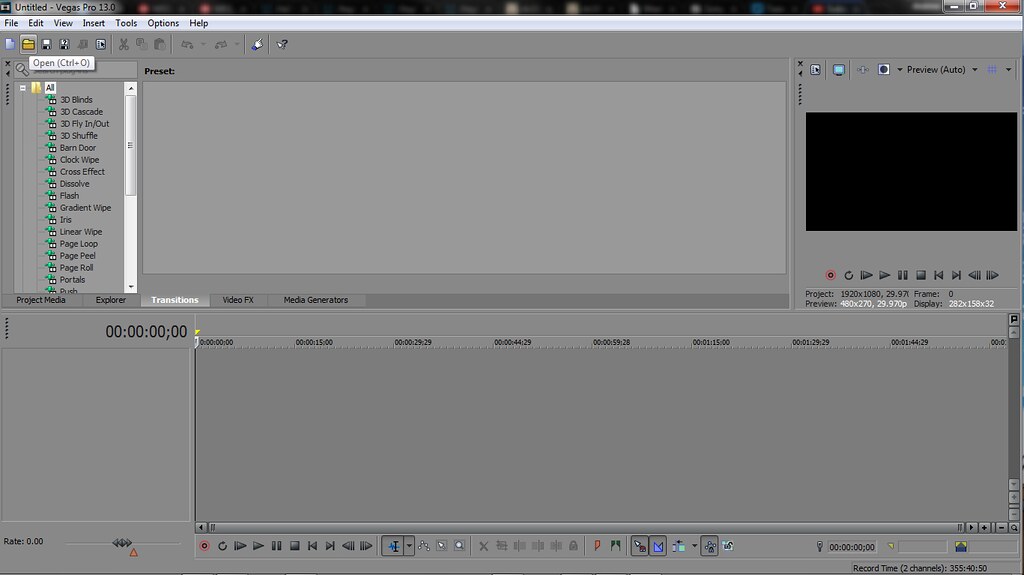
Step 5. Begin Editing
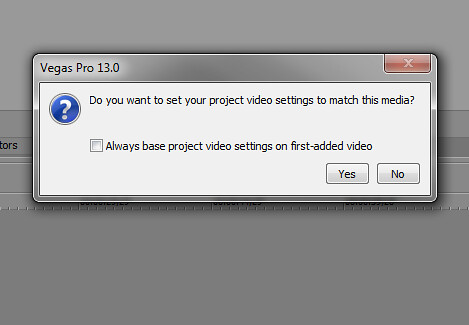
Once you open you file in Sony Vegas, you will be asked to set your project settings to match the media. You want to click Yes because it make the end game a whole lot easier for you, so make sure you don’t select No.
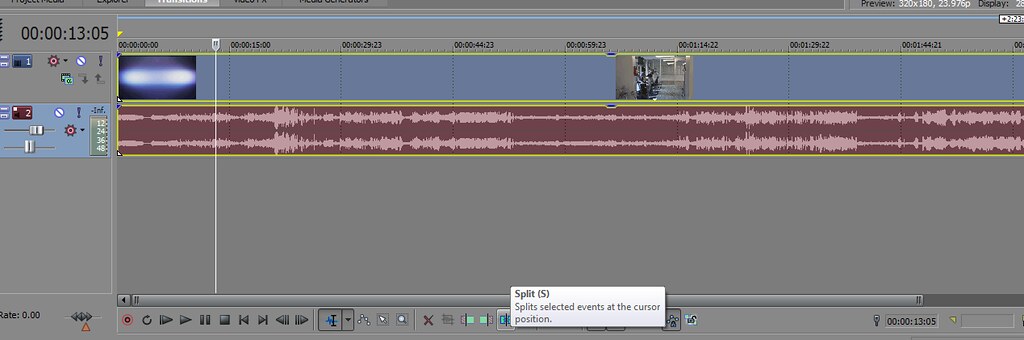
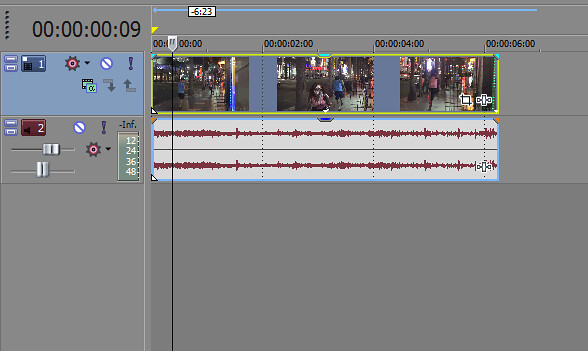
Now, you want to shorten your video to just the scene that you want to be replayed. Use the Split Tool once you find the where you want your clip to start and where you want it to end.

It should come out similar to the image of the Timeline above. Next, you want to want to delete what you aren’t going to use, so click on the sections that were Split from your clip and press the Delete or Back Space key.
Once you have successfully deleted everything besides the scene that has the clip you want to replay, you want to drag it to the beginning of the Timeline.
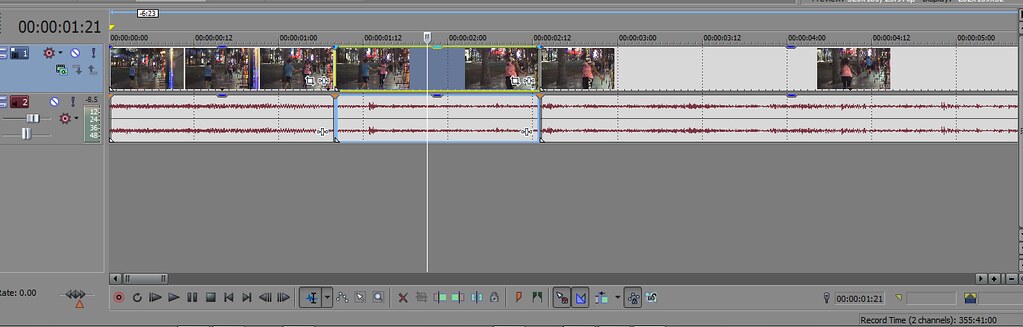
You may want to use the Mouse Wheel or Zoom to get a closer look at the frames of your clip. Once you know which part of the scene you want to replay, you want to once again use the Split Tool to isolate the clip that you want to replay, but DO NOT delete anything this time. 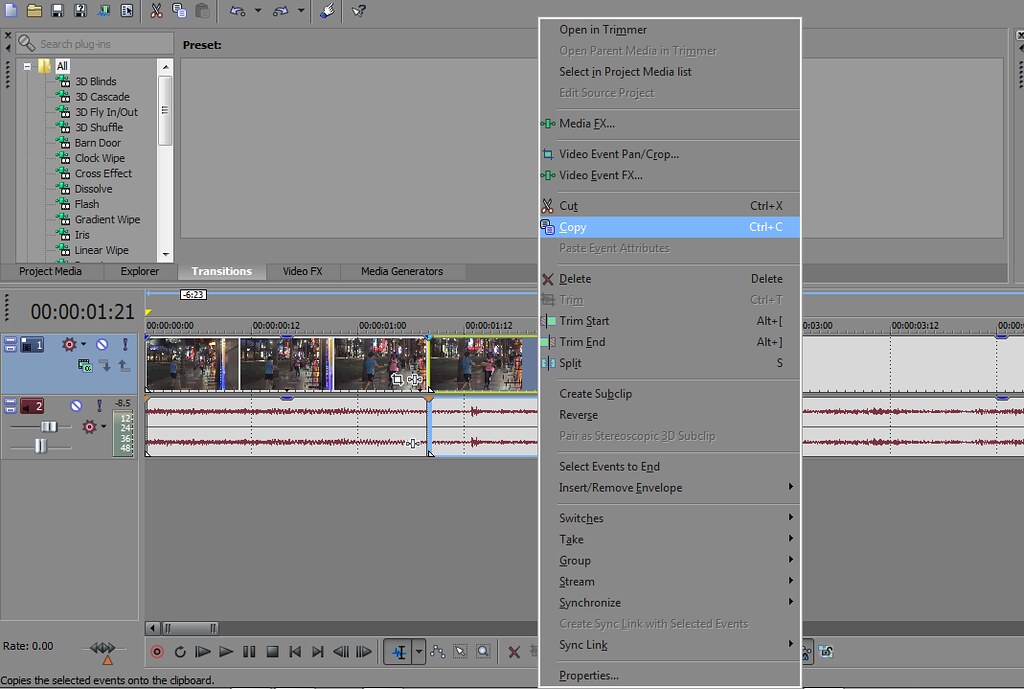
Select the isolated clip and either Right-Click and select Copy or just use CTRL and “C” keys to copy it and paste it at the end of the project.
Your project should look similar to the image above. Now here comes the best part.
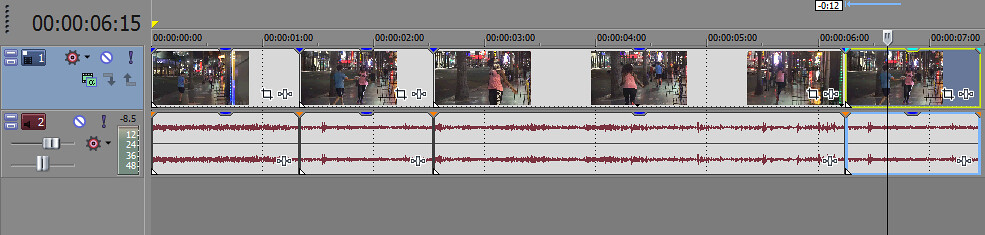
Step 6. Replay Effect
 You want to hover over the very edge of the copied clip and hold the Control key. If you wait a little bit a box similar to the one shown in the image above will appear with the word “Time Stretch” shown. Now you want to click and drag as far as you can in order to stretch the video to give ti the slow motion replay-like effect. Now your video is finished! However, there is one last thing to do…
Step 7. Render The Project 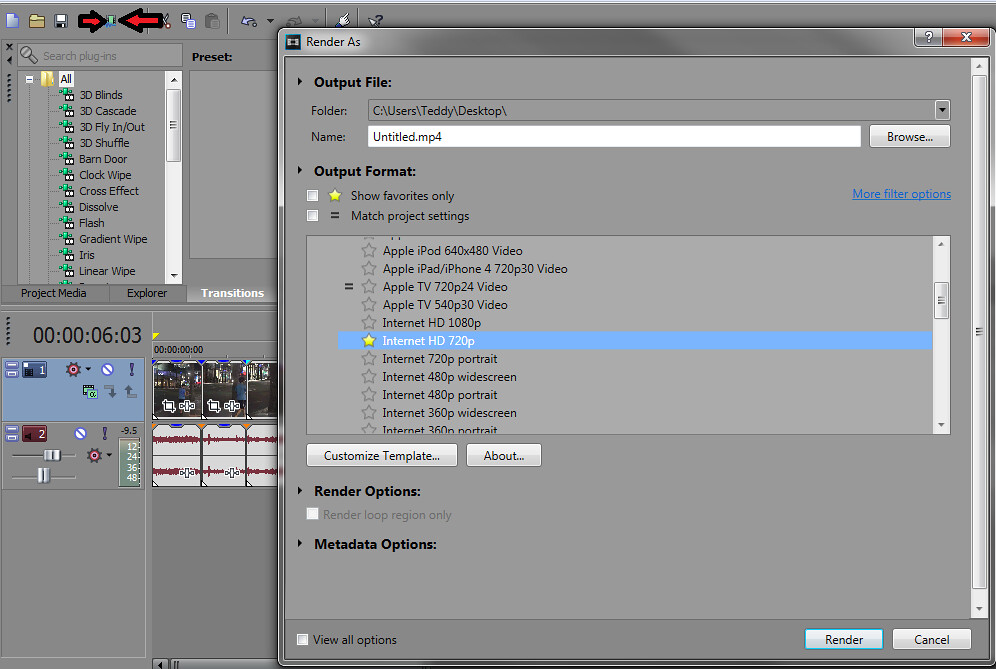
The final step is to render your video project. You want to click the “Render as” icon as shown between two red arrows in the image above. Once you do, another window will appear with a large list of Output Formats. What you want to do is either select the Output with a “=” or just simply use Internet HD 720p or 1080p depending on the quality and resolution of the video you decided to use. Finally, you can click Render at the bottom of the window and wait patiently as the video exports for you to view and share with others online.
I hope this tutorial was able to help you figure out how to create your very own replay video! If you have any question feel free to ask by leaving me a comment. See you around.


