

For this assignment I decided to create a tutorial on how I complete my childhood representation video. I struggled a lot with this myself because it involved so many different programs. Here is my step my step of how to create a screen recording of drawing on paint and making it into a video.
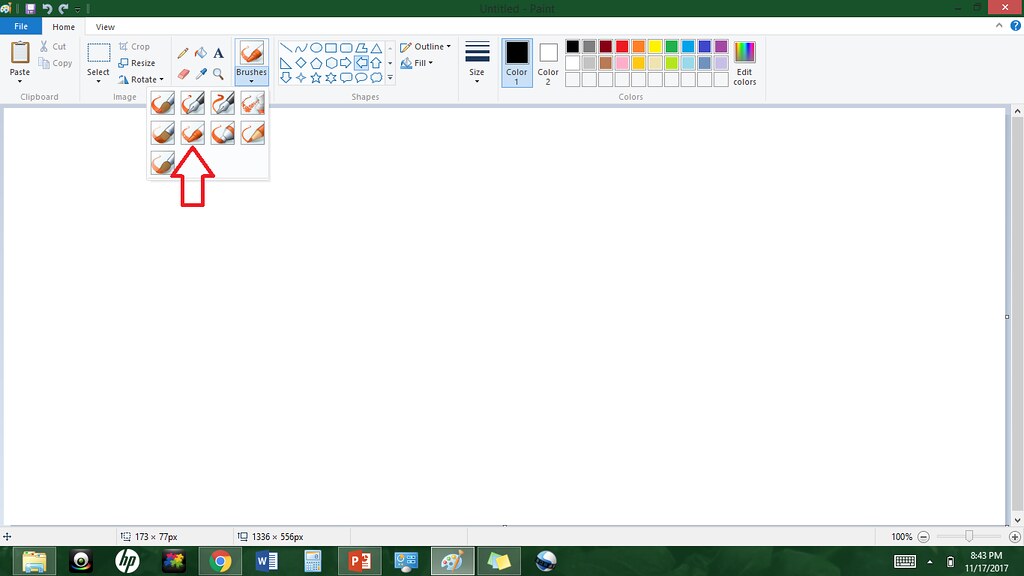
First, I used the paint program provided on my computer. Under the brushes section, you have several different options. For my assignment I chose the crayon, but you could choose any that fit.

Then, I used the screen recorder in PowerPoint. It is located under the insert section.

The screen will switch to whatever is opened behind PowerPoint. Then this small screen will popup. Make sure you turn off the pointer and audio. The pointer takes away from the effect and the audio will be replaced with something else later anyway so this save you a step from having to separate the video and the audio later.
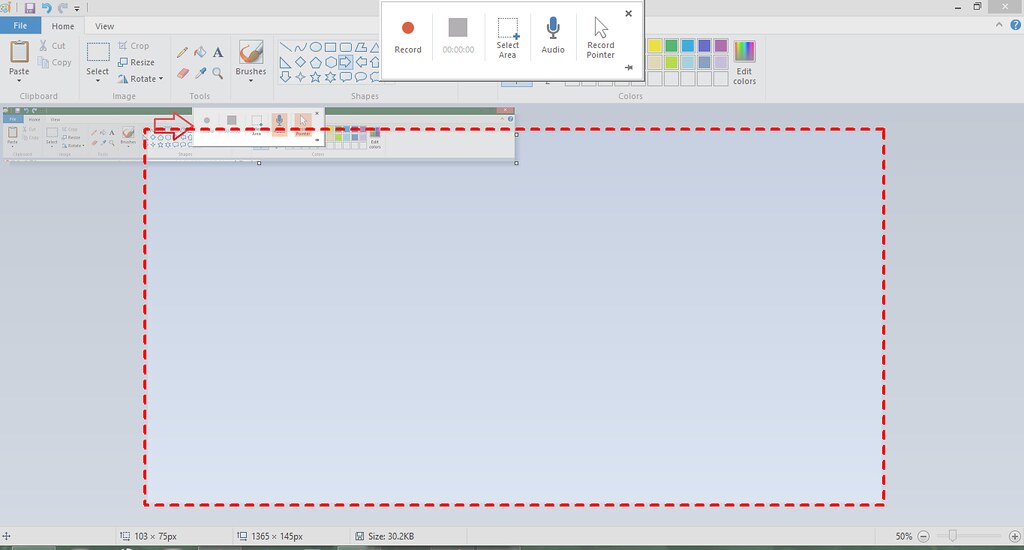
Then you will select the area you wish to record. I used a random center area within the paintable area and know to stay within those lines when drawing.

Hit record and start drawing!
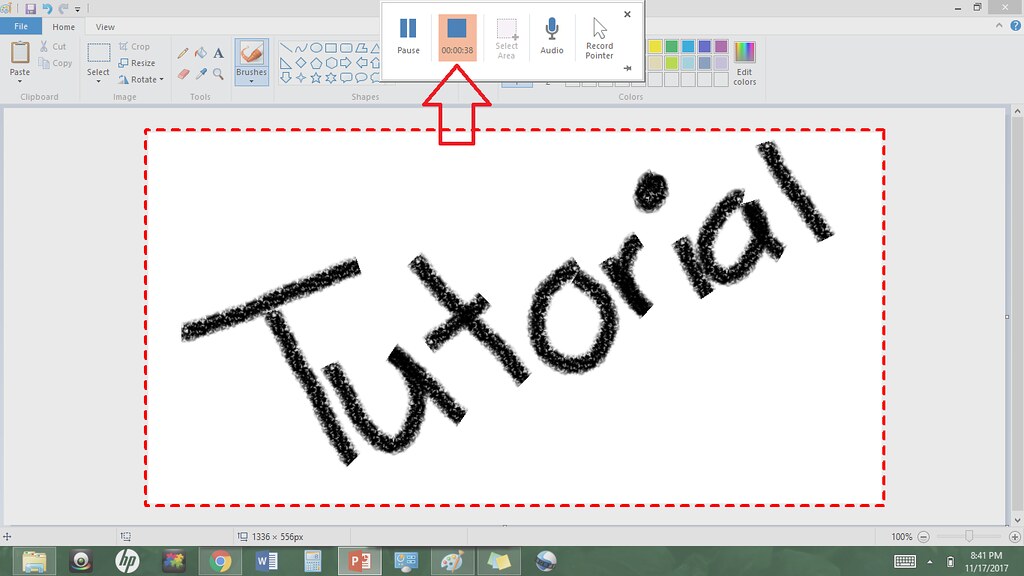
Once you’ve finished you hit stop. You can also pause as needed so that everything stays within one video clip. You are still able to use things outside of your selected area while recording so I was able to change the colors while I was creating the actual project.
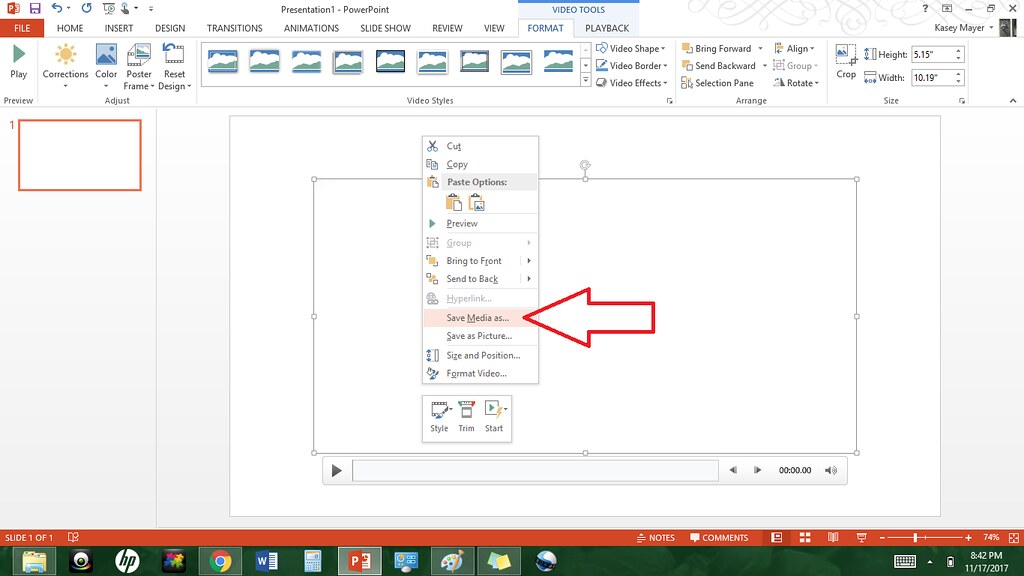
The video then gets moved into the PowerPoint and you can then save it as an MP4 on your computer. Now let’s switch to the audio.
For this part, I used Audacity to combine my audio. I got my audio for this assignment from freesounds.org, but you can get your audio from other platforms or record them yourself and then use this program to edit them together.

You want to make sure your audio all ends at the same time so you need to highlight and delete any extra.
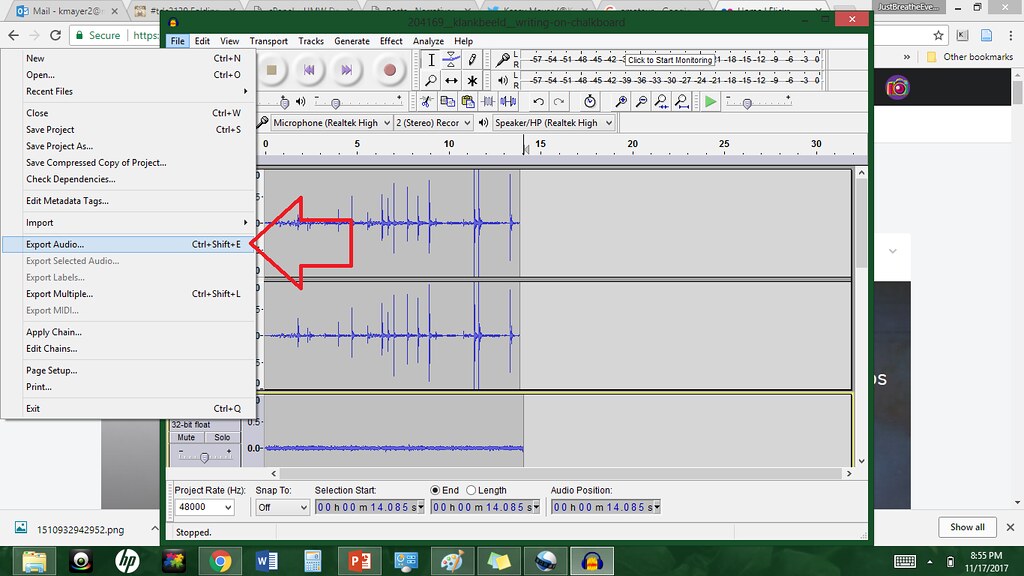
Once you’ve got your audio set you need to export it as an MP3.
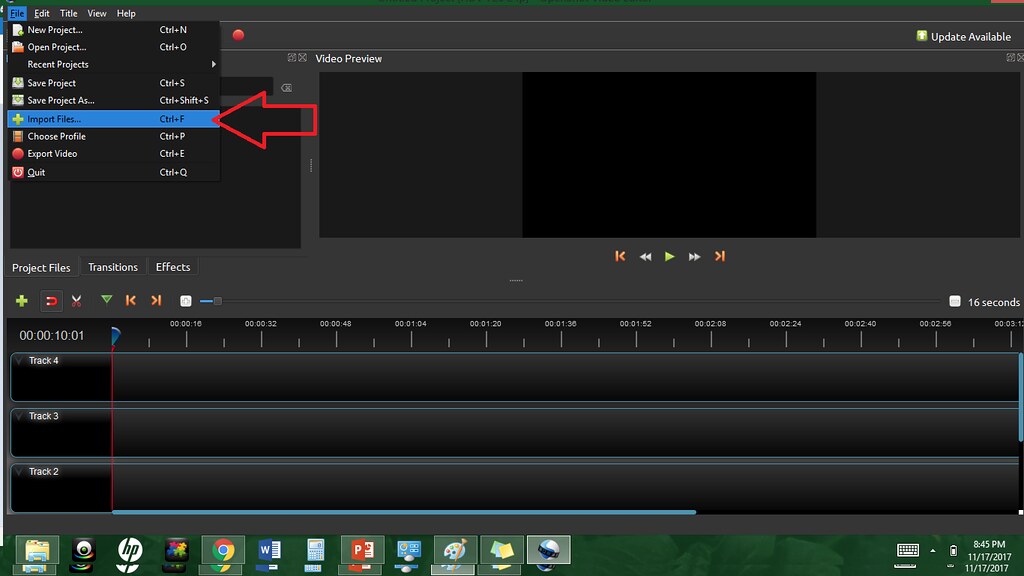
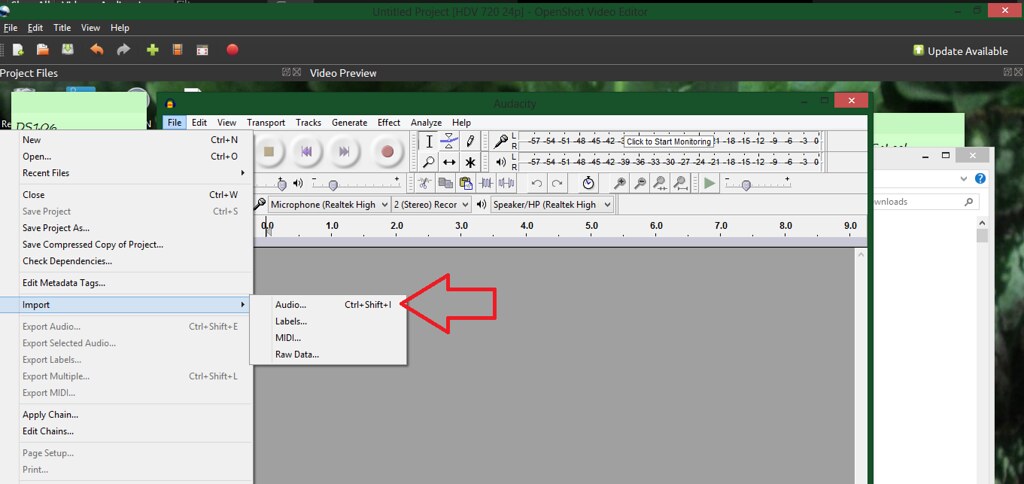
I used OpenShot to edit my video. It’s a little glitchy on my computer, but I like its usability best out of the couple I tried. If you will need to import your video and audio into the program.
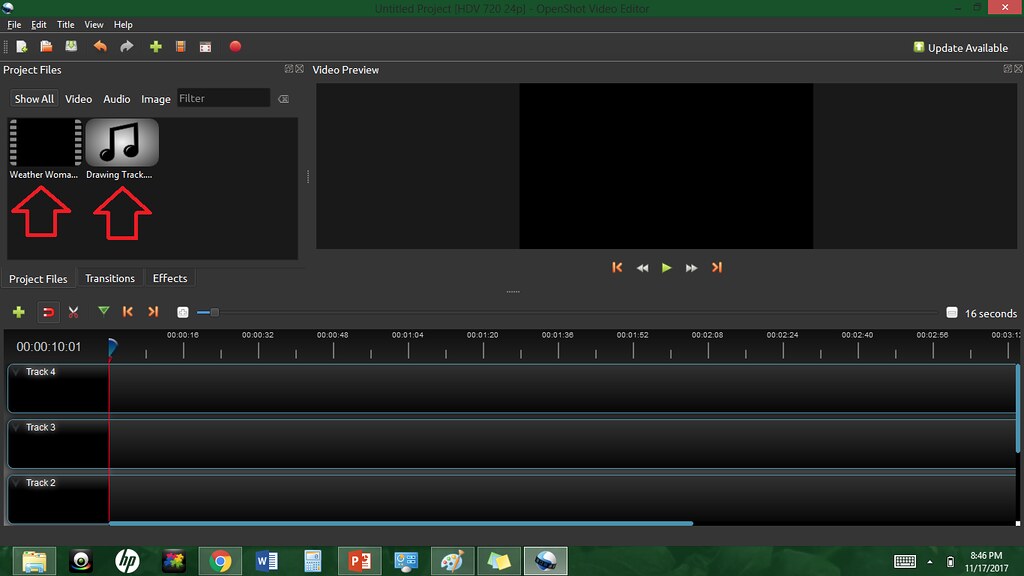
They will then show up in the project files section for your use in this project.
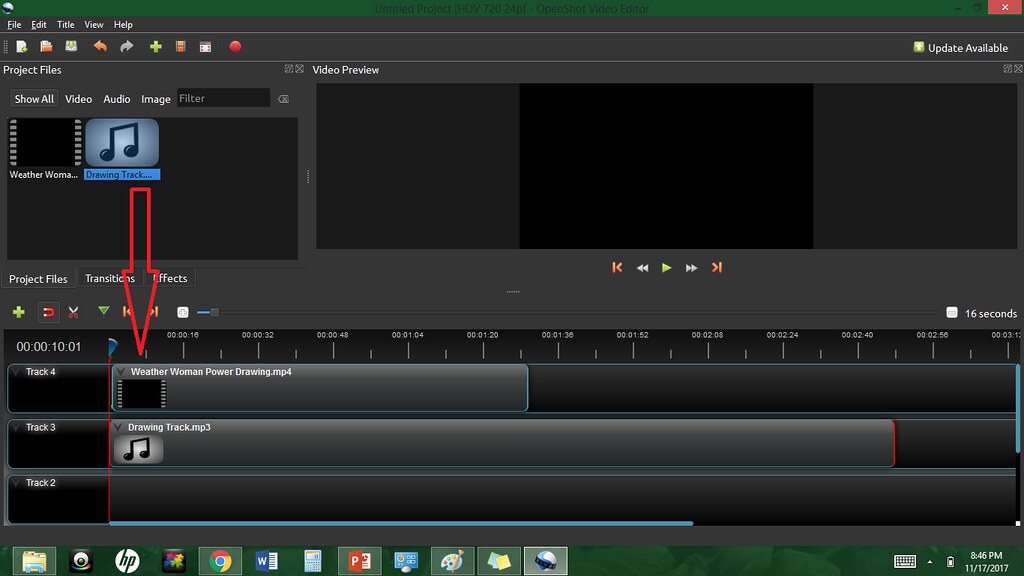
Click and drag the files onto different track lines (make sure you drag them to the front so that they start at the right time).
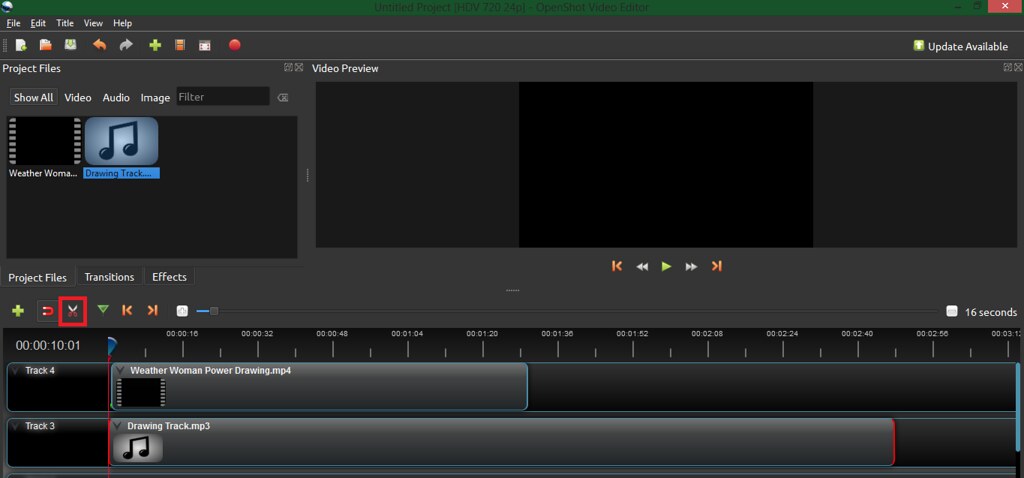
You can use the scissors to turn on the split. Then select where you want to cut each track (you could cut out a section of video if you want to, but I simply used to the cut my audio since it was longer than my video). Then you just delete any media that you don’t need. If you cut anything out of the middle you want to be sure that you move everything up so that there aren’t any unwanted breaks in your audio or video.

Once you’ve finished, you’ll want to export your video (saving will only save it within the program, but as a video that can be downloaded).
From there you can upload it to your website of choice (Youtube or Vimeo). Good luck!!!


