


My Process:
I’m proud to present my SECOND visual assignment of the week, The Comic Book Effect, which was a pretty fun assignment to do. I started out by taking a picture of myself with an extended clenched fist and opened this up with Adobe Photoshop CS5.1 I then found a really cool little tutorial off of google explaining how to achieve the Comic Book Halftone Effect. I followed the instructions on the tutorial and played with the sliders in the “Blending Options” section of the “Layers” tab. After I was satisfied with the comic effect I opened my newly edited photo in iPhoto and played around with the Exposure and Contrast, turning them down slightly, and jacked the Highlights slider all the way up to 100 (you’re probably thinking this is a bit extreme, but, hey, it made the picture look cooler to me :p).
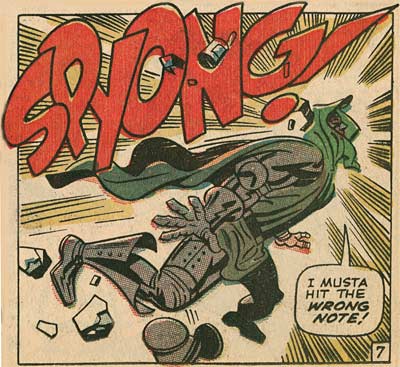
The final step of this project was to find what I like to call “Action Text”, settling with a POW! in yellow letters and a red bubble. I found this off of Google and opened up the picture in Photoshop. With the help of the “Magnetic Lasso”, I managed to cut exactly around the edges to extract the red bubble from the white background it was on. I cut this image out after it was selected from the magnetic lasso, and pasted it in my edited photo. This was very simple and fun. Anyways, folks, this was the process in a nutshell and I know I had fun doing it, so I hope you enjoy it as well. As always, feedback is welcomed!
-P


