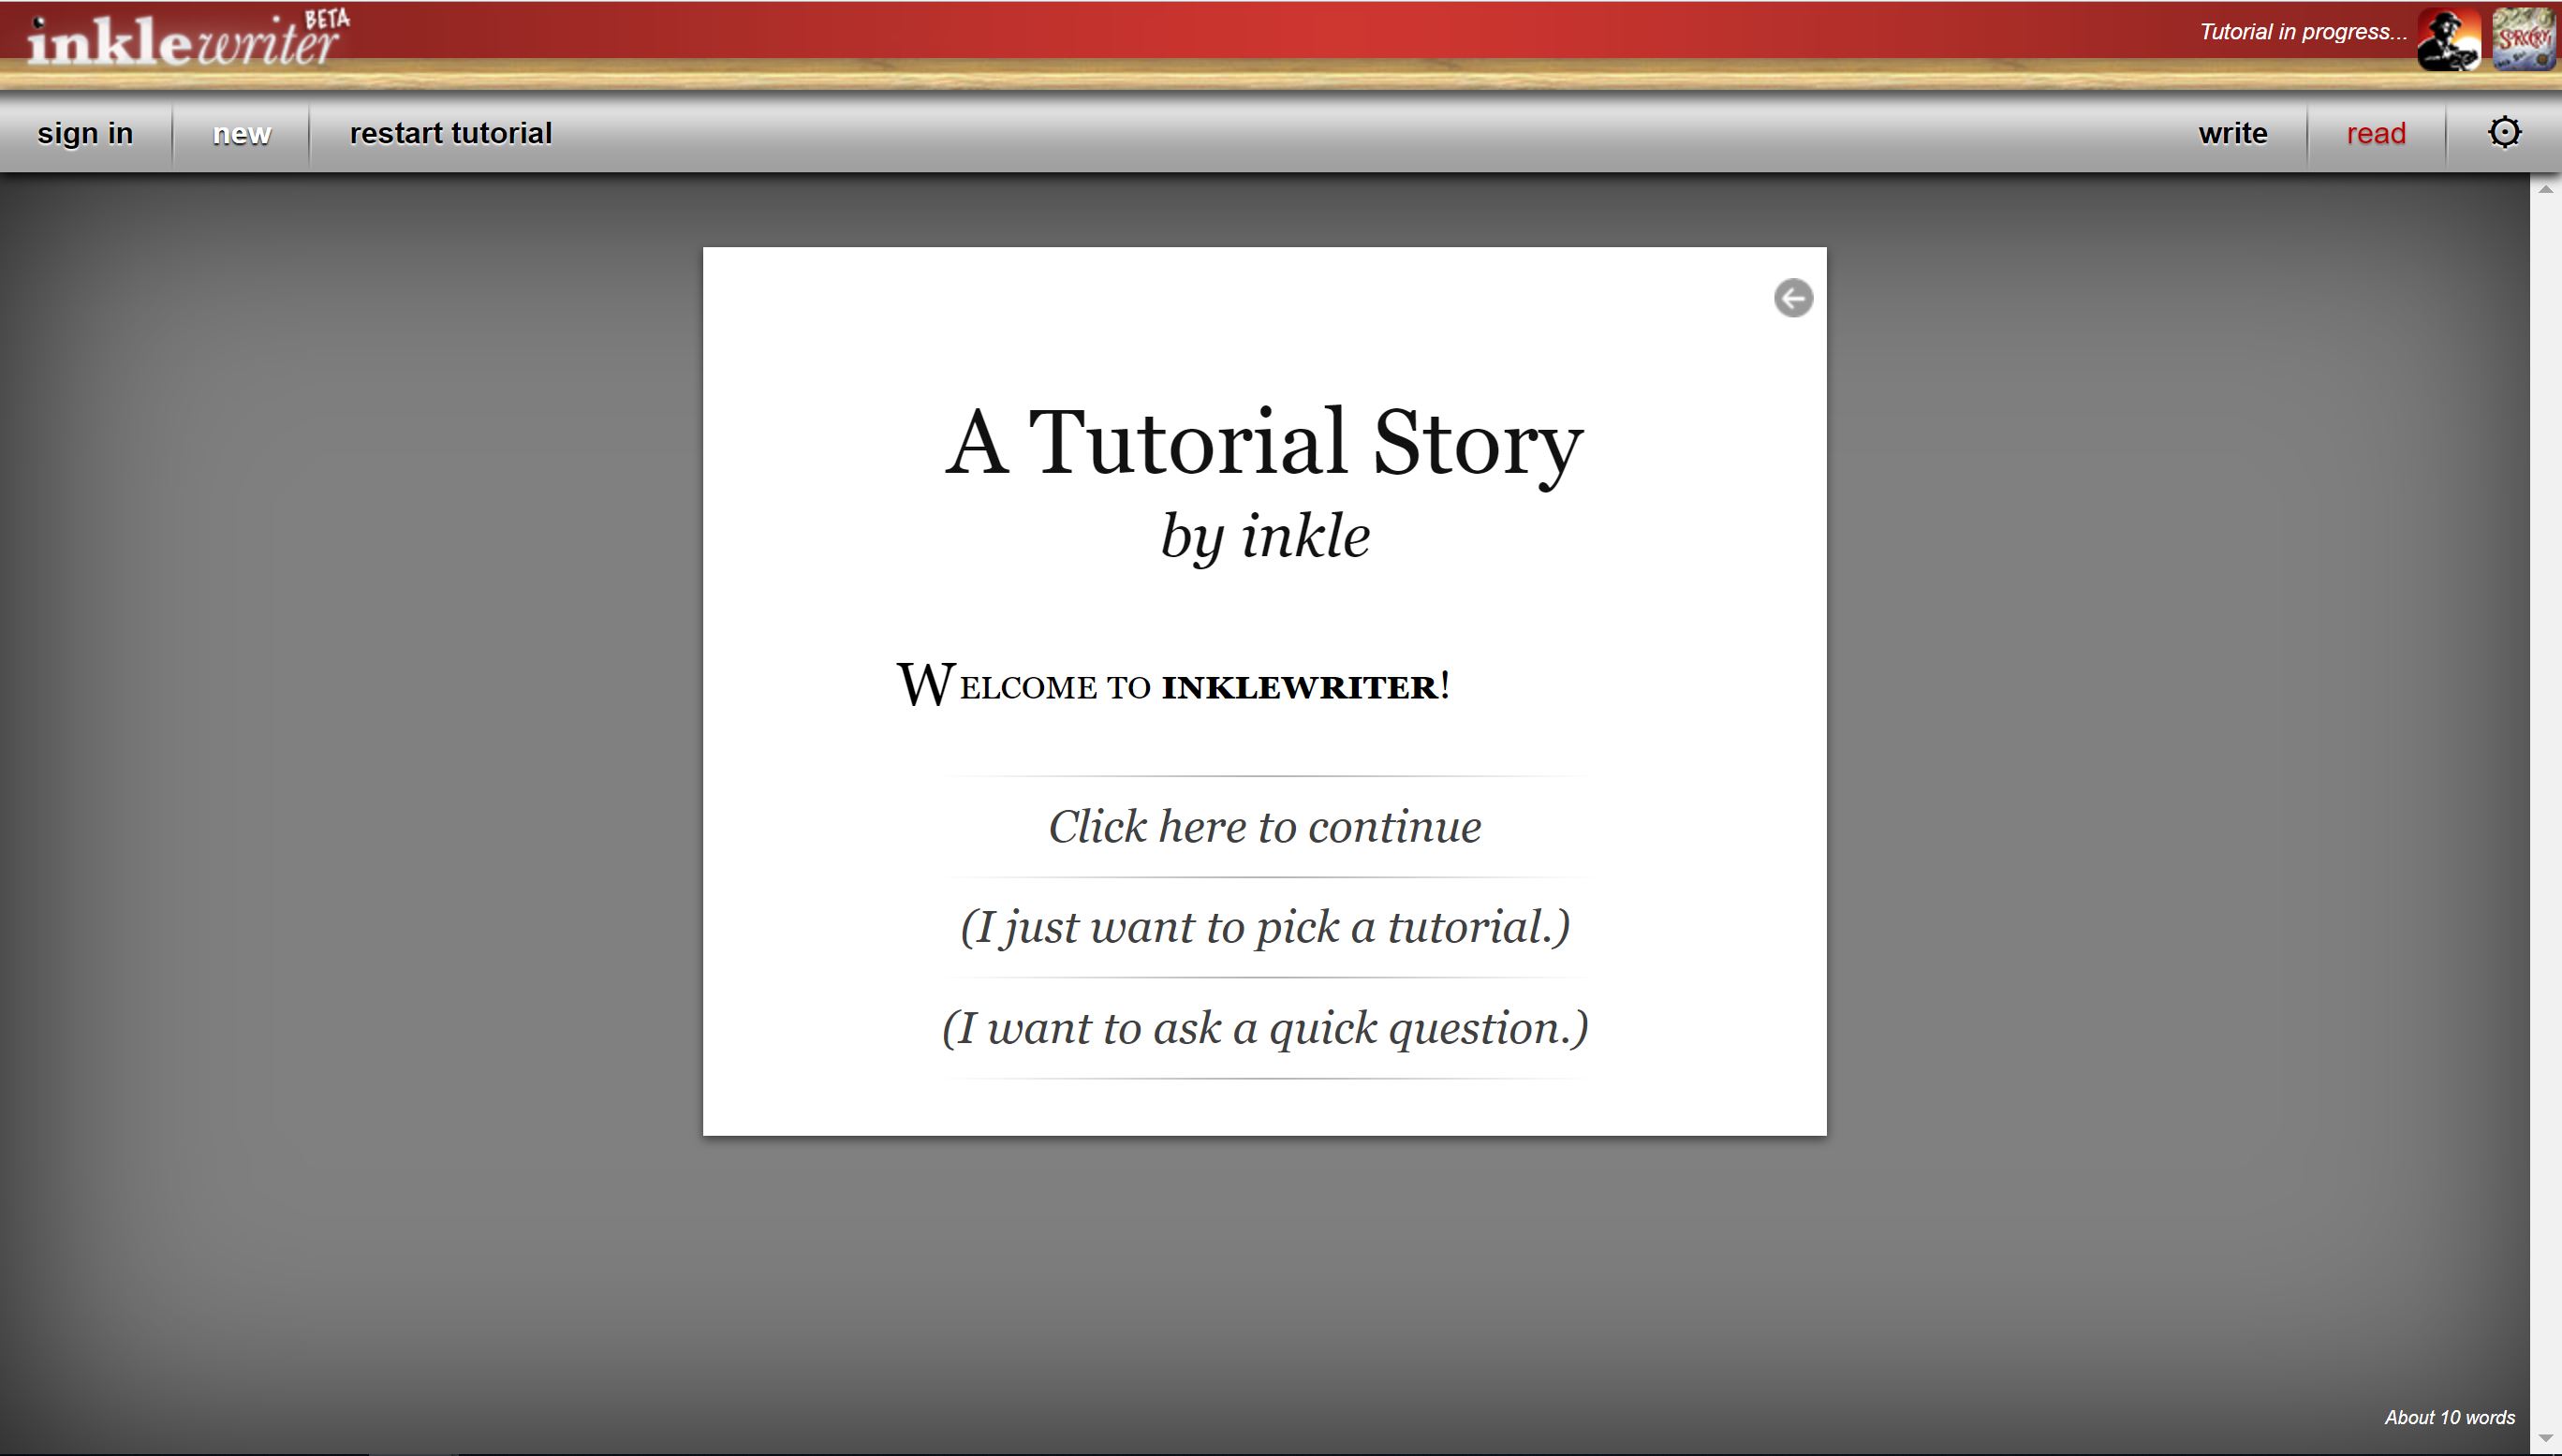
I really enjoyed using Inklewriter, so here’s a tutorial!
First, when you go to https://www.inklestudios.com/inklewriter and scroll down a bit, it’ll say this:
As of when I am writing this, it is still working (and it’s November 2018, months after August 2018). So, pay no attention to the warning. Click “Start Writing”.
However, the direct link is https://writer.inklestudios.com/, so go there. It also says that Inklewriter will be shutting down, and links to a page-https://www.inklestudios.com/inklewriter/shutdown/-about it and how to save your work. Again, right now, it works. However, check the page to see how to save your work, as Inklewriter may shut down at any point now!
So, if you click “get started”, you’ll go to the tutorial, which is helpful if you’ve never done it before.
If you click “new”, it’ll take you to a blank story, which is good if you’ve used the website before or learn best by doing.
Finally, if you click “sign in”, you go to the sign-in page. If you have an account, sign in. Otherwise, create an account, as you can’t share your work otherwise. Creating an account is free and very quick to do.
So, how to actually use Inklewriter. I’ll start with a blank story.
Notice the toolbars on the side. The top one bolds the words-you have the highlight the words first-you can’t preemptively bold the space where the words will go before you type like you can in Microsoft Word. The one underneath the bold italicizes the words-the mechanics the same as bolding. The top-middle one, the three dots or ellipses, joins two paragraphs together, so when you read it the two paragraphs are merged-you can’t tell that they are joined. The bottom-middle one creates a new section-like a new book chapter in a way. The ‘if’ looking one is for conditions-if-then. So, if you want certain options to only appear if the reader does or read something, that’s how you do it. Finally, the bottom one is if you want to add an image to your paragraph. It requires a link to the image, like from Google. However, be wary of copyright!
Now, notice the tools at the top. On the left, “Sign is” is where you sign in, “new” is going to create a blank story like the one up above, “open” is, if you’ve signed in, the stories you’ve saved, “tutorial” is the tutorial, “share” is how you share it, and “?” is the link to Inklewriter’s written tutorial on how to get started. On the right, “map” is a map of the story and the paragraphs you’ve made so far, “contents” is a list format of the story and paragraphs you’ve made, “read” is how you can check and see what you’re story looks like to read when you share it, “write” is the mode you need to be in to write the story, and the little gear is settings, for changing the scale of the editor and “read settings”.
So, first, write your first sentence or paragraph. I’ve bolded the first few words, to signal that it’s the start of a section, but you don’t have to. Then, add the first two options you want to have in your story. Then, branch off from there.
Keep going, adding options, endings, and sections as you see fit. Eventually, your web and contents might look like this:
Once you’re done, hit the “share” button. It’ll give you a link that you can then post anywhere. Here’s a link for the Inklewriter story I made last month and its blog post-http://writer.inklestudios.com/stories/388v and http://ds106.francescamaisano.com/ds106/a-haunting-churchyard/.
Inklewriter is more complex then meets the eye, and writing choose-your-own-adventurer stories can be challenging. Don’t worry! With practice, you’ll be getting the hang of it in no time!
This is the assignment that I made this for:
http://assignments.ds106.us/assignments/inklewriter-storytelling/


