For reasons I fail to devise, on my trip I’ve had an eye for making GIFs, maybe it is traveling be train in that motion that is repeated. I’ve been collecting photos that seem like they might work. sometimes I try to adjust the angle to make a pair that might work well as a ds106 Wiggle Spectroscopy. In a few cases I just have snapped photos in succession that end pairing well.

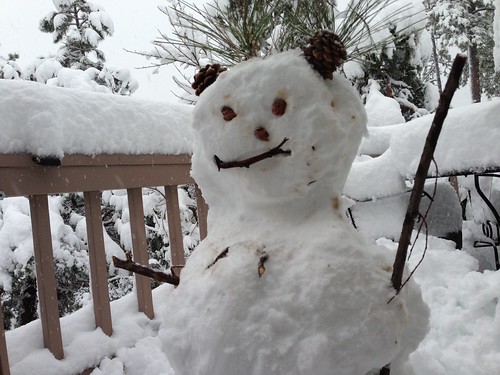
Heart and Spike Fence, Wooster OH
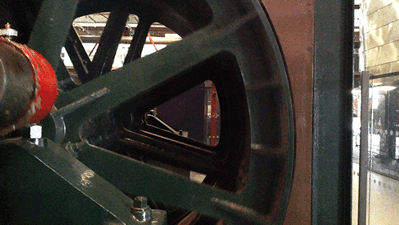
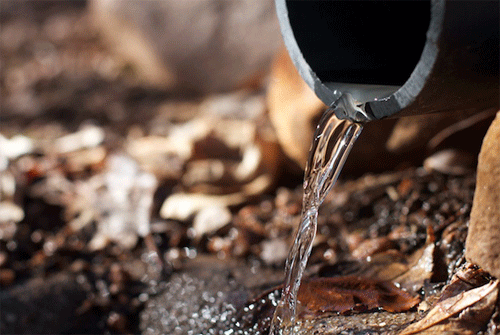
This fence on one of the Old Founder’s Row homes on Bever Street in Wooster caught my eye, for the contrast of the heart shape topped by a spike. And what is a fence but something that says “Do not enter”? I did not get an optimum angle (and in fact did a bit of PhotoShop brushing in the upper left corner because one photo had more of a white patch). The two frame repeat, also feels like a heart beat (emphasized by having a frame rathe of 0.1 s on one and 0.2 on the other).
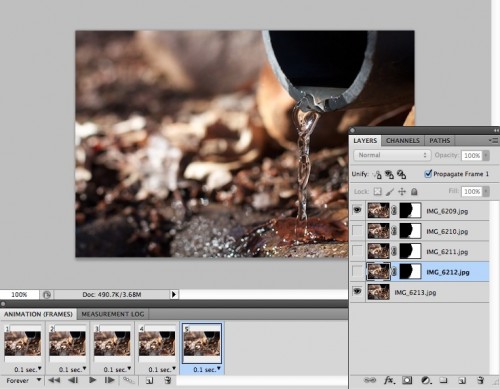
My method for most of these is to import into PhotoShop (I have CS5 version) using File -> Scripts -> Load Files into Stack. This lets you take a series of images and have them put into different layers. If it is a motion GIF, I will check the box for “Attempt to Align Objects” which does a nice job of fixing images that do not match up 100%. But for a wiggler, like above, I leave that box unchecked.
In PhotoShop, I see these as separate layers, fine. To animated, I open the Animation palette (Window->Animation). On the right side is a subtle menu, I use “Make Frames From Layers” which puts each layer as an animation frame, in which te other layers are not visible.
If I need to do some masking, I can activate the bottom layer to be visible, and so I can crop things out from higher layers.
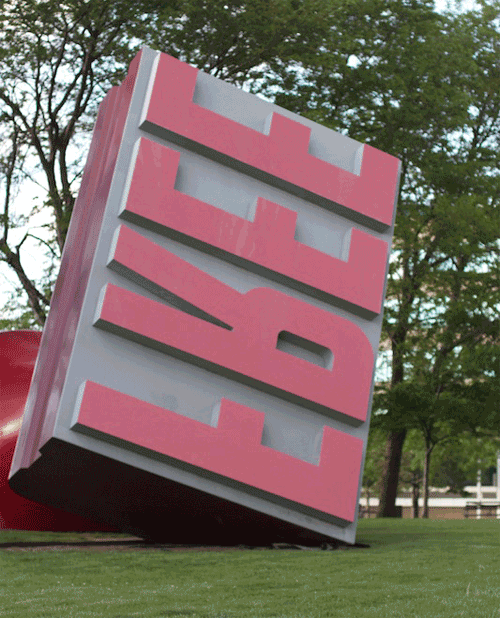
Free as in FREE! What part of that do you not understand? When has such a simple word been more mis-understood?
This one was technically two photos imported; it is of Oldenburg’s that giant stamp near Cleveland’s City Hall with FREE on it (more irony in that it was commissioned by an oil company). I tried a bunch of angles thinking a Wiggle Spectroscopy would work, but my camera angle seemed to change the size disproportionately- the idea than of the size change mimic-ing the action of a stamp seemed right. There was a bit more trees in the background than I liked, so I cropped it in more. Then I thought of duplicating one of the layer/frames, and changing up the text of te letters in “Free”. This was done by using the magic wand and the shift key to select the red letters, using Image -> Adjustments -> Hue/Saturation to make it a pale green. Thw Smudge Stick filer gave it a grittier look.
I also made the last frame a tad longer to it breaks up the pace a little
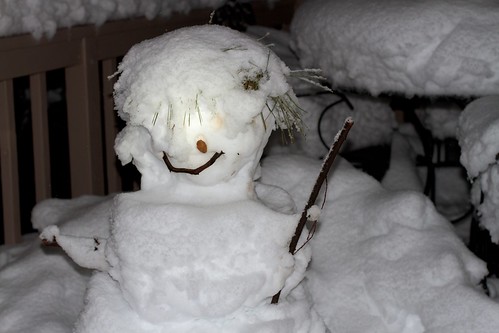
Last is a series of photos that worked just because I left my finger on the shutter and snapped two photos, during the wonderful lunch yesterday at Barbara Ganley’s home in Vermont- Bryan Alexander visited and I liked his gesturing motion in both photos; his hand moved slightly.
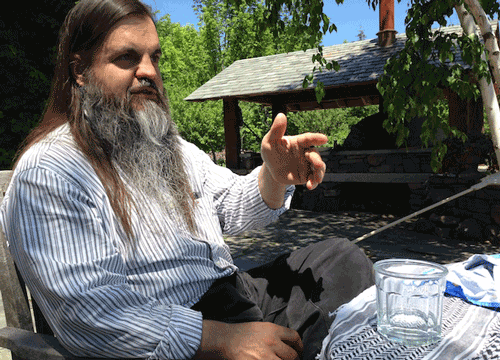
He is almost conducting, and there is a little bit of headbob. The original pair had a lot of tree motion in the background, so the second frame, I made the bottom layer visible, and cropped out the background of the first. This did not work because his hand showed through, so I went back and subtracted out the appearance of his hand below. So the lower layer appears first, in the second frame, the upper layer is superimposed, and has enough removed that we see through it to the background of the lower layer.
These two framers are fun to do.
I did a bunch of train ones using the Cinemagram app on my iPhone. The biggest challenge is holding the phone steady to avoid mismatched motion. It also helps to look for examples where you can mask the animation parts and leave the rest as non moving.
Sadly Cinemagram follows Instagram formula so much I cannot navigate my Cines via the web, the only way to embed them is to email them to myself, follow the links and grab the code from there (ugh the embeds seem flaky too).
This seemed like a novel idea, to animate just the portions within a plastic cop of unspecified beverage-it does show the weird artifacts you get sometimes if you try to use the mask tools twice — http://cinemagr.am/show/151894725
In Buffalo, the freight trains were constant, here I caught two of them going in opposite direction. The iverlap is fairly clean http://cinemagr.am/show/151894725
And not only trains, this one of Giulia’s wave really works well for me, she just waves and waves and waves and waves http://cinemagr.am/show/152753470
So no, the love of GIFfing (hard g) never stops. It’s more than the result, its the process of capturing motion, a place, in a minimalistic media, and one cannot get too much more minimal than just 2 frames.
For more info on the method, see Photo it Like Peanut Butter and my first efforts of Animating GIFs from Your Own Photos