For my final visual assignment I chose Switch Up The Mood, worth 2 stars.
Change the mood or tone of a photograph by altering the contrast, brightness, hue, saturation, exposure, etc. You do not have to change all of those things about the photo, but you can if you would like to. Experiment. Don’t be afraid to take it to the extremes, and don’t be afraid to be subtle.
This assignment jumped out to me again because of the featured picture. I also want to work more in GIMP to try to familiarize myself with the software. I expect to be using GIMP to alter images for daily creates in the future so I chose this as another chance to practice.
I like to edit pictures for Instagram as well, and can spend upwards of an hour editing just one picture. I thought this would be a nice assignment to end the week on, because editing photos is relaxing to me. It has also always intrigued me how with simple color changes in a photo how it changes the whole feel of it. I guess put simply, it switches up the mood.
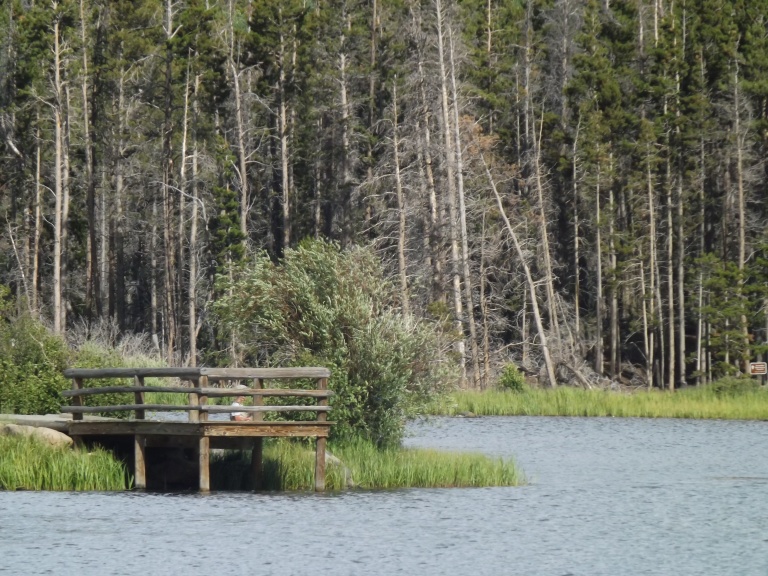
The Original Photo

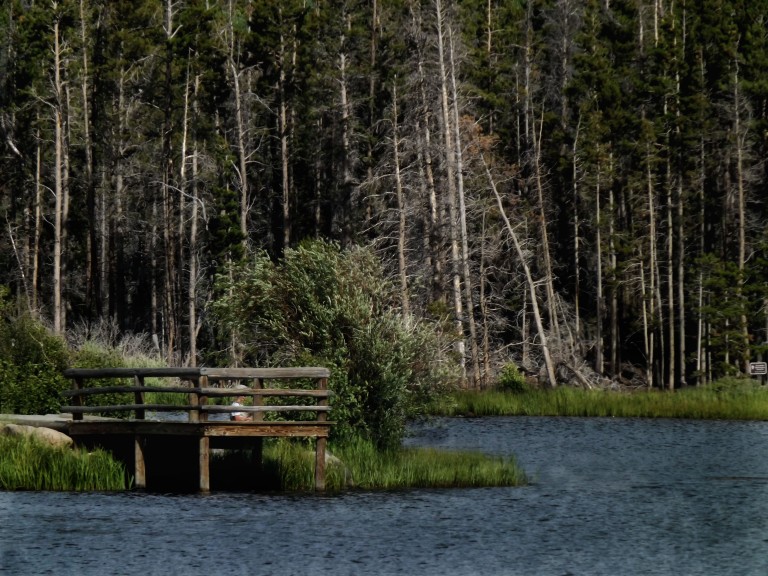
The Mood Switch

I chose a picture with a neutral mood to it because I wanted to see how different I could make it, and I feel like making a picture of people smiling a different mood is more difficult. In this straight-faced picture I was happy, but my goal was to make the picture seem sad.
I started by importing my photo to GIMP. I first manipulated the color balance of the photo. I chose Colors > Color Balance and proceeded to adjust each color level. I did this for the Midtones and Highights sections. The main effect from this was removing the warmth from my skin, therefore making me seem less happy.

Next, I decreased the Brightness and increased the Contrast to make the overall appearance darker and less lively. Click on Colors > Brightness-Contrast and adjust the slider accordingly.

Finally, go to Colors > Desaturate. I chose the Average option because it gave me my desired “sad” effect.

Then Save your image, and you’re done!
I feel like the mood switches from a photo that emanates warmth and happiness to one that makes you wonder if the subject in the photo is alright.