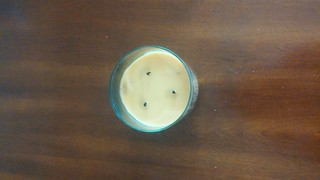
In order to figure out what exactly this assignment was, because I didn’t really understand I looked at these two blogs (2 separate hyperlinks). I didn’t like how much they covered up the original image so I tried not to do that in my project, but I thought the coffee cup and the candle were a really good idea for this project. I began looking for idea in my room and living room. A friend suggested the lamp, but I didn’t really like that suggestion until I stood on our chair and looked down into the lamp and then I saw the possibilities.
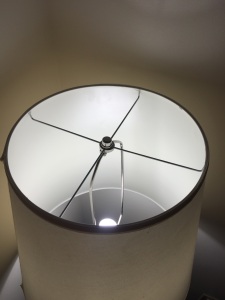
In order to complete this assignment I downloaded several different Windows applications including: Adobe Photoshop Express and Crayola Photo Mix & Mash. However, neither worked very well. Photoshop just did basic filters and the Crayola one had limited color choices unless you payed. So I resorted back to my trusty Paint. I decided to use my touchscreen and stylus to get a more accurate drawing.
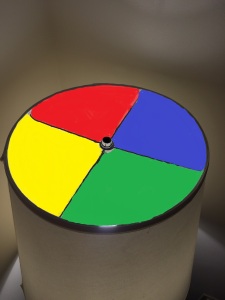
The first one I did was a Simon Says board from when you were kids. In case you don’t remember it’s the game when you have to follow the color pattern that lights up and the pattern gets progressively harder and harder.
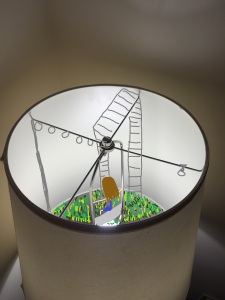
The next one I made was a playground scene. I originally was just going to have the swing but then I likes the idea of making a secluded world inside of this circle. I also like, what I just noticed, that the girl kind of looks like shes sitting on the edge which would have been a good idea too. As I start writing this up I find a lot of new ideas I could do. Like a bike tire, a trashcan, a barrel/ monkey’s in a barrel.
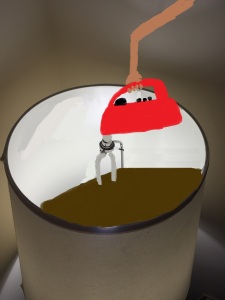
The last one I did was a mixer mixing brownie batter in a really long bowl haha.
The Process
First I took the picture and opened it with Paint. I had to resize the image in order to make it a decent size. To do this without making the image fuzzy you have to use the resize button not just drag the corner. Then a box appears that looks like this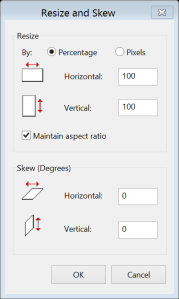
The numbers always say 100, as it 100% of the size and then you can make it 50% and it will be half the size of the image.After this I began coloring.
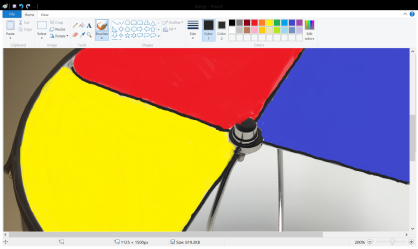
In order to color this image I had to zoom in so i could see the lines. I also had to use the dropper tool to copy the color of the wire so I could go over the parts that I colored over with the colors. I used either the paint brush or marker and varried the size depending on the area I was coloring.
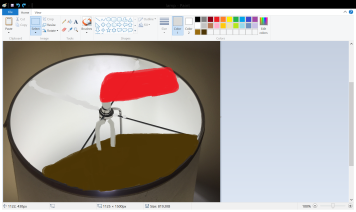
I tried to use the dropper to copy the color and cover up the line, however the lamp had a lop of differed shades on it and it made it really hard. So I tried to cut out strips and cover up the line.
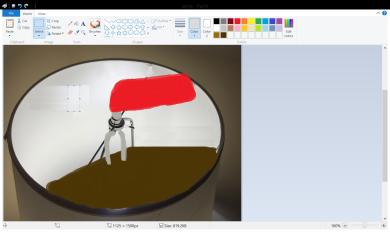
This way worked better. In the above image you can see where I selected a rectangle.I then would not move it but just copy it and paste it and then continue pasting and moving to different spots until the line was covered up. After doing this I then also painted over some spots to blend it better.
x Kelsey


