
Two colors have been altered


Two colors have been altered
Did you know that in Japan (and in some other countries), the sewer covers have unique designs depending what region and city/town you’re in? I encountered this–or at least, actually noticed this–in the summer the weekend before my classes in Japan began. This was en route to the ?magari Fireworks Festival. Sadly, I never stopped to other sewer covers during my study abroad to compare each one, but I’m glad I got even one picture.

At the bottom of the cover, it says ???????and?????which means “?magari” and “sewage,” respectively. Since ?magari is well known for its annual fireworks festival, you can see the carvings of the fireworks coming from the top of the mountain. To the left and right are trees, and running along through the center is a bridge, with water running beneath it. The attention to detail and the significance of the images presented here on this cover astounded me. It was too beautiful to not take a picture.
Pondering what to do for my first visual assignment for this week, I stumbled across Colorize It (3 stars), which prompted me to adjust the colors of a picture I had previously taken. I scrolled through my Japan album and came across this picture once again. I wanted to pop some color to this plain sewer color to really represent the explosion of colors that come from the fireworks.
I used the Photoshop Express app on my phone and used the dynamic filter.

The filter added hues of blue and green while accenting the yellow from the original picture. It almost makes the cover look as if it sits atop a grassy mountain than concrete while the bright colors pop out like fireworks. Please enjoy this picture of the colorized version!


No Five Guys Milkshake should have a yellowish green tint to it.
I made this photo for the Colorize It Assignment
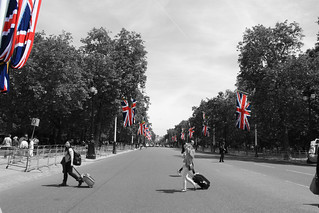
I used a picture that I took in London this summer while crossing the street to get to the changing of the guard ceremony at Buckingham Palace. I used photoshop, created a duplicate layer. I then used the quick select tool to select the parts of the photo that I wanted to still have color (the flags) and deleted them from the top layer. I then made the top layer black and white, so that the color left on the bottom layer show through. I think it went well, and it was really fun to make.
In the Visual assignment category, I chose to do the Colorize It assignment. I took a photo I had previously taken, and adjusted the colors in the picture.
To change the colors of the pictures, I opened my original image into Pixlr and used the Magic Wand tool to select the flower, the leafy background, the middle of the flower, and part of the bee. After I selected each of these parts of the picture, I selected Adjustment and used the Color Balance scales to decrease the red tones and up the blue and green tones. It was a pretty simple process, but it still had a really cool effect on my picture!
Here’s the original image so you can see the difference.
![]()
![]()
![]()
![]()
![]()
To add another Visual Assignment under my belt, I completed another one star rated assignment from the ds106 Assignment Bank. This assignment, Colorize It, called for the colours of an old photo to be adjusted. I had to adjust more than one colour but it didn’t matter whether the colours were realistic or not!
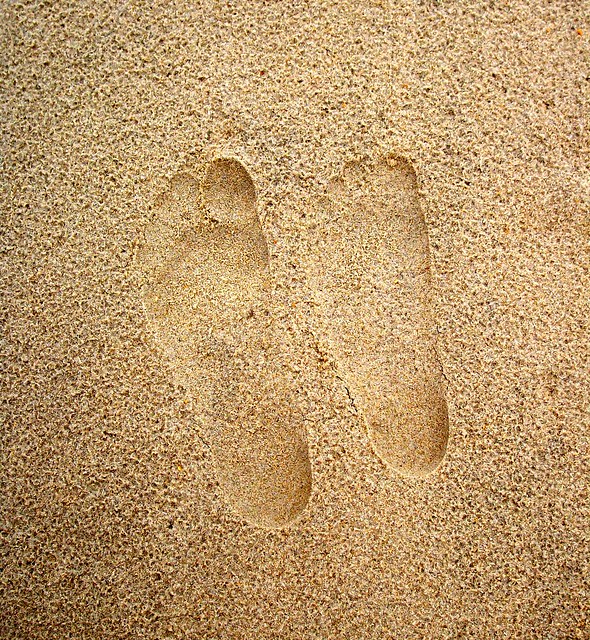
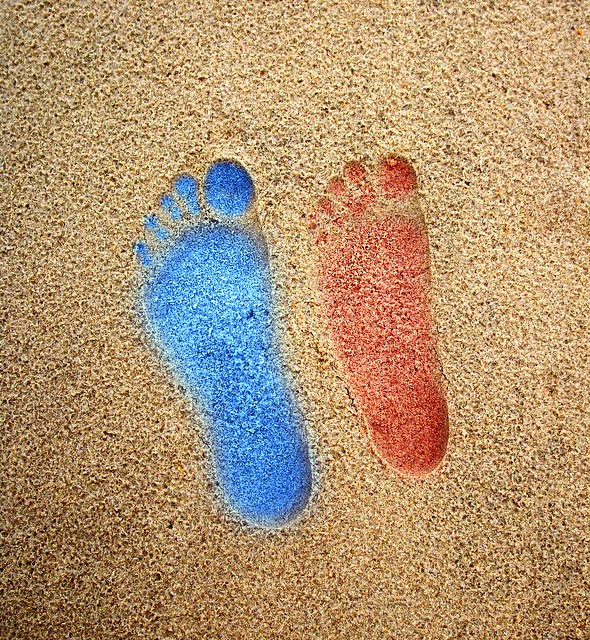
To complete this assignment, I chose a photo from this past summer of my footprint next to my boyfriend’s in the sand. Cheesy, I know. Don’t get me started. Below is the original photo:
I opened the photo with Picasa and then clicked on “Edit in Picnik“.
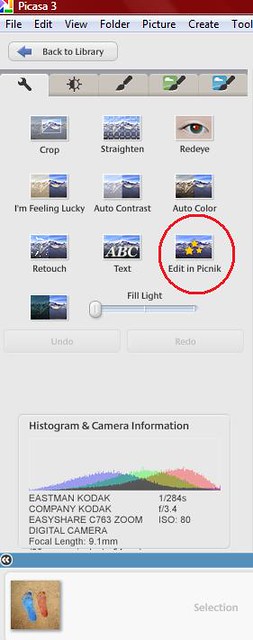
Once in Picnik, I went to “Decorations” and chose “Face Paint”.
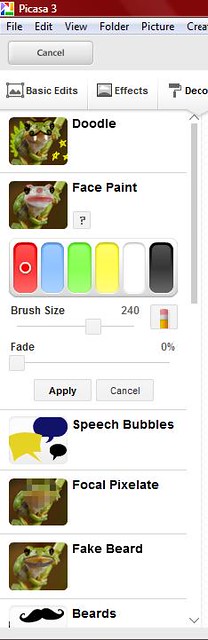
From there, I chose the colours I wanted to use and airbrushed the inside of each footprint with a different colour. Finally, I saved the photo and uploaded it to Flickr. Et voilà!
As always, I shared my work with the rest of the ds106 community via Twitter.
#ds106 Another two visual assignments completed and my first tutorial! Check them out! ds106.larahampson.com/tis-not-the-se… & ds106.larahampson.com/colourize-it/
— Lara Hampson (@l_hampson23) February 13, 2013

Okay, this is my last Visual Assignment. For this one, I decided to change the color of the sky on a picture that I took at the beach. Here is a side-by-side comparison of the two photos.


As much as I like the first one, which is completely un-changed in terms of editing, I really liked changing the yellow to a more blue hue. It makes it feel like there is a flash going off or something is happening other than a sunset. I, once again, used Photoshop Express Editor to change the picture and make the blue more accented. I hope that you like the changes that I made to my photos!
