You’re raw and natural, with gems inside you

“What if I look inside myself and I don’t find any gems? What if I’m just a rock?”

A year and a half ago, when I was a Sophomore preparing for exams and trying to dig myself out of a depressive rut, I went on a Studio Ghibli binge. As a kid, I had only seen Spirited Away, Howl’s Moving CastleNausicaa of the Valley of the Wind, and My Neighbor Totoro. I watched those endlessly. I watched them whenever they were on TV. As I grew older, I became aware that there were other Studio Ghibli movies, a collection of fantastical worlds that could whisk you off into a story you just couldn’t get in American children’s media.

When I was watching them that week, trying to cheer myself up or else just forget about my mountain of responsibilities, I watched all the classics from my childhood. I felt like such a kid again, and it was such a relaxing time. Once I had completed those, I began to branch out into the worlds I wasn’t able to explore before. Kiki’s Delivery ServiceThe Cat Returns; I devoured them because they made me feel better than I had in a while. But my favorite from that period of time, the movie that I connected to, felt in my soul, understood with all my heart and cried over several times, is Whisper of the Heart.

A story about a girl who loves literature, but struggles in school. She reads books like they’ll disappear any second, and eventually decides to write her own book. Of course, novel-writing isn’t easy, and she has her doubts, her motives questioned or belittled by her family, a lack of support and the isolating feeling that comes with trying to write a novel is so short a time.

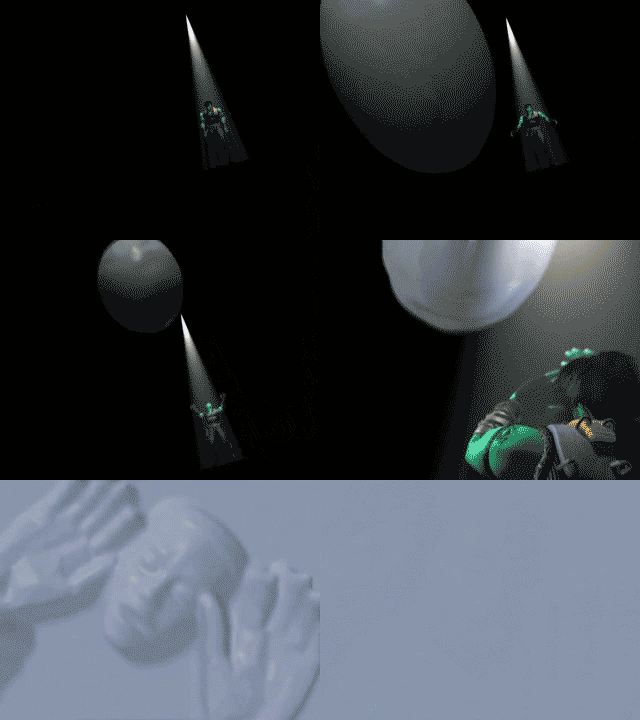
Whisper of the Heart is me. It is how I feel when I write anything, and I doubt myself. It is how I feel when I don’t do well in school, but I throw every ounce of myself into something I love. I choke up during the scene where she is shown a geode and told that artists are like this geode; when an artist first creates something, it is raw, with gems inside it. This scene, while inspirational, is heartbreaking, with the girl still wondering if she is like that geode at all, or if she’s just a rock.

GeodeScene

Process of Making the Gif

For the “Say it like the peanut butter” Assignment,  we were required to make a gif of our favorite (or least favorite) movie scene, and capture the main point of that scene. While I did know how to make gifs in GIMP, I had no idea how to turn a video into a gif. My initial idea was just playing and pausing the video as quickly as I could, taking screenshots, and then throwing them into GIMP, but that seemed like a tedious and frankly ridiculous idea.

And while there’s a lovely tutorial on how to take Youtube videos and turn them into gifs using Imgur, I was (un)lucky enough to only find this scene on IMDB, which, if you’re wondering, does not work with Imgur’s video-to-gif feature.

So to truncate a lengthy process with a lot of failed attempts, I eventually downloaded a (admittedly dubious) video capture program called Video Download Capture.  Trust me, while I downloaded this program without hesitation, I would be wary and seriously look into it before you download the trial (I’ve made many mistakes in the past with downloading random programs). But, while I was suspicious of it, it did the job. I used the screen-recording function and recorded this scene (and a few seconds around it to be safe).

Next (after more failed attempts and work with a different program that proved useless), I uploaded this video to Youtube. Only temporarily of course; it was recorded without sound and, frankly, looked like a mess because the screen-region I captured was larger than the video’s region (I did that because the program has an unsightly watermark that I didn’t want getting in my gif).

When I found out Imgur still didn’t want to turn my video into a gif, I went to Make A Gif, which was more than happy to work with me. I was once again pleased that my screen region was bigger than the actual part I wanted, because Make A Gif also adds a watermark to the bottom corner of the image. But it worked perfectly, and I downloaded it and opened GIMP.

In GIMP I just wanted to crop out the unnecessary bits and (because Make a Gif made the image really small) increase the size. I would have tried to increase the quality, but GIMP was refusing, and it had already been a long process. I apologize for the quality.

Then I just threw it into TinyPic, and that was that.


Young Grasshopper GIF

   Doesn’t it look like this guy is about to pounce? That is because he actually did moments later. I freaked out when that happened naturally and the camera went everywhere.

   So how did I make this gif? I searched google, of course. I clicked the first link that brought me to a site that helped me make this little thing. It is perhaps not a gif that will reel in thousands of dollars but it is… something. I uploaded a video to iMovie > selected the clip length > added it to the timeline > ******* > exported the video to a file > uploaded it to this gif maker.

   Now, those asterisks represent a step that I chose not to share with any of you. I will offer a re-tweet to anyone who can tell me what that step was.

This little guy can’t make up his mind. 

grassy

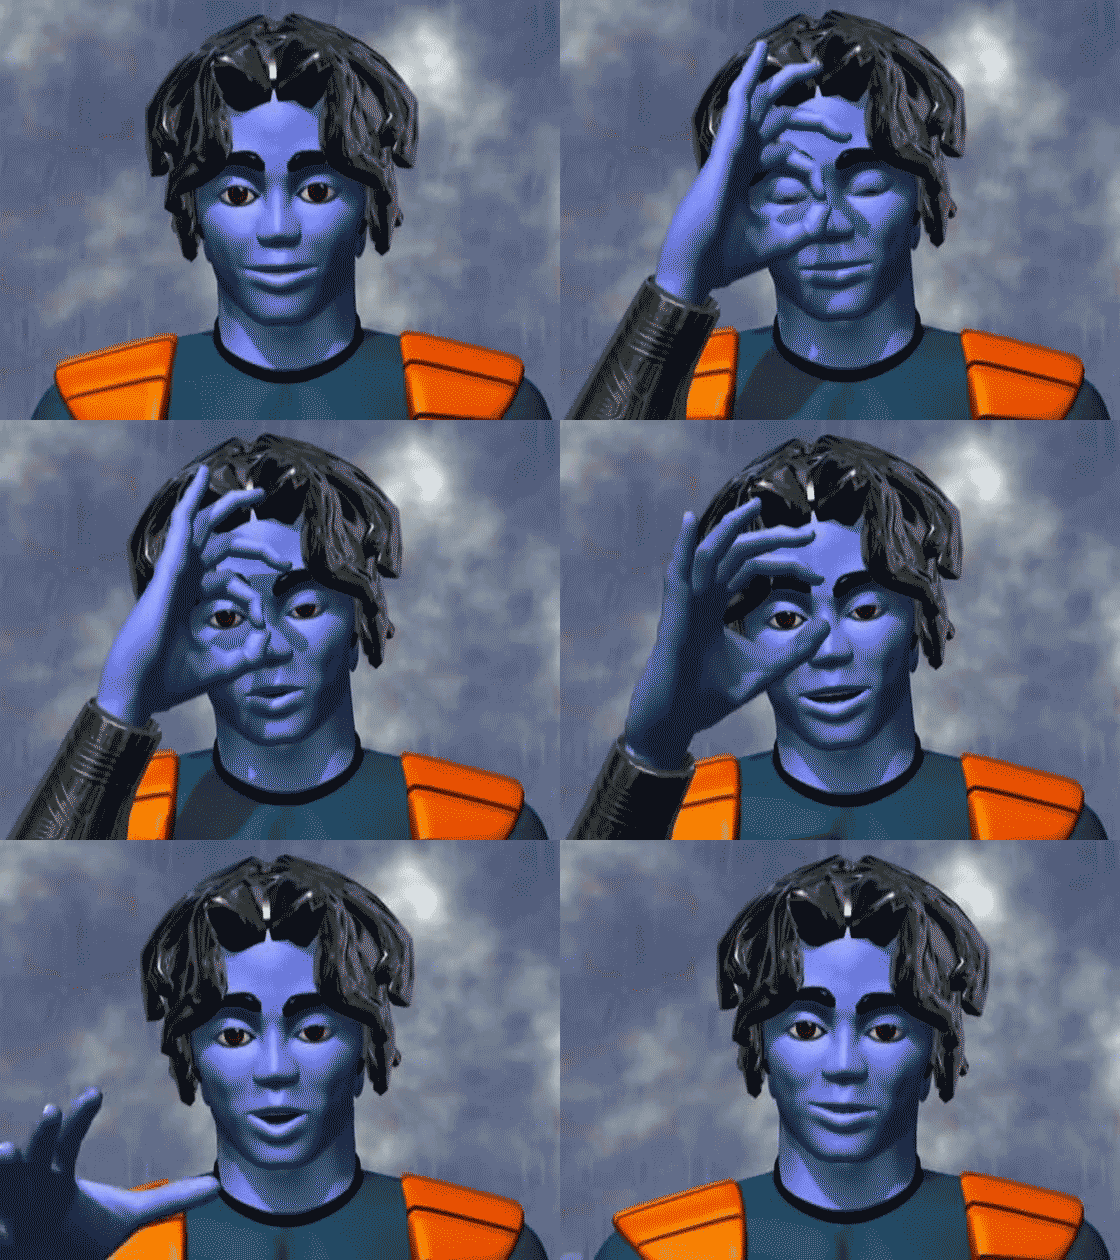
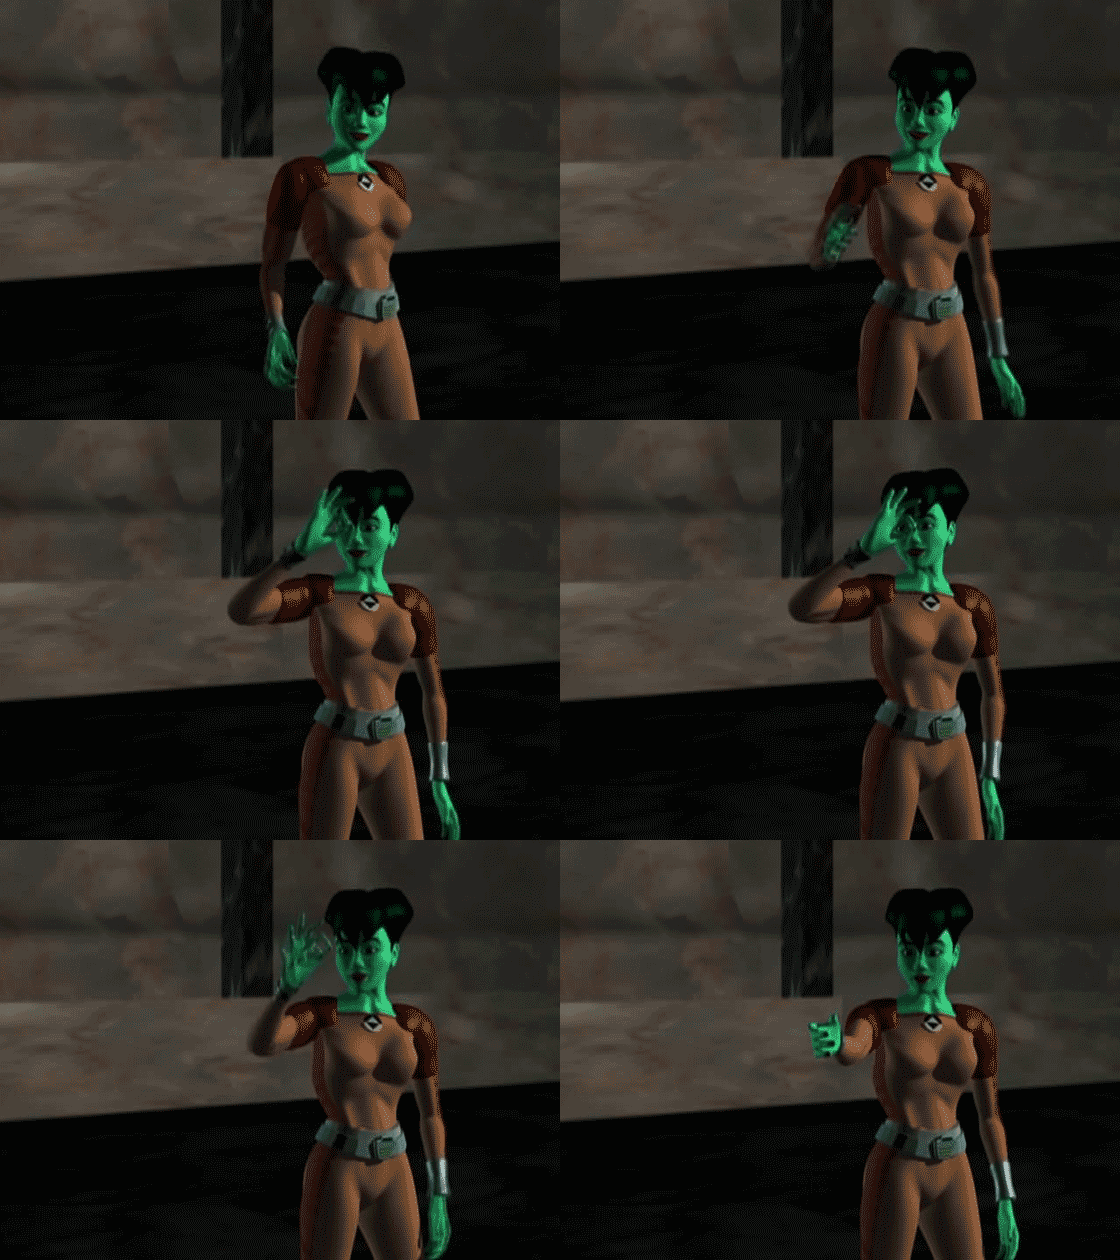
Enzo as Matrix as Megabyte as The Prisoner as Number One

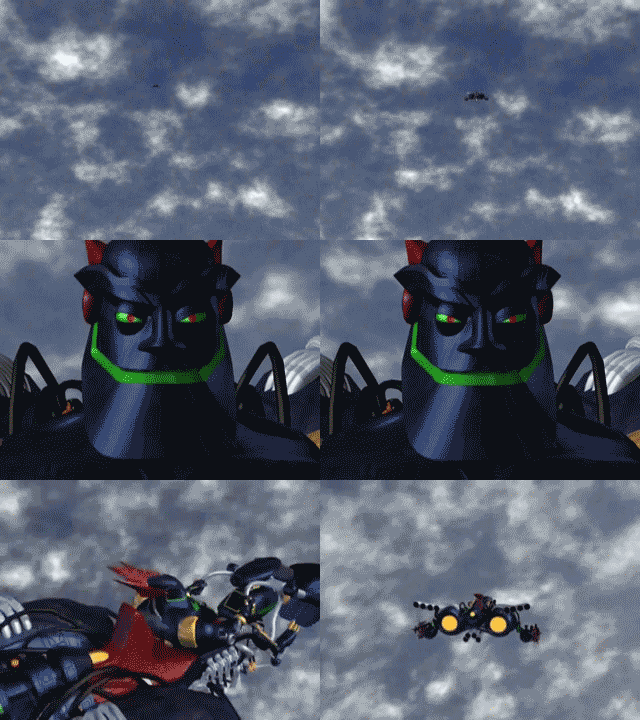
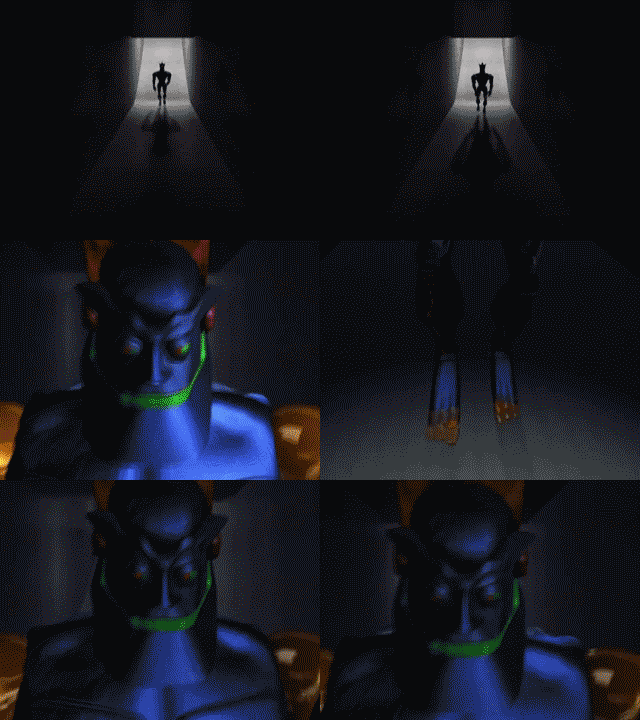
Megabyte-RESIGNS_1_FlyIN Megabyte-RESIGNS_2_March
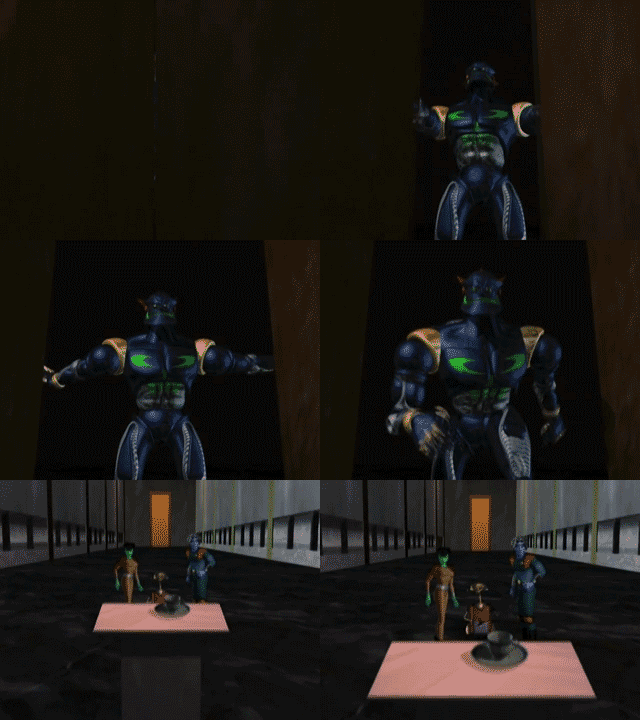
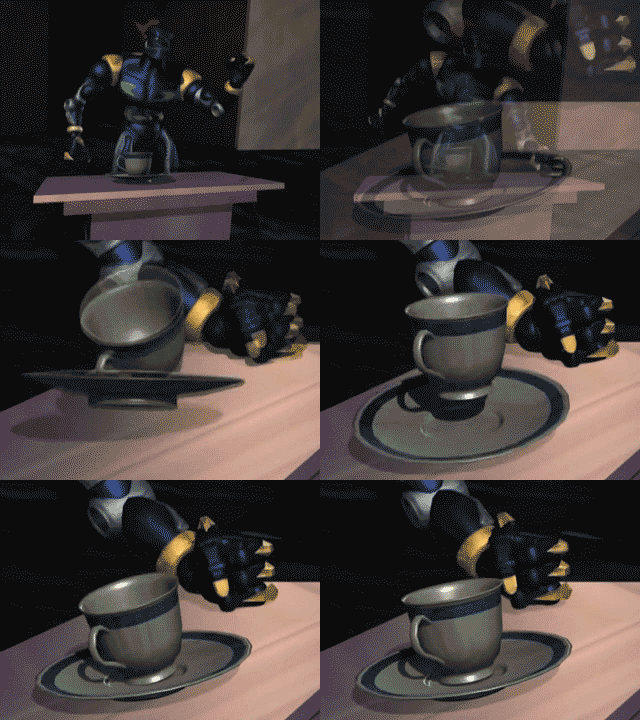
Megabyte-RESIGNS_3_Door Megabyte-RESIGNS_4_TeaCup_320_32
MegaByte_Xed_4_320 You-Won't-Hold-Me
Guilty Matrix-and-Rover2

Ah, the Multi-Frame GIF Story assignment, Animated GIF Assignment 880. Gotta love it. 

If you’ve never encountered Reboot (the first full-length, completely computer-animated TV series) then you’ll need a bit of background to fully appreciate this post and the Reboot Season 3 episode, “Number 7″, which references The Prisoner.  Reboot was ground-breaking back in the mid 90s as personal computers, modems, and the Internet started to take off. You likely know the early animation work of show creators Ian Pearson and Gavin Blair from the 1986 MTV Video-of-the-Year by Dire Straits, Money for Nothing.

I enjoyed the show during its first run on the Canadian cable channel YTV (Reboot was animated in Vancouver by Pearson and Blair’s Mainframe Entertainment), appreciating not only the wonderful plays-on-words related to computer tech, but also the myriad pop culture references embedded within. The Prisoner was one such reference, joined over the 7 -year run by others such as Mad Max, Star Trek, Elmer Fudd, James Bond, Ash and The Evil Dead, Austin Powers, Mortal Kombat, Clint Eastwood’s The Man With No Name, and The Matrix to name just a few. The opening credits to “Firewall” and the Season 3 recap performed to the Gilbert & Sullivan  “A Modern Major General,” are classic examples of the brilliance of the show (both are embedded below for your enjoyment). The day my then-young sons immediately got the Pokemon and Dragon-Ball Z references in the episode “My Two Bobs,” all was right with the world.

Anyway, here is my attempt at a one paragraph summary to set you up for the third season episode, “Number 7,” in case you choose to watch it. If you don’t watch it, you can just appreciate the references to The Prisoner in the embedded GIFs.

In all previous episodes, Enzo Matrix is a young sprite who lives within MainFrame, helping/hindering the system’s Guardian, Bob, in protecting the city from the dangers of Game Cubes and viruses such as Megabyte and Hexadecimal. Following a game loss in the previous episode, young Enzo, his dog Friskit, and his friend AndrAIa are caught in the User’s game and are uploaded from their home system. Between the last episode and this one, time has passed, and young Enzo has grown from boy to man (now going by his last name, Matrix) as they travel from computer to computer trying to find their way home. The episode “Number 7″ explores Enzo’s understanding of his own identity and place in the grand scheme. (Note: There’s a whole “golf” thread which ties back to the usual “game” aspect of each episode. It provides for a few jokes, and the “out” at the end.)

If you choose to watch the Reboot episode Number 7, it is embedded in the prisoner106.us Archive for Week Six. I will leave you to draw your own conclusions on what “Number 7″ says about our understanding of Number Six and the overall show. But I think it offers a good commentary that complements the final two episodes of The Prisoner, “16: Once Upon a Time,” and “17: Fall Out.”

If you want to know more about Reboot, you may wish to do a little background reading about the series on either the Reboot Wikipedia entry, or for deeper detail, on the show’s own wiki — and episodes are certainly available on Youtube should you wish to watch more! However, in closing, I highly recommend the two clips embedded below.

#BeSeeingYou

"Be Seeing You (Bob)," animated GIF by @aforgrave

“Be Seeing You (Bob),” animated GIF by @aforgrave

"Be Seeing You (Dot)," animated GIF by @aforgrave

“Be Seeing You (Dot),” animated GIF by @aforgrave

"Be Seeing You (Enzo)," animated GIF by @aforgrave

“Be Seeing You (Enzo),” animated GIF by @aforgrave

Dead-on Bond Parody – Opening Credits for “Firewall”

Brilliant Season 3 Recap to Gilbert & Sullivan’s “A Modern Major-General”

How to create a time lapse video

Sorry no catchy title this time around, but I will tell you how to create a time lapse video.  It is fairly simple, but the skills you learn in this tutorial can be used for any of your videos.  First off there are two ways of doing a time lapse video.  The first method, which is the method I used, is to use the time lapse function that is available to use in an Iphone running IOS 8 or higher.  This makes this assignment super easy, all you have to do is to find a safe place to put your Iphone and then set the camera to record and use the time lapse feature.  Then it just becomes a waiting game, you do however need to leave the phone plugged into an outlet and check on it ever now and then in case it falls over which mine did.  After you are done recording then it is all a matter of uploading the file to the internet which I think you can handle.  Below you will find a link to web page telling you about the time lapse function and how to use it if you would like some more guidance with that part.

http://iphonephotographyschool.com/ios-8-time-lapse/

Now that was the super easy way, however not everyone has an Iphone so here is the part ya’ll need to pay attention to.  Don’t worry it will be fine, I’ll take you step by step.

1. You need to obviously take your videos, but keep in mind a few things when you do.  Such as you should try and stand in the same spot and hold whatever you are taking the video with at the same angle too.  Also remember YOU don’t need to take every video, ask for help if you need to.  Lastly this is just a general tip for video taking, longer videos are better you can edit out the parts you don’t want later.

2. Next is to upload your collection of videos to whatever computer you will be doing the editing on.

3.  The next step is to import your videos into a new project in the video editor of your chose.  I suggest using videopad, it’s free, fairly user friendly, and what I’m basing this tutorial off of, but feel free to use what you are used to.  To do the actual importing, you should first create a new project, which you can do by clicking the file drop-down at the top and clicking new project.  Once you are in a new project go back to file drop-down, chose import, and import your videos.  Do this as many times as need.

4.  Now it’s time to put your videos together.  As you can see there are usually three major areas.  One area holds all your imported media, another shows a detailed view of the media you have selected in the first area, and the last area holds your actual video you are creating.  You first select one of your uploaded media in the first area and do your editing in the second area.  For this assignment the most edit you will do is clipping out section of your videos.  You should see two brackets in the second area, they represent the beginning and the end of your video, so just play around with those and choose what section of you video to add to your final project.  A few extra tips is to go through the videos in the order you took them and to keep them all about 2 seconds long for a nice flow.  Once you picked the section of your video you want to add, look for a button that says something like “place clip on sequence”,  when you do that the program will add the clip you choose to your final video.  Repeat as many times as need.

5. Once you are done editing you need to make one last choice, audio or no audio.  If you don’t want audio you simply need to go down to your video sequence and mute the audio sequence of your video.

6. You are almost done, all you need to do is to export your video.  To do this go back to the file drop-down and choose export.  If you don’t know what you are doing just make sure you are exporting the video as an .mp4 file and leave everything else at their default values, if you do know what you are doing then why are you reading this you know what to do.  Just make sure you export it to a location that you can find on your computer.  Once that is done then so are you, and so is this tutorial enjoy you new time lapse video.

Below you find my time lapse video created using the Iphone method and a link to the assignment that this tutorial was originally created for.

http://assignments.ds106.us/assignments/time-lapse/

#2 in General a Puffin?? Info in Shadows

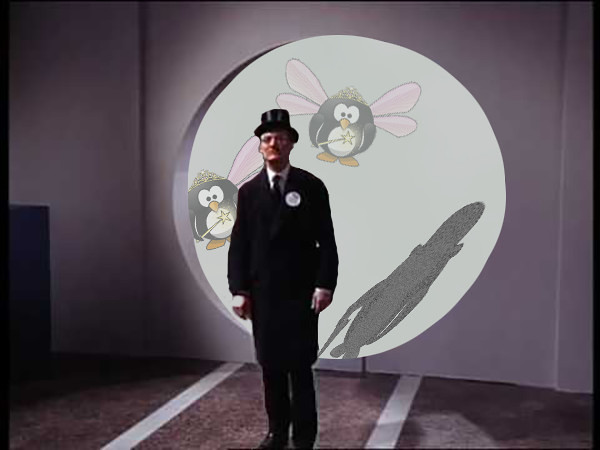
village-jim-grooms_John puffintransblog I started reviewing the footage from the General to find information on what might have been saved when things blew up. I think it was a plan from the start – who to trust?

Looking at the video – I was able to slow it down enough and see the shadows – look at #2 as his shadow reveals!! and there seems to be some invisible fairytale puffins in the room as well.

Truth in the shadows

Background process:

  • Clipped out frame from The General video
  • Imported into Photoshop
  • Deleted background within circle cut out
  • Used Eliptical marquee tool and rounded out edges of cut out to make it smoother
  • selected with quick select tool
  • Select>Modify>Contract 2 pixels
  • Modify>Refine edge>smooth and contrast
  • Cleaned up #2 with Select>Modify>Contract>Refine Edges
  • Added gray background layer to fill hole
  • Used Rochelle Lockwood aristocrat puffin – selected and filled with one color of gray and added noise to create shadow – copied and added to working file
  • Used Transform>Perspective to create shadow
  • Added layers with fairy puffins and lowered opacity
  • Exported and saved as jpeg

Campy camp posters: A Prisoner106 project

I never went to summer camp.  I didn’t have friends that went to summer camp.  For a while I thought summer camp was just something that existed in tween/YA books to move the plot along.  Parents were out of the picture.  Kids were left to sort out their own problems and/or engage in hijinx and adventure.  Camp was a macguffin of sorts.

Look at ALL the summer camp posters!

Look at ALL the summer camp posters!

Enter the best summer camp of all:  Camp Magic MacGuffin.

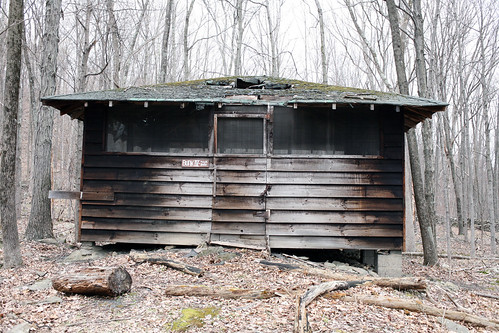
Camp Magic MacGuffin closed with the the end of summer 2012.  The facilities have seen better days.

But a tribute poster was still in order.

Camp Magic Macguffin poster

Camp Magic MacGuffin poster

I borrowed a couple of images from the Camp Magic MacGuffin site including the header and the “visit the camp store” logo.  I just erased “store” so that it says “Visit the camp.”

Visit the camp store I used GIMP for this poster.  The Magic MacGuffin header is a layer.  I merged the cabin with the “Visit the camp” text so the two were easier to reposition.

Camp poster in progress

Camp poster in progress

I also found some campy and hippie fonts to use.

And just for fun:  some Magic MacGuffin counselors meet The Prisoner:

Magic MacGuffin meets the Prisoner

Magic MacGuffin meets the Prisoner

Magic MacGuffin meets The Prisoner

Magic MacGuffin meets The Prisoner

Camp Poster assignment – 3 stars


Google Says … I am Not a Number

"Google ... I am not a Number ...," animated GIF by @aforgrave

“Google … I am not a Number …,” animated GIF by @aforgrave

I like Visual Assignment 1244: Illustrating Odd Autocompletes. I’ve done it a couple of times before, although I can’t find any examples in my Media Library and it’s not showing up in the Assignment Bank examples. Maybe it’s in the Assignment Bank more than once? Like maybe in the AnimatedGIFAssignments?

For this one, I didn’t necessarily illustrate the odd autocompletes, but there are a couple good ones in there.

  • “I am number four.” (Six would not say that.)
  • “I am not a robot.”
  • “I am not a nugget shirt.”

Anyway, I knew what I was expecting with this one, and Google did not disappoint. The real fun was getting that tiny little visual summary of the opening credits to animate in the search results.   (2 & 1/2 Credit Units)

Process

This challenge is essentially driven by adding letters one at a time into the Google search bar, but taking a screen shot after each new letter so as to capture the autocomplete suggestions and hopefully capture some interesting gems. I also like to try to capture the odd text cursor, and put in a few “pauses” where the cursor blinks as if waiting for input. That’s simply done by repeating two successive frames (one with the cursor and one without) a couple of times.  A 0.5 second interval seems to be appropriate.

Image Capture Tools:  Snapz Pro X2 (left) and Skitch (right)

Image Capture Tools: Snapz Pro X2 (left) and Skitch (right)

Snapz Pro X  :-(  Skitch?

My long-standing screen capture tool of choice, Snapz Pro X, doesn’t play nice under the latest versions of Mac OS X, and unfortunately it appears support for updates is not forthcoming, which is sad. I’ve used it for over a decade.

Recently I’ve been making use of Skitch for my screen captures. My limited familiarity with Skitch has me having to pause after each snapshot and save the file out to a determined location. (Snapz Pro X and even the native OS X screen capture tool just save to a predetermined folder automatically.) Given that the save-each-capture-every-time slows things down considerably, I investigated the Skitch integration with Evernote. (Turns out Evernote bought Skitch 4 years ago.) Authenticating Skitch with your Evernote account allows for a single “Save” button, and the files go to Evernote automatically, numbered in sequence. Fortunately there was an easy Save Attachments command in Evernote that let me get the images back down out of the clouds.  The nice thing about Skitch that makes it work nicely is the  Previous Snapshot Area command, which allows you to grab successive images from the same section of the screen — something that really comes in handy when you want to layer them for animation later on. And the integration with the cloud and access on multiple platforms is a benefit when you need to share files between devices.  But I think I’ll be investigating something that I can count on locally for when I’m deep in the throes of creating. Uploading just to download don’t make no sense.

In the meantime, I think I need to find the duplicate entry of the Google autocomplete assignment. I know I’ve done it before. Or someone I know has. 

#BeSeeingYou

I am NOT 6!!!

"Many Happy Returns: I am NOT 6," animated GIF by @aforgrave

“Many Happy Returns: I am NOT 6,” animated GIF by @aforgrave

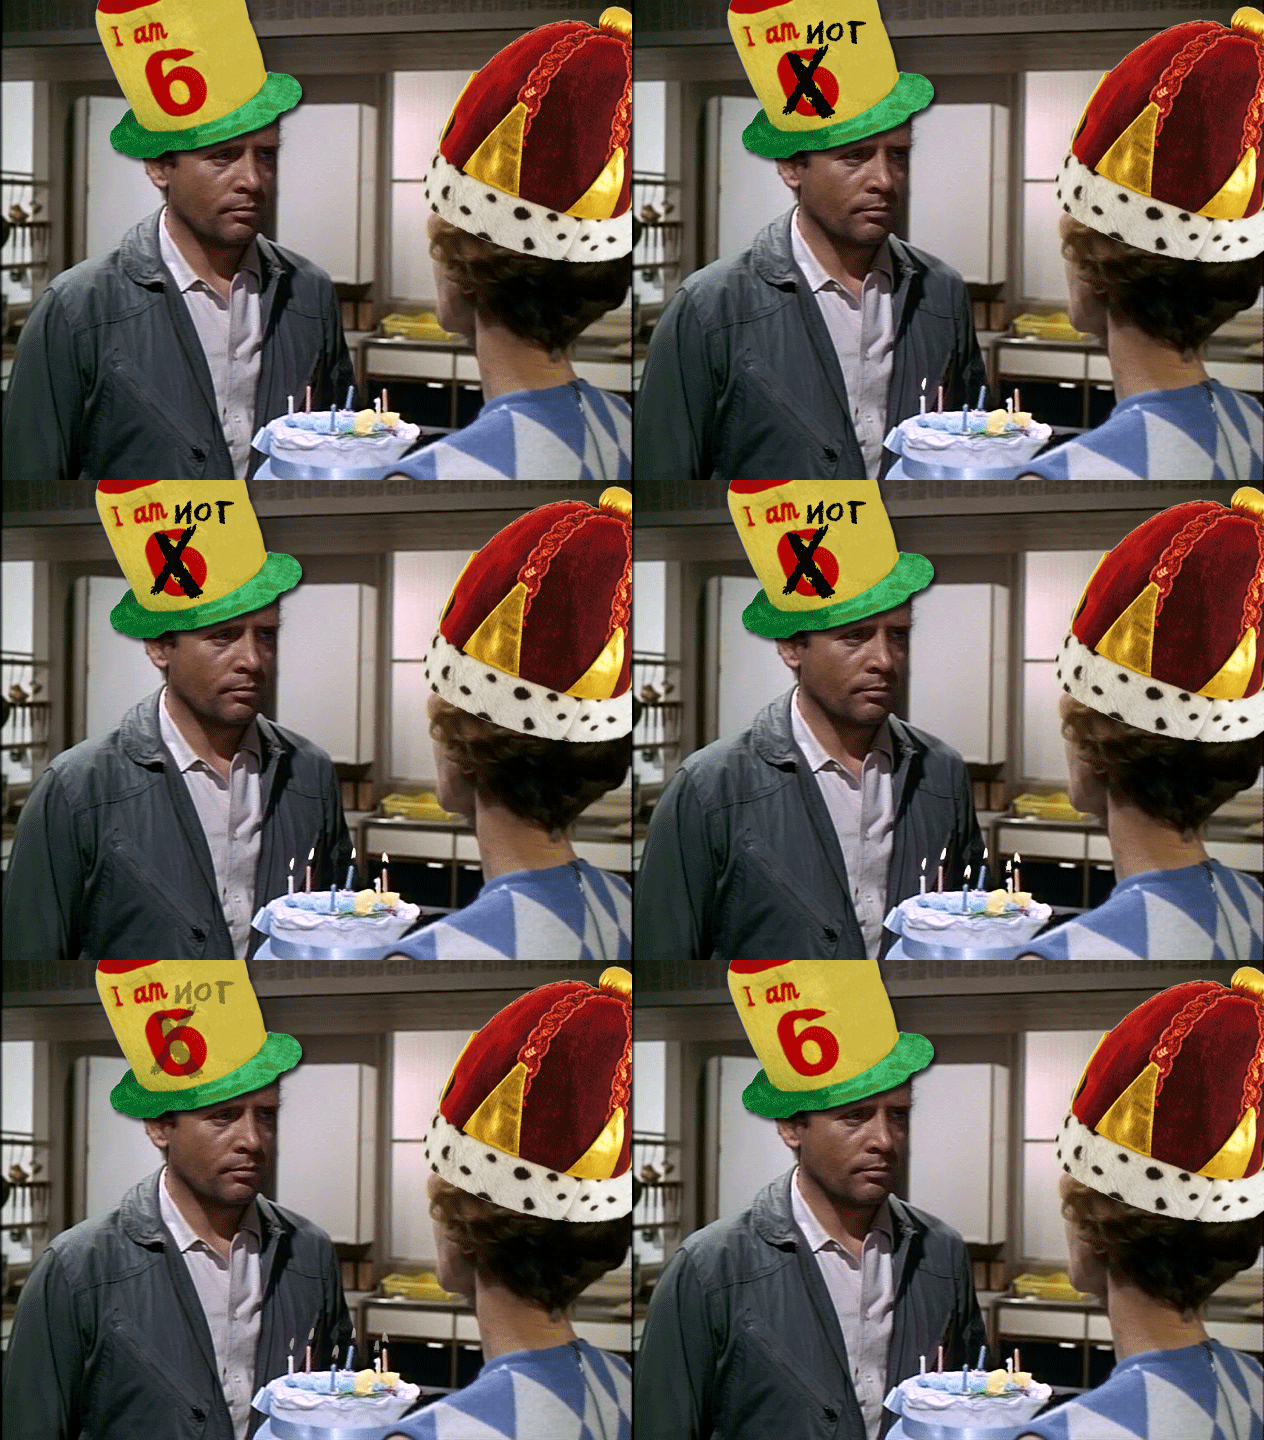
When looking through the Visual Assignment bank, it seemed that the Visual Assignment 1720: Birthdays are the Worst would be most apropos for Number 6 and the episode Many Happy Returns. It asks that you “find a picture of yourself Number 6 where you he look(s) upset and use photo editing software to add a birthday hat and party decorations.”

Recalling that Mrs. Butterworth (aka Number 2) brings Number 6 a cake at the end of the episode, I quickly scanned ahead using Quicktime and copied out a single frame (Command-C, thanks, Bill!) and pasted it into Photoshop.  Somewhere along the way  I remember thinking, wouldn’t it be ideal if there were six candles on the cake?

Well, there are! Not a coincidence, I’m sure! And Number 6 doesn’t look particularly happy, either. Perfect!

To highlight that little irony, I used the Magic Wand tool to isolate each flame (one at a time) and then used Layer>New>Layer via Copy to get each flame onto its own layer. I named each of the layers candle1 through candle6 respectively.  Re-selecting just the flame (using Command-click on the thumbnail for a given candle layer, I then switched back to the original photo layer and used Edit>Fill (Use: Content Aware) to get a good start on removing the flame from the original image. A little touching up using both the Spot Healing brush tool and the Clone Stamp tool removed any artifacts so that the candle appeared unlit. After repeating this for each candle flame in the original image, all that remained was to create a series of subsequent frames in the Timeline , each one adding in one additional candle flame layer until all six candles were lit. Two seconds for the initial and final frames, 1/2 second intervals for each candle flame, and a 0 pause 5-frame transition from the end back to the start.

TimeLine

“Using the Timeline in Photoshop to set frame intervals.”

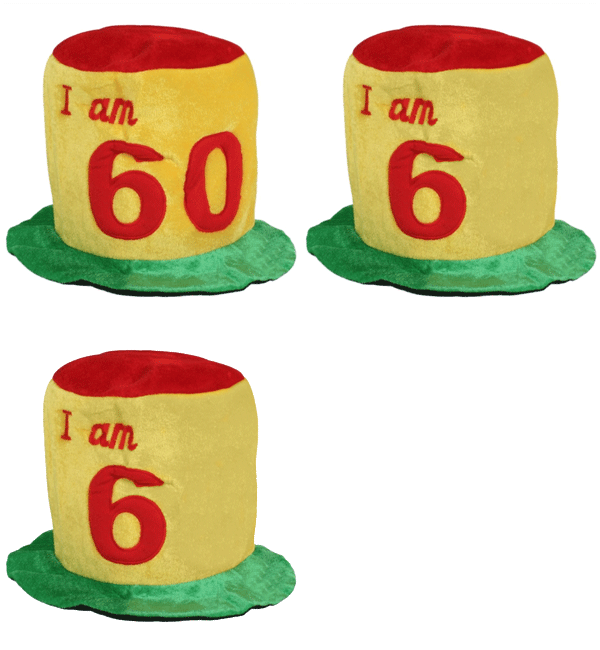
However, along the way (between candles 1, 2, 3, 6 — and then 4, 5) I headed off to the Internet to find a party hat for Number 6. Very quickly the hunt switched from a simple clip art party hat to one that would say “I am 6.”  After all …

A series of photographs of plush party hats caught my eye in Google images. Jumping out to the source website, I found they had hats in stock for ages 18, 21, 30, 40, 50, and 60, (as well as a crown and a traffic cone).

"I am 6, not 60," animated GIF by @aforgrave

“I am 6, not 60,” animated GIF by @aforgrave

The Clone Stamp tool was used to remove the red 0 from the 60, and then, because the right side of the hat was initially a bit brighter than the left — and now more so with the space left by the removal of the  0 — I used the Colour Replace brush (sampling on the left side of the hat) to tone down the right side by painting over the right side. Voila.

Of course, Number 6 would never agree to wear such a hat in The Village, even on his own birthday, and so he marked it up a bit with some charcoal before putting it on his head.

And then, just at the final moment, I decided that Mrs. Butterworth deserved a party had to celebrate with Number 6, and because she was the reigning Number 2, she got the crown.

It seemed more appropriate selection than the traffic cone. Plus, it fit on her beehive hairdo.

2 Credit Units!

#BeSeeingYou

Village Architecture Mishaps

village-jim-grooms_John I was out walking on my way to a bungalow design session for #7. I was a little concerned as I don’t know who #7 is or what his history is in the village. After taking the hidden shots of different signs in the Village I have been a little on edge not knowing who is a friend, who is a guardian, who is a warder – or if friends have gone to a different side. Perhaps this is how isolation happens? I need to work on making sure it doesn’t overcome – so I walked faster and looked up instead of down to not cause attention and to see what was around.

Being that I look for design, form and function I started looking at the architecture. In assimilation I was taken around and all looked so perfect and maintained. Being out on my own, I found other areas where things were not always perfect. Could these have been experiments or just buildings added on to multiple times?

Take a look – The first is a huge structure – not sure who resides in it.

The second was a dead-end I turned into when trying to find #7’s bungalow. You would think #7 would be right next to #6 – but resident numbers don’t always seem to go in order.

Process:  Photos were created as an attempt at VisualAssignments954 where you are to take multiple photos of buildings and splice then together to make a new structure. There were no submissions to this assignment, but it sounded a fit for Summer2015 in Prisoner and in Burgeron106. Using a photo editor – I chose Photoshop. The utterly fantastical portfolio of work created by Jim Kazanjian, was inspirational – but not attainable in these first runs – but do make me want to explore more and try. 

The time sucker is finding photos – lots of looking at photos, licenses and rights, quality, parts of buildings, perspective. Color was not an issue as turning them black and white when finished pulls it together. 

I wasn’t sure on canvas size either. Doing this again I think I would start with a large canvas to allow for adding and providing enough white space for environment to be added effectively. I was constrained by what I had started.

You need to be in the mood for lots of manipulations. My strength is not perspective – which seems to be critical. Looking and using flips of pictures helps. The Warp feature in Photoshop became more useful than scale and skew or perspective.

It was fun and I certainly think I would do again. The discussion boards for the artist argue over if this is art, is it photography etc. Nothing I was really interested in getting involved with as an opinion. It is what it is. 

Vintage style TV shows visitors the Village

I was sent to a resident bungalow this week to help in creating a new arrangement for the occupant.

First priming and painting were done first. The resident decided on Rye Grass green for wall color  – it reminded him of when he was a child and felt like all the cares in his world were lifted by laying in the grass.

In order to conform he needed to have a TV installed. Keeping with the vintage style it was built in to a space and has a retro feel about it. The lion planters are add as decor.

When testing the TV stations it seemed I was able to get an outside signal. Gnomes kept showing up on different channels. I am not sure how I got the signal – but there must be some information in the programming that is running. Either that or as I was teleporting some of them were in the tele-porter with me and are now residents in the Village too!

Be careful – these Gnomes are not usually able to be seen and now they are broadcasting n the Village! Must be some information that needs to be sleuthed.