To do this assignment you first want to find the picture of the pop star that you want to use. This can be done using Google images.
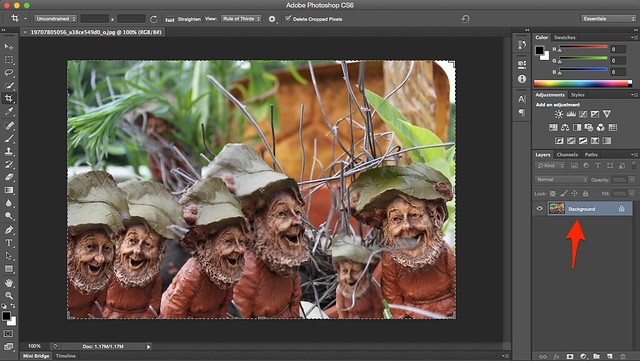
Once you find the picture you need to save it to your desktop so it can be opened in Pixlr, which is the website that will be used to complete this assignment.
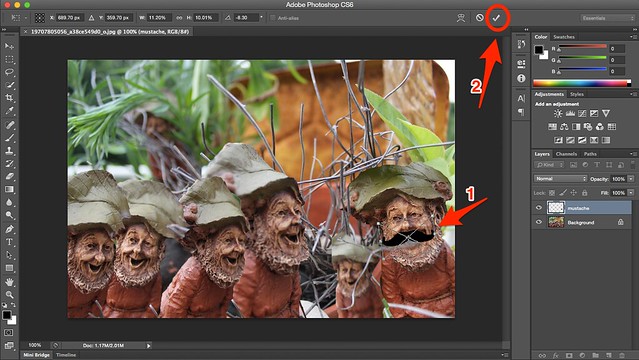
After opening the image in Pixlr you will then choose the wand tool from the toolbar on the left. Using the want tool, select all the space you want to be transparent. For this assignment I used the tool to select the entire background so once I finished the process I was left with an empty background. After selecting all of the space that needs to be transparent you want to go to the edit menu at the top of the page a select ‘Invert Selection’. The next step is to copy the image to your computer’s clipboard and that can be done by either going to the edit menu and choosing ‘Copy’ or pressing the keys CTRL and C on your keyboard.
From there you have to go to the File menu and select ‘New Image’. Give the new photo a different name and check both of the option boxes on the new image box. Once that’s done the new image will open in a new window and all the areas with grey and white checkers are the transparent areas. To save it to use in a different image you save it as a PNG file to keep the transparency of the background.
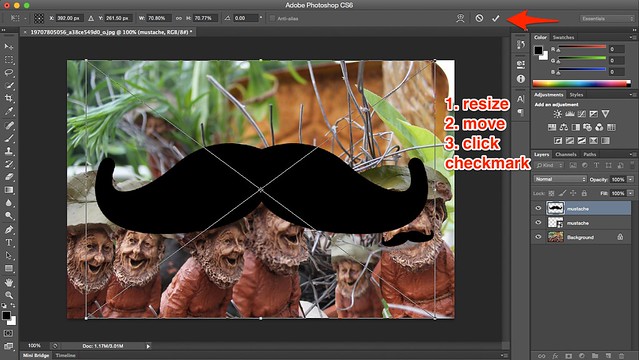
Next, find the picture you’re going to use for the background. Save it to your desktop and open it in Pixlr. After you have done that open the ‘Layers’ menu and select’New Image As Layer. Then you select the photo of the pop star that you’re using as the subject of your post and once it’s added you can re size it and place it where you’d like it. The final step is to marge the two layers together and save the finished photo to your desktop.
Sources: