This may seem like an easy assignment however, rhyming and writing poetry can be difficult. I am going to walk you through creating a poem, with a given topic, and even given words.
So first off, how do you check what is trending on twitter and screen shot it?!
First log into your twitter account:

Next, you need to go to the now discover section:

The current trends are at the bottom of the far left column on your screen!

This day there were some interesting trends for me to write a poem about.
To screen shot this, I used the PRNTSCR button on the top left section of my keyboard. You then need to paste it someone. I used windows, so I just pasted it into paint! (Mac users, I hope you have an image editor…) 


Ok, so now we need to crop the trends to just a small image.
To do that, we need to use the select tool, to make a box around the trending area, then simply click the crop button! It might take a few times for you to get is just right. If you don’t like it the first time you crop use CTRL + Z to undo it.


Now that we have our isolated trends image we can upload that to flickr.
So in paint, type CTRL + S, and save your image someone you will be able to find it. Like the Desktop.
Now use the Add Media button to intert your picture into the post.

Select the image located on your Desktop, and now it is in your Blog post.

Next we need to write a poem!
here are my trends:
James Garner
#Gaza
Hamas
#MH17
Israel
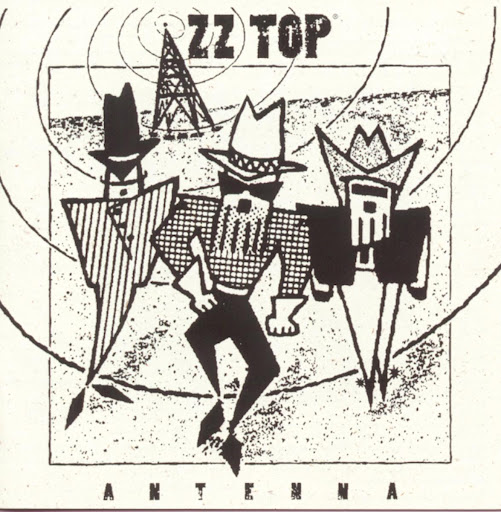
#RemoveALetterRuinABand
#grantdm
Rory McIlroy
#VinesGotTalent
Netanyahu
So I don’t know what half of these are. There are two ways to figure out what is trending. Click on the trend, or use google.com!
I clicked around and figured out what most of these things meant.
Now that I understand them, I need a crash course in poetry to write a decent poem!
The easiest way I know to write a poem, is get it all together, and reread it to yourself outloud. If something sounds stupid, I change it.
Some of us however need more structure. So first thing you need to decide is what type of poem you want to write. For this assignments blank verse or free verse is going to be necessary. The words are all unrelated so trying to fit it all into a Haiku is not going to work.
‘Blank verse is when our poem sort of follows its own rules. Rhythm, measure, tone, and even rhyming scheme tend to go out the window.
Lines should be able to the same length, for flow, but occasionally that gets thrown out the window for a more dramatic effect.
Besides rereading a poem to myself, I find the greatest greatest tool for me is a rhyming dictionary. You type in a word, and it spits out more than enough words that rhyme to help you get out of a rut.
Try RhymingZone.com .
With that tool in hand, you just need to take the time (maybe a pen and pencil) and write out your poem!
Here is my end product:
Mr. Reeper won today.
No one to tell use the tale of Noah and Allie,
Maverick and more lost with James Garner.
Gaza peace never long to stay,
So many lives lost, citizen and soldier.
Is it you or Hamas taking from us these people,
what happened to our society’s sepal?
The flower of peace began to bloom,
but MH17 controversy brought more doom.
What is it with you and countries like Israel,
the attacks surface, sea, and aerial?
Distracted by gimmicks, jokes and jabs,
RemoveALetterRuinABand?
How can Rascal Fatts and The Grateful Dad,
compare to the tragedy in another land.
Kids begging and asking for a grantdm,
while people die at the hand of Grim?
Should we be so cheered by the accomplishments,
of Rory McIlroy among all these tragic events?
Would you care about #VinesGotTalent,
if your 6 seconds could sway a government?
Netanyahu are you listening,
the streets with blood are glistening…
So now with Deaths at our door,
do we acknowledge or just ignore?
That is my end result. I reread it a few times and made sure it flowed.
Sadly, I got a bunch of morbid trends, but I think I pulled it off.
One word of advice (if you don’t like the trends, check back in an hour or so!)


