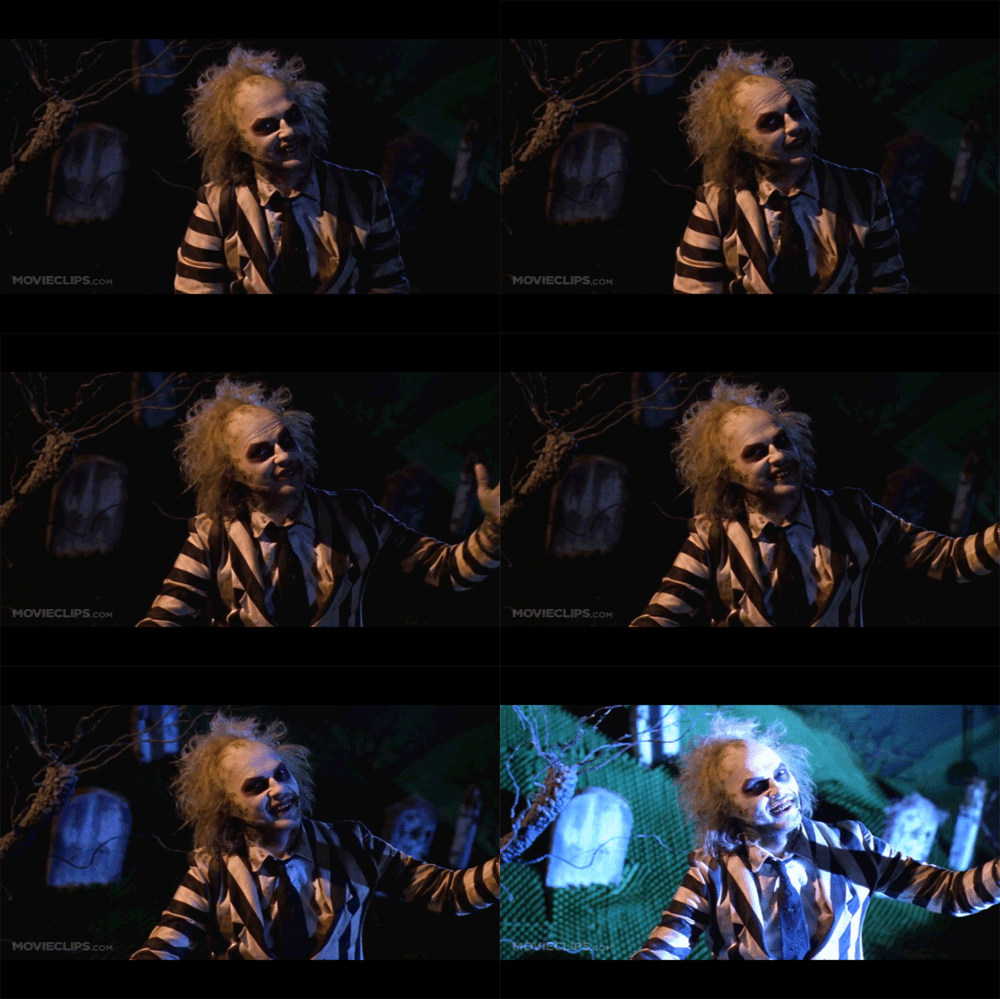
It’s Showtime!

BeetleJuiceGIF_2

“It’s Showtime!”

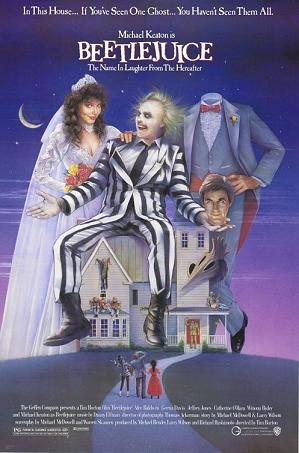
One of my favorite movies of all time and characters is Michael Keaton as Beetlejuice.  The ghostest with the mostest.  This 1988 comedy horror film directed by Tim Burton is a scream and I’ve always thought quite romantic too.  [Wikipedia Post]

And look at that… the official movie poster? Yes.  There are indeed headless ghosts running around from time to time.  But none of those scenes seemed as appropriate to sum up the movie and capture the essence of a key scene as when Beetlejuice, a self-proclaimed “bio-exorcist”, is being released from his exile in a small model town in the young couples attic. Indeed… It’s Showtime!

Talk about perfect source material for completing the DS106 Headless 13 week two assignment, Visual Assignment 2 “Say It Like The Peanut Butter”  Make an animated gif from your favorite/least favorite movie capturing the essence of a key scene. 

This is not my first movie GIF, [See Ewww... Brain] so I’m pretty familiar with my GIF making tools now.  I’m also getting better and better at choosing the right kind of source material to work with to make things go smoother and faster in the production process.

For the video clip I knew this was a key scene and someone on YouTube would have posted this small segment and I wouldn’t have to search through my own DVD to find it.  Yep… there it was, and even better… It was an HD version to boot.  I downloaded the clip to my Mac with the DownloadHelper extension in Firefox.  I then imported it to Adobe Premiere Elements 11, located the 3 second clip and then exported it as a JPEG sequence at 10 Frames per second.

Publish+Share => Computer => Image (use for exporting still image) => open the advanced menu and choose “export as sequence” under the video heading, then save.

I opened the 36 images in Adobe Photoshop Elements 11 and placed them all into one file as separate layers.  The original images were quite large, so I reduced the image size to 500px which is the upper limit to post to Tumblr.

File => Save For Web => Click on Animate => Animation Frame Delay set at 0.1 => Save

That’s it.  Simple once you know how to do it.  Not so the first few times as I was learning how. [See Hula Hotseat]  For those of you just starting out…. hang in there.  It gets easier the more you practice.  [See Batman & Robin Behind The Scenes for a good photoshop elements GIF tutorial]

And a whole lot more fun is coming your way!  Soon YOU’LL be saying, “It’s Showtime!”

Video Source: MOVIECLIPS.com

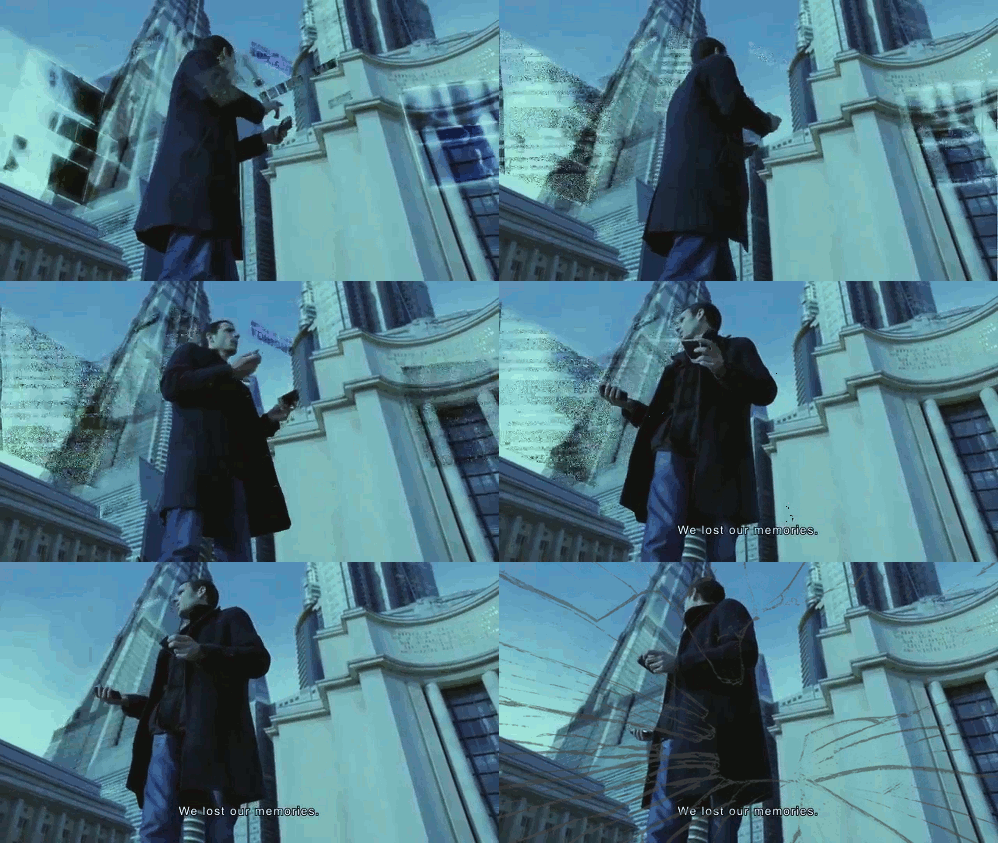
I watched this film a few days and it made a real impact on me….


I watched this film a few days and it made a real impact on me. From the trailer:

Paris, 2020.
A beautiful couple, a city over-saturated by holograms and digital stream.
A polaroid camera.
Tomorrow will never be the same. 

An electromagnetic storm wipes out all our data, worldwide. The only thing he has left is an old polaroid she took before he left him for spending too much time on social media. 

I put this together with a quote from Alone Together by Sherry Turkle:
We are not in a position to let the virtual take us away from our stewardship of nature, the nature that doesn’t go away with a power outage.
The moment captured in this image has been running in my head for days so I thought I would do some giffing. I did not want it to loop forever, but to stop and give the sense of it all breaking up when it ended. However, it looks like this will not work with Tumblr so I slowed it down a little and looped it forever.
Followed Michael’s tutorial again, and experimented with a few more settings in GIMP. I did want the glass smashing to make more of an impact. I need to play with it more.
However, I want to end with Alan Levine’s comment on watching the movie:
Hard to empathize with a digital dude who did not make local backups of media ;-)

Update: I am submitting this gif as an assignment for the assignment ‘saying it like peanut butter’. I did it a few days ago, it was one of the first gifs I made properly (i.e not with an automated tool) and it was inspired by a film that moved me. 

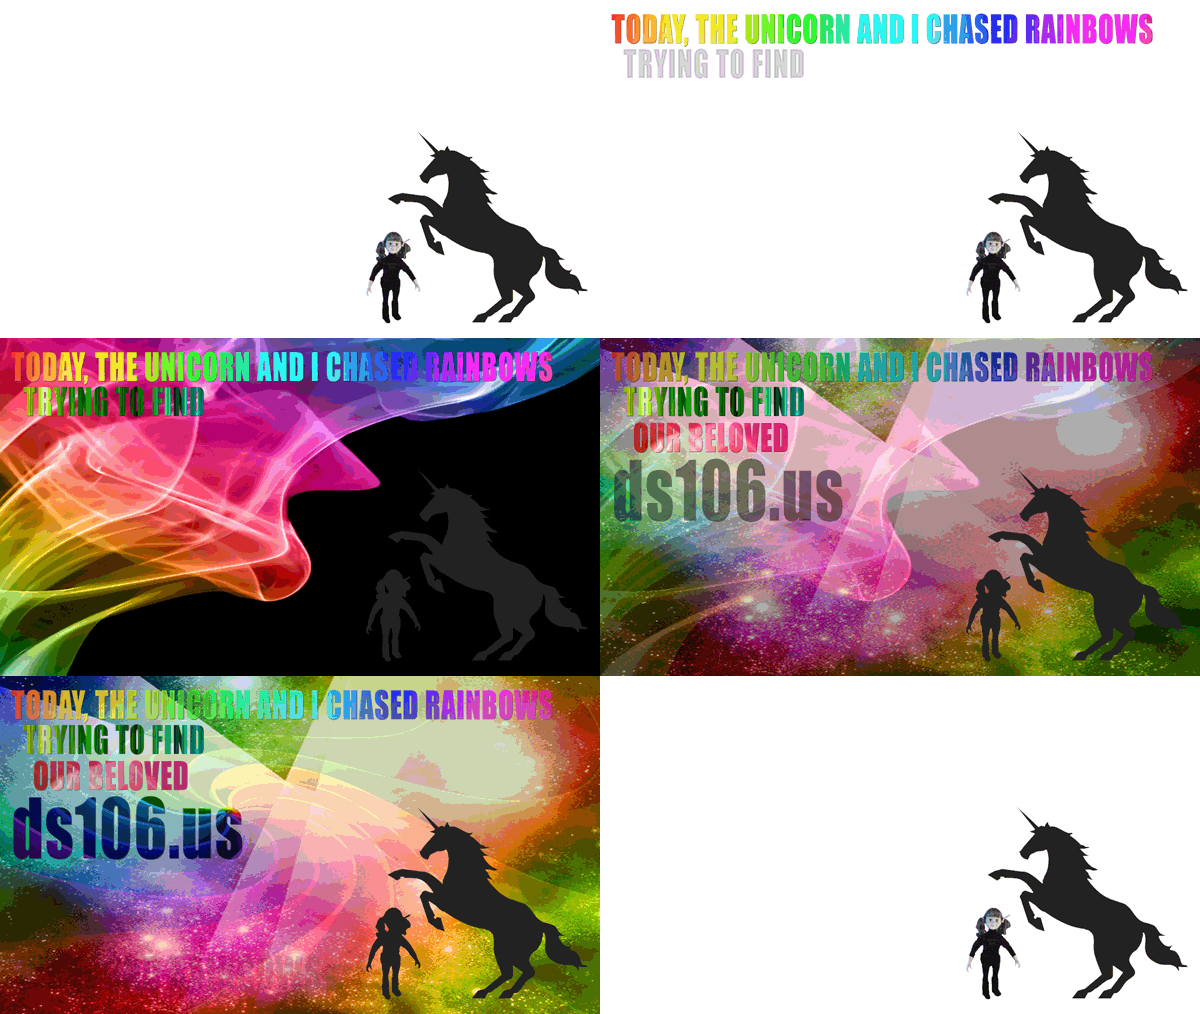
August 2013 GIF Challenge #9: Empower the Unicorn

"We Found Rainbows," animated GIF by @iamTalkyTina

“We Found Rainbows,” animated GIF by @iamTalkyTina

Oh no!!

The ds106.us server was down today. For a long time. One of the unicorns got in touch with me on my iPhone, and we started surfing the web, trying to track down the missing ds106 rainbows.

We searched and searched. We found some of the rainbows. And we tried to get them heading back towards the server. 

Perhaps you can help the unicorns and the rainbows?  Make an animated GIF celebrating the behind the scenes work that keeps the ds106.us server happy. Again, this was an assignment before there was an Animated GIF category — found hiding in the Visual Assignments category as @cogdog‘s wonderful Visual Assignment 842: Rainbows and Unicorns in the Server Room.

Be sure to tag your post appropriately so that it syndicates into the correct assignment page.

#4life


I Yam Talky Tina

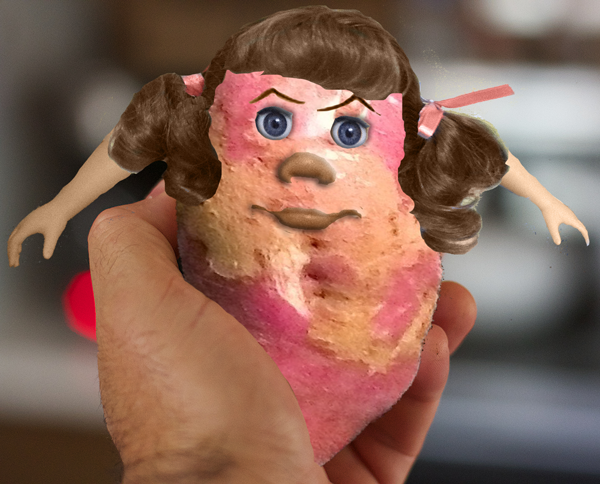
After I posted “I Ain’t No Spud, Bub!” this morning, my Super True New Old Radio Friend @scottlo suggested that the picture would work for the Yam assignment. And I will confess, I did think about this today as I was working with the Potato Head kit.

Scott’s recommendation was just too good to pass up, and so after chasing down the authentic Yam from Joan Shaffer (@echoln), it was a simple application of the magic wand, the eraser, the rotate, the scale, the eraser, adjust the layering, and boom!

IYamTalkyTina

“I Yam Talky Tina” by @iamTalkyTina, featuring Joan Shaffer’s Yam

I especially like the way my hair ribbons (that I had previously colourized to go with the colours in my #ds106radio shirt) match the skin tone of my yambody.  I look wonderful as a Yam!

With ds106, you just CAN’T have too much fun!!  #4life

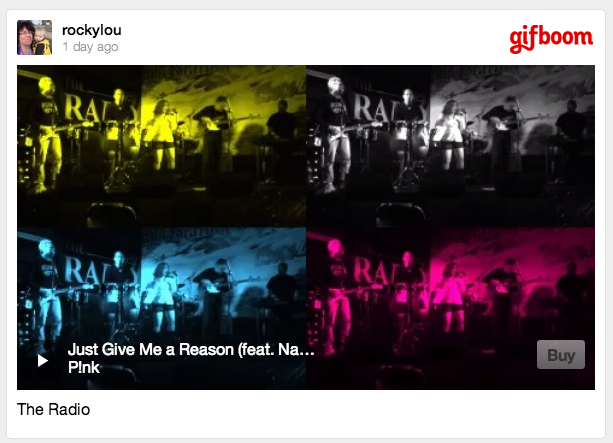
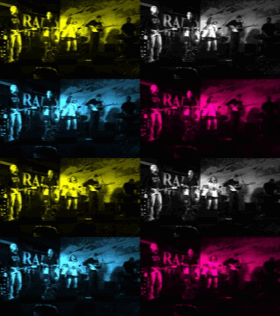
Warholing a Rock ‘n’ Roll Stereo GIF

Warhol_It_GIF

Warholing an animated stereo GIF of a rock band

Last night I was writing up my post for “Have a Rockin’ Birthday” with the usual addition of a nice tutorial to share with others since no one had posted one yet.  It slowly dawned on me how much work I actually put into completing one of my DS106 assignments.  I’m definitely puttin’ on my “A” game that ScottLo and “Prof.” Groom referred to in LoDown episode 15 today.  I want more stars!  [Imagine little Rockylou threatening to throw a tantrum.] I think the creative star accounting I’ve used for this particular assignment should help toward remedying the situation.  Especially since I spent practically no time creating this one.

1. I downloaded an App called GIFBoom to my iPhone (for free) that lets me take my own photos and turn them into a GIF.

2. I found two quick shots on my iPhone from a band gig I’d documented a few months back.

Rock ‘N’ Roll ‘N GIF AnimatedGIFAssignments851 (3 stars)

3. They worked great to show the stereo GIF effect.

Stereo GIF AnimatedGIFAssignments991 (1 star)

4. The App gave me several options to add an additional effect.  I chose the Warhol filter.

Warhol Something VisualAssignments560 (2 stars)

5. Ta Da! Assignment complete.  Blog post written.

Animated GIF

Animated, Rock ‘n’ Roll GIF Completed!

By my count that’s 6 stars!  What say you Prof. Groom?

Dancing Jim All Over The World

I did this assignment for a number of reasons, but mostly because only one other person has done it and it’s one-star, so it’s unlikely anyone else will. I thought it might be fun to up the game a little. Earlier this semester Jim riffed an assignment by Brian Bennett, here, where he took Brian Bennett’s version of this assignment and expanded it into a gif enclosed in an old ad. So, he made a Visual Assignment into an AnimatedGIFAssignment.

Well I took Jim’s Assignment and riffed it, don’t worry I have screenshots for a tutorial later, I added another layer and a whole separate process for combining the layers so that you can have Jim dancing in poor Norma’s mouth as she lets out one final scream in agony.

First of all, if you want to do this one you’re going to need to grab the .gif of Jim dancing a fool from this assignment. You should know how to make a .gif and what a .gif is at an image file level, this tutorial will help you understand that if you don’t already. You will need Brian Bennett’s .xcf of the TV with the transparent screen, found here.  Here’s a link to Norma’s mouth, should you ever need that for anything else. And finally you should read Jim’s method of using a gif behind another layer of image, link here, specifically the section about duplicating image layer that will sit on top of the .gif.  I know that’s a lot of information, but it’s easier to understand if you’ve read that stuff, because I would just be copy-and-pasting their instructions anyway and this way you can see multiple assignments.

So, my method is a lot like Jim’s. Except I add another layer underneath the dancing Jim Groom. Thus there are three main sets of layers that need to be created. Two of the sets are the same across every frame and one of the changes, fortunately you only need to pull the image of Jim Groom into the frame (much easier).

You will need to ‘Merge Visible Layers’. This is done from the layers window in GIMP. Also, we’re using GIMP. Should’ve said that earlier. First you get your layer on the same workspace. Then create a duplicate layer for every gif layer in both the front and back image sets. So, if your .gif image set is 12 images, then you should have 12 front images and 12 back images.

Now we layer, just like Jim shows us in his walkthrough. After you have arranged them correctly, click all the eyes so that no frames except those you want to marge are visable, like this:

Now click Merge Visible Layers, this will prompt a pop-up window, which may be hidden by the multiple windowed GIMP software, so look for it. It should look like this:

Make sure you click ‘clipped to image’ or it may rearrange the layers. Click okay and you should have a single layer in place of the previously visible three layers:

And then you will have the final product:

One Star? I feel like this was more than one star’s worth of work…

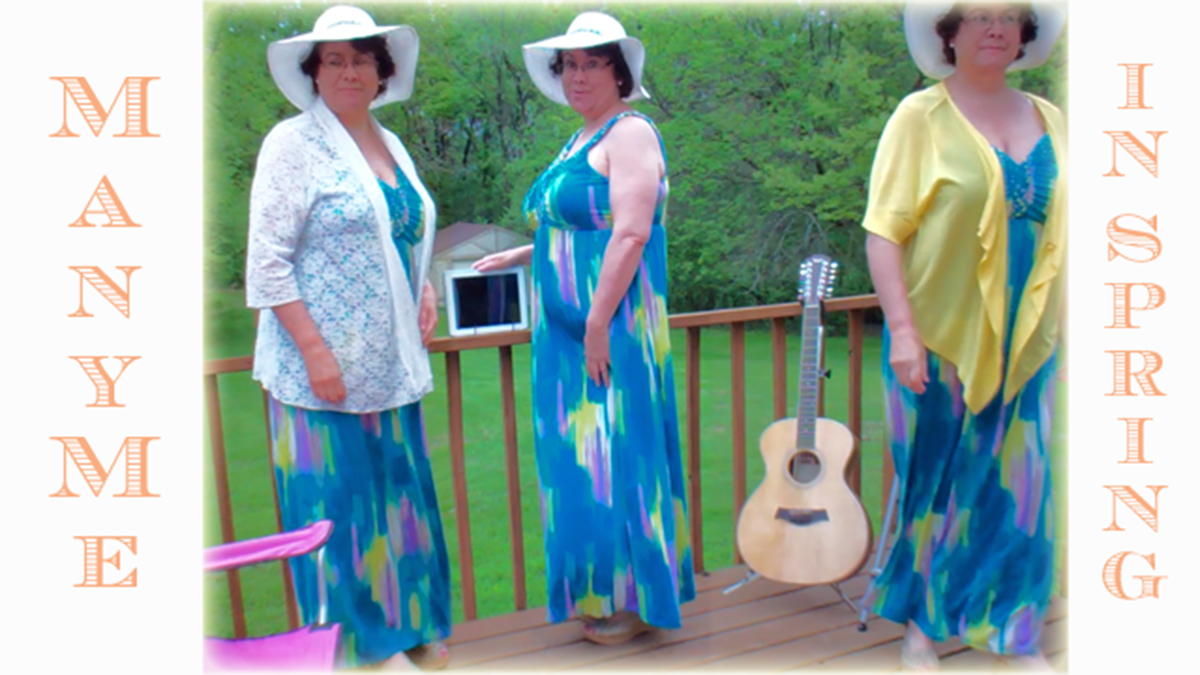
GIF Evolution of ManyMe


The Evolution of ManyMe

The Evolution of ManyMe

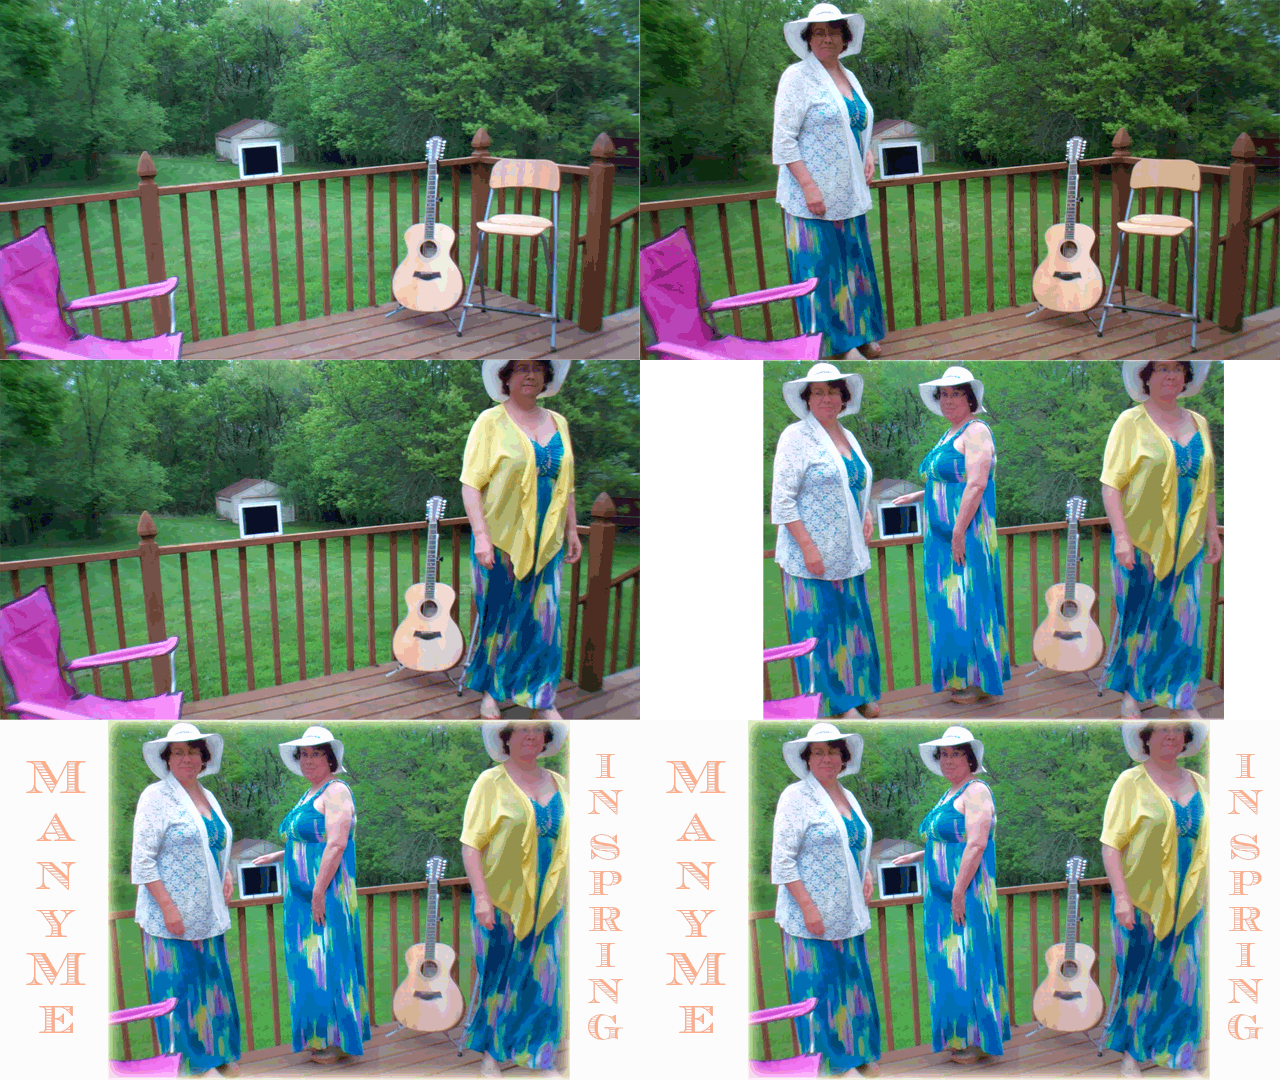
Inspired by my recent DS106 assignments I decided to take two of the projects I had completed this week, ManyMe and Go Daddy_Wheee, and use the skills and final products I created to visually illustrate the evolution of my ManyMe photograph. (Assignments: Multiply Yourself, Animated GIF) The objective of the Multiply Yourself assignment was to take two or more photos of yourself in the same location and combine them into one photo. I’m going to go one step further here and label this GIF project a completion of the “Photo It Like Peanut Butter” visual assignment 347 where we’re instructed to:

Use a GIF to illustrate the generation of a real world object/place by using your own series of photographs as the source material.

Phase I: The original images to work from were pulled as still frames from a 4min video taken walking in and out of the frame and placing myself at different locations.  (See earlier post for more background.) When making one of these photographs it’s important to have your camera on a tripod and that you get your shots as quickly as possible so that the lighting doesn’t change drastically.  If you have a controlled lighting environment you don’t have to worry about it.  Just make sure your background isn’t changing. )

Phase II: Using Photoshop Elements I cropped the single image shots.  I had strategically planned my placement in the photographs so that I could do a simple rectangle crop by making sure I hadn’t crossed over into another shot’s field. The guitar, iPad and chairs were my boundary markers.  No messing around with a tedious Lasso Tool.

Phase III: Next came the adjustment and fine-tuning of the cropped images for alignment and lighting.  Yes, even though I took the video in under 4min on a very overcast day, the center image of me was brighter than the two outside images.  Go figure!  I also didn’t like the diminished resolution quality of my images since they were taken from video footage in rather poor lighting.  Fiddling around with a few filters I found a combination that brightened and slightly blurred the entire photo that I found appealing. (Although my daughter later confessed she didn’t like the effect.  She thought it made me look like an alien and the image had lost its warmth.) As a final touch I cropped the entire merged image (attempting to improve the photo composition) and then created a fuzzy yellow border that complemented the yellow jacket I’m wearing in the right side image.

Phase IV: Creating the GIF… I gathered and organized the needed photoshop layers from earlier in the project into one new file.  Again, making sure that the alignment between images was spot on took some fine-tuning.  I didn’t need to worry about the lighting this time, since I wanted to show those changes if they were there. Once I had it assembled and previewed the first GIF, I noticed that I wanted it to run a bit slower so the viewer could take in each of the image changes more easily.  This was to show an evolving process, not just a quick action clip. I increased the overall frame rate to 0.8 seconds and cloned the initial empty frame and final frame to allow for lingering even a little longer on those shots.  The addition of the title text at the end capped it off nicely.

ManyMe_GIFTutorial_Titled_4X6

Go Daddy…. Wheeeeeeee

DaddyDJSlide_GIF_Short

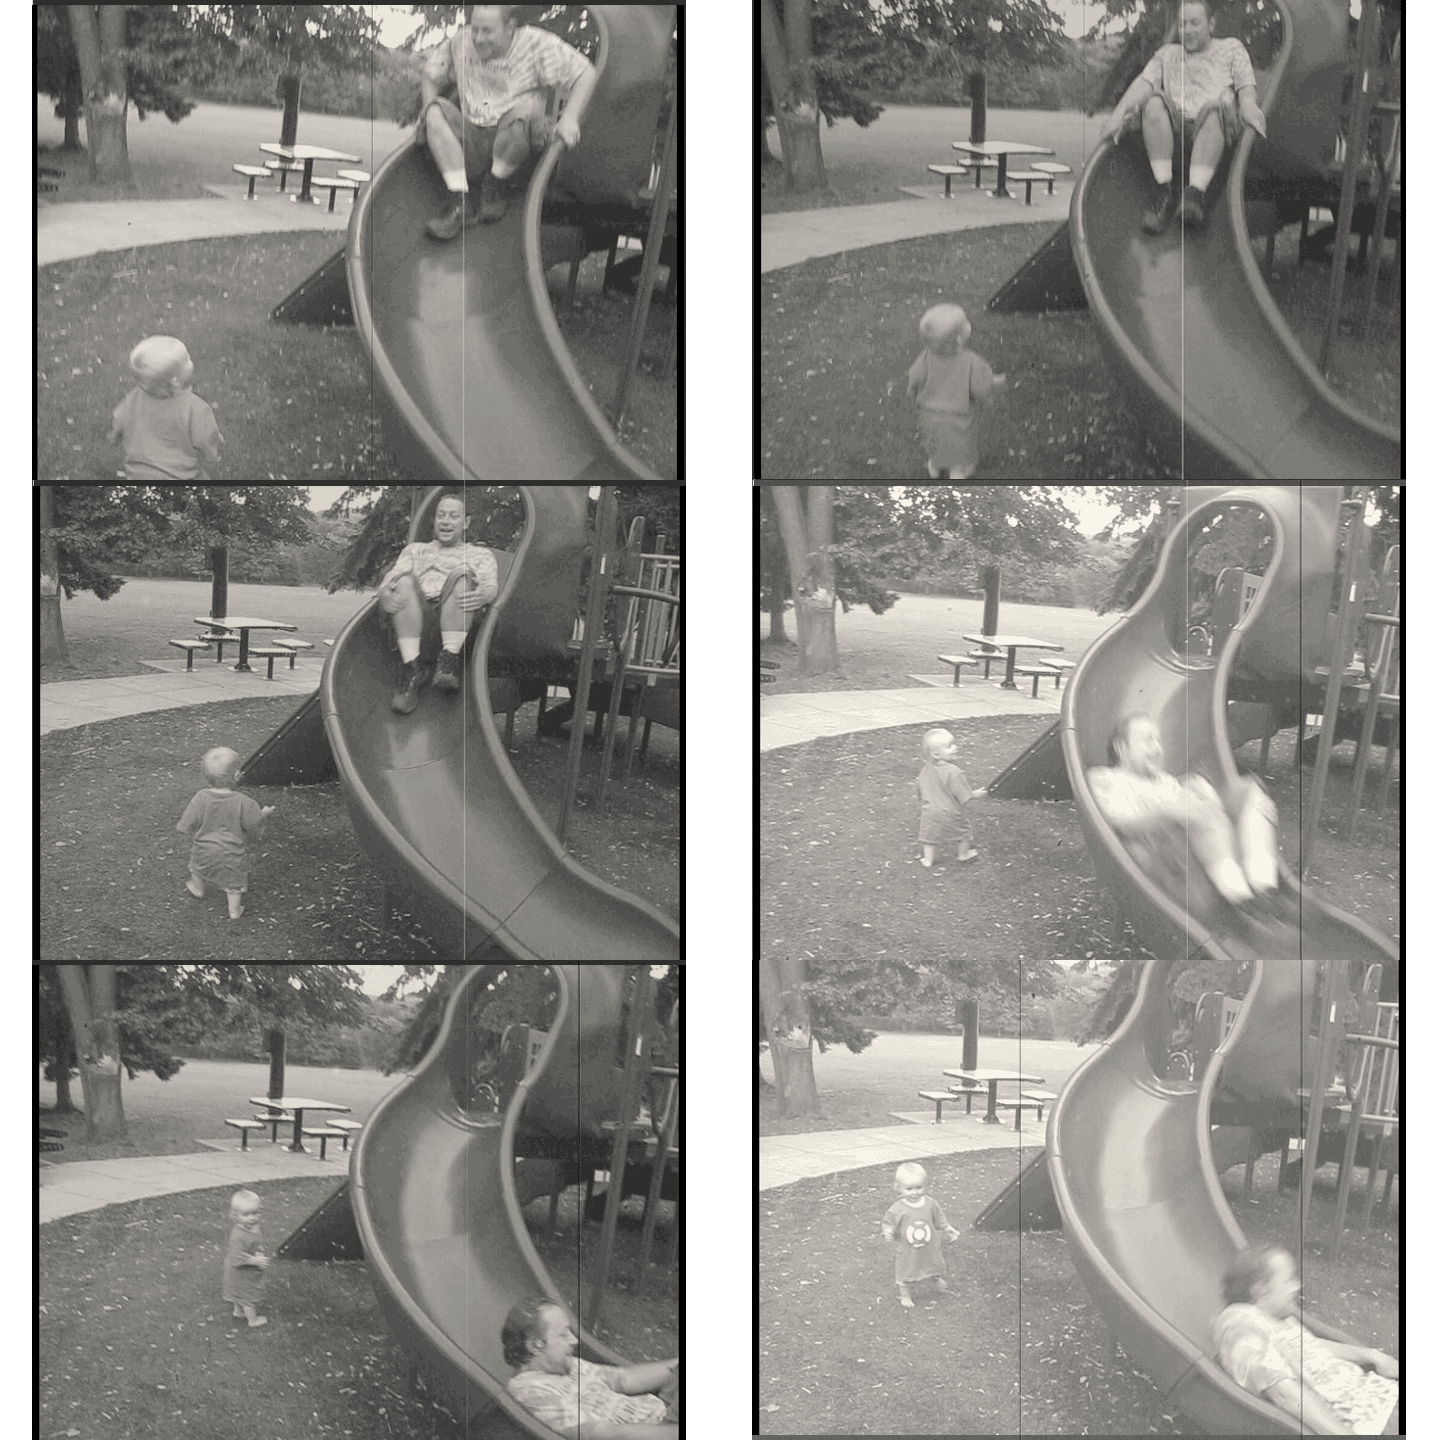
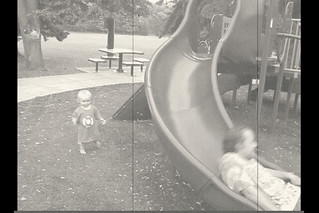
Grandson and son-in-law having fun last summer at the park.

Our only required DS106 assignment this week was to create an animated GIF from a Twilight Zone episode.  Me bad… I didn’t use a Twilight Zone clip…  But according to Talky Tina, who gave us the assignment, my GIF fulfills most of the other requirements. It’s B&W.  And it’s capturing a really nice childhood moment.

“But that’s okay, because a black-and-white sequence makes for a smaller GIF anyway! Can you help me relive my childhood (and perhaps your childhood, or that of your parents?) with some nice, friendly b&w animated GIFs From The Twilight Zone and Beyond?  Try to capture all of the really nice childhood moments! You know the really, really best and funnest parts!

I’ve never created a GIF before, so this was a bit of an adventure.  I had to first figure out what these things were all about.  Luckily my daughter was over for family Sunday dinner tonight and she pointed me to some fun examples at James Vander Memes.  It turned out after doing some research on the web and viewing a few tutorials on YouTube that my Mac versions of Adobe Premiere Elements 11 and Photoshop Elements 11 software would work.

The clip I’m using was taken from a video of my grandson and son-in-law called “Playtime With Daddy” that I created and posted to YouTube at the beginning of the year.  At the time I was acquainting myself with new video editing software and was having fun trying out new effects like changing the speed of the video and adding in an old news reel effect.

I had some trouble figuring out which format to publish the video clip so that it would turn into sequenced images. Publish+Share => Computer => Image (use for exporting still image) => open the advanced menu and choose “export as sequence” under the video heading, then save.  My next glitch showed up as I was moving each of the still images into a single Photoshop file.  For some reason my Photoshop Elements wasn’t letting me easily copy and paste the layers between files like I had done with earlier versions.  I found a work around. Again, after some trial and error, when saving it to the web as a GIF I needed to check the sequence box.  Then it would only play in reverse?  What the ….??? After trying, without success, to manually reorder the layers I finally found a checkbox that said reverse on it, and I was on my way. Only to be stymied one last time when I previewed my blog entry and the original Flickr link didn’t work correctly.  I ended up just inserting my own media.  I’ll update my post if I get it working correctly.

I enjoyed this assignment and am looking forward to learning more about what others have done with a GIF.  I wonder how I’ll be using this form of story telling in the future?

Daddy Slides for DJ

Nothing Is Worth More Than Today

So far is the ds106zone I’ve been gravitating towards the creepy and this is my attempt to break out of the stereotype. Being an hobbyist photographer I have more than my fair share of bad photos so the Pick A Bad Photo, Apply A Vintage Effect And Write Something In Helvetica assignment appealed to me.

Nothing Is Worth More Than Today

I took this shot of a new leaf growing on a tree and completely blew out most everything. However, I think the light rays coming down either side of the shot lead some credibility to the uplifting quote.

Also ending on a positive note, these last 2 stars bring to a grand total of 21 Visual Stars and 10 Design Stars! Whoo! Just about a wrap on week one of the ds106zone!